- 29 Aug 2023
- Print
- DarkLight
- PDF
Configuring Check-In Settings
- Updated on 29 Aug 2023
- Print
- DarkLight
- PDF
You can configure many check-in settings in the Turf Console from the Settings window: Select a new default check-in user type, choose whether or not guests are required to select a host, add an image to the confirmation window, set the notification method when visitors check in, and enable a touchless check-in process to allow users to check in with a mobile device.
Setting Check-In User Types
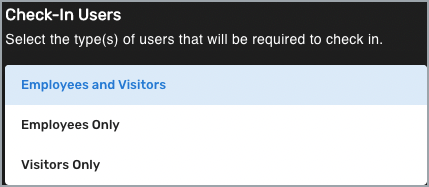
Skykit Turf Check-In allows Employees and Visitors, Employees Only, or Visitors Only to check in. The default option is Employees and Visitors but you can change it easily:
- Log in to Turf and select Settings from the navigation bar. The Settings window opens.
- Scroll to the Check-In Settings section.
- From the Check-In Users drop-down list, select the type of user you want as the default option.

- Select Save at the top of the window to save your choices.
Setting Host Selection Requirement
By default, guests are required to select the host they’re visiting. To change this requirement:
- Go to the Check-In Settings section of the Settings window.
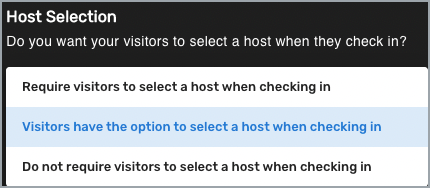
- Select your preferred option from the Host Selection drop-down list:
- Require visitors to select a host when checking in
- Visitors have the option to select a host when checking in
- Do not require visitors to select a host when checking in

- Select Save at the top of the window to save your choices.
Setting a Check-In Confirmation Image
You can personalize the check-in experience by adding a custom image to the confirmation window:
- Go to the Check-In Settings section of the Settings window.
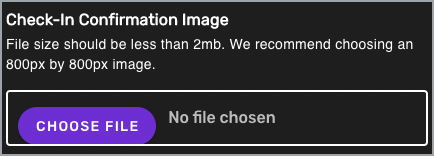
- Under Check-In Confirmation Image, select the Choose File button.

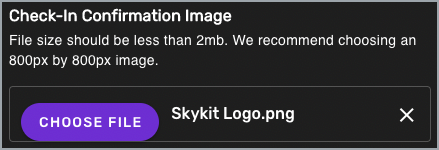
Your local storage file window opens. - Find and select the image you want to use for the confirmation window. The image file name appears next to the button.

The file size should be less than 2MB. We recommend using an 800px by 800px image. - Select Save to save your change.
Setting the Check-In Notification Method
In order for your employees to receive Check-In notifications, you need to upload or sync an employee directory with the appropriate information. Make sure to complete the Check-In Employee Directory Configuration before you set the notification method.
Employees will receive notifications to verify their own check-in and when a guest checks in and selects them as the host. SMS text messaging is the default notification method.
When SMS is disabled or the SMS notification attempt fails, notifications will be delivered by email instead.
- Go to the Check-In Settings section.
- From the SMS Notifications drop-down list, select Enable or Disable.
- Select Save to save the change.
Configuring Touchless Check-In
By default, employees and visitors will check in using the Check-In display. You can also enable an optional touchless check-in experience using a mobile device.
- Go to the Check-In Settings section.
- From the Touchless Check-In Process drop-down list, select Enable or Disable.

- Select Save to save your change.
