- 29 Aug 2023
- Print
- DarkLight
- PDF
Configuring Global Settings
- Updated on 29 Aug 2023
- Print
- DarkLight
- PDF
From the Settings window, admin users can configure global settings that apply to all devices in the tenant.
General Settings
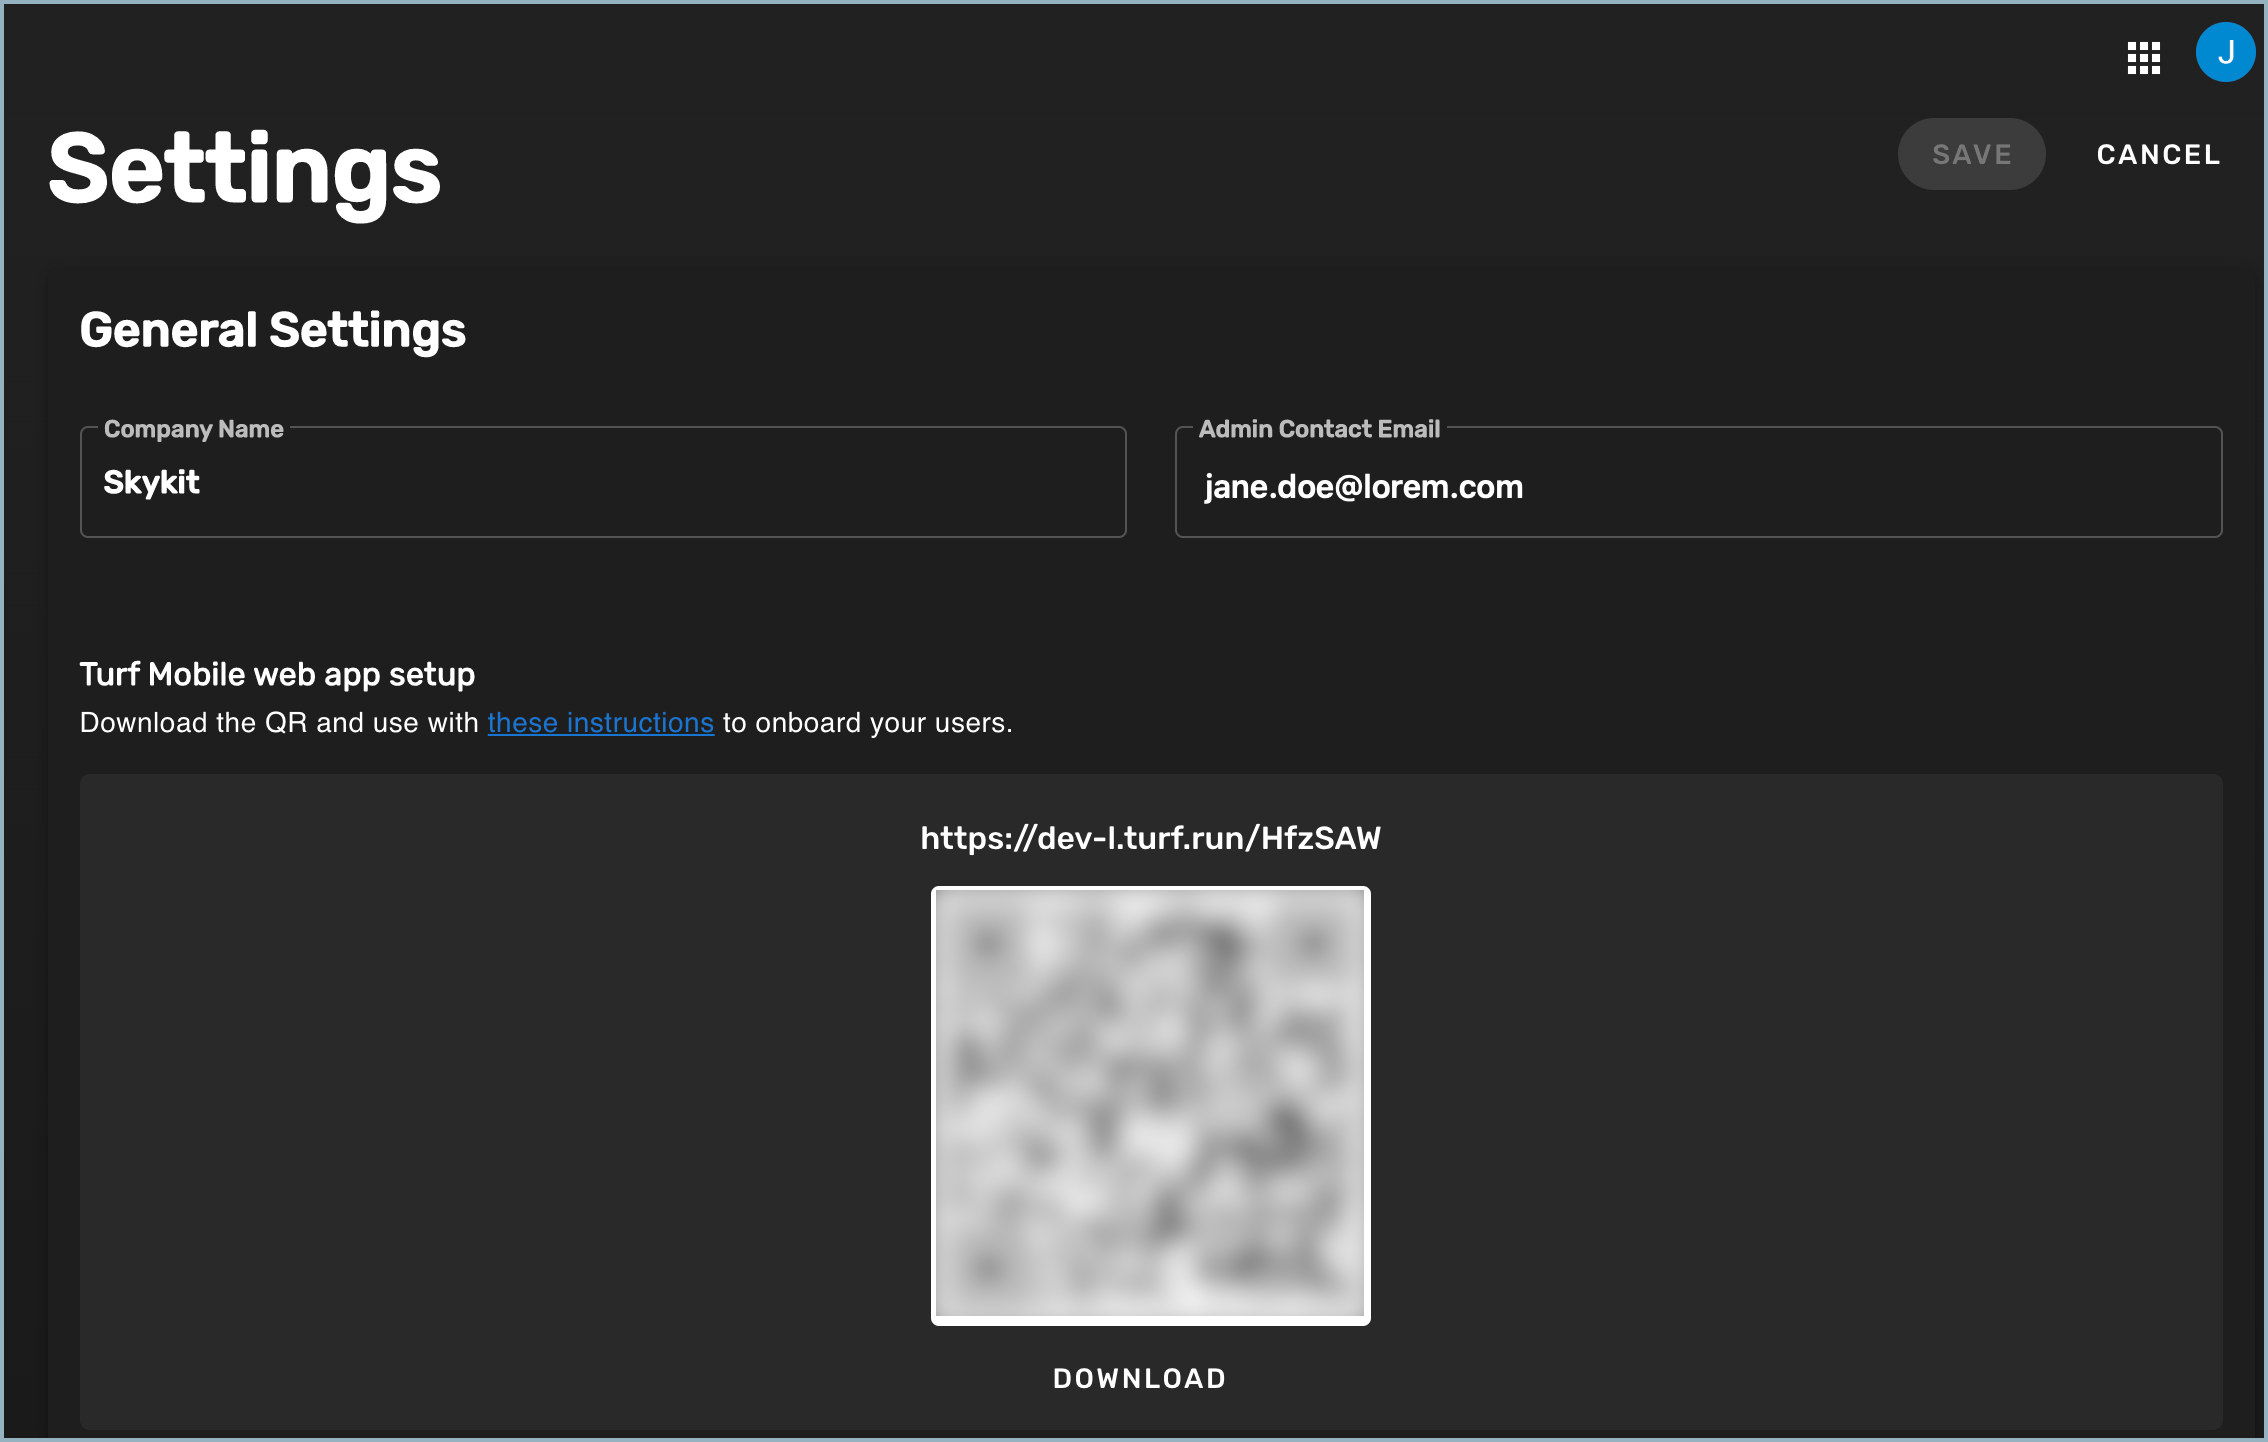
- Select Settings from the navigation bar to open the Settings window.

- Update the Company Name and Admin Contact Email, if necessary.
- To download a QR code that you can send to users so they can install the Turf mobile web app on their mobile devices, select Download under the QR code on the screen. This creates a .png file that you can attach to an email or other type of message for your users.
Integrations
To integrate your Microsoft 365 or Google Workspace with Turf, select Link next to your preferred integration, log in to your account, and follow the instructions on the screen.

Custom Styling
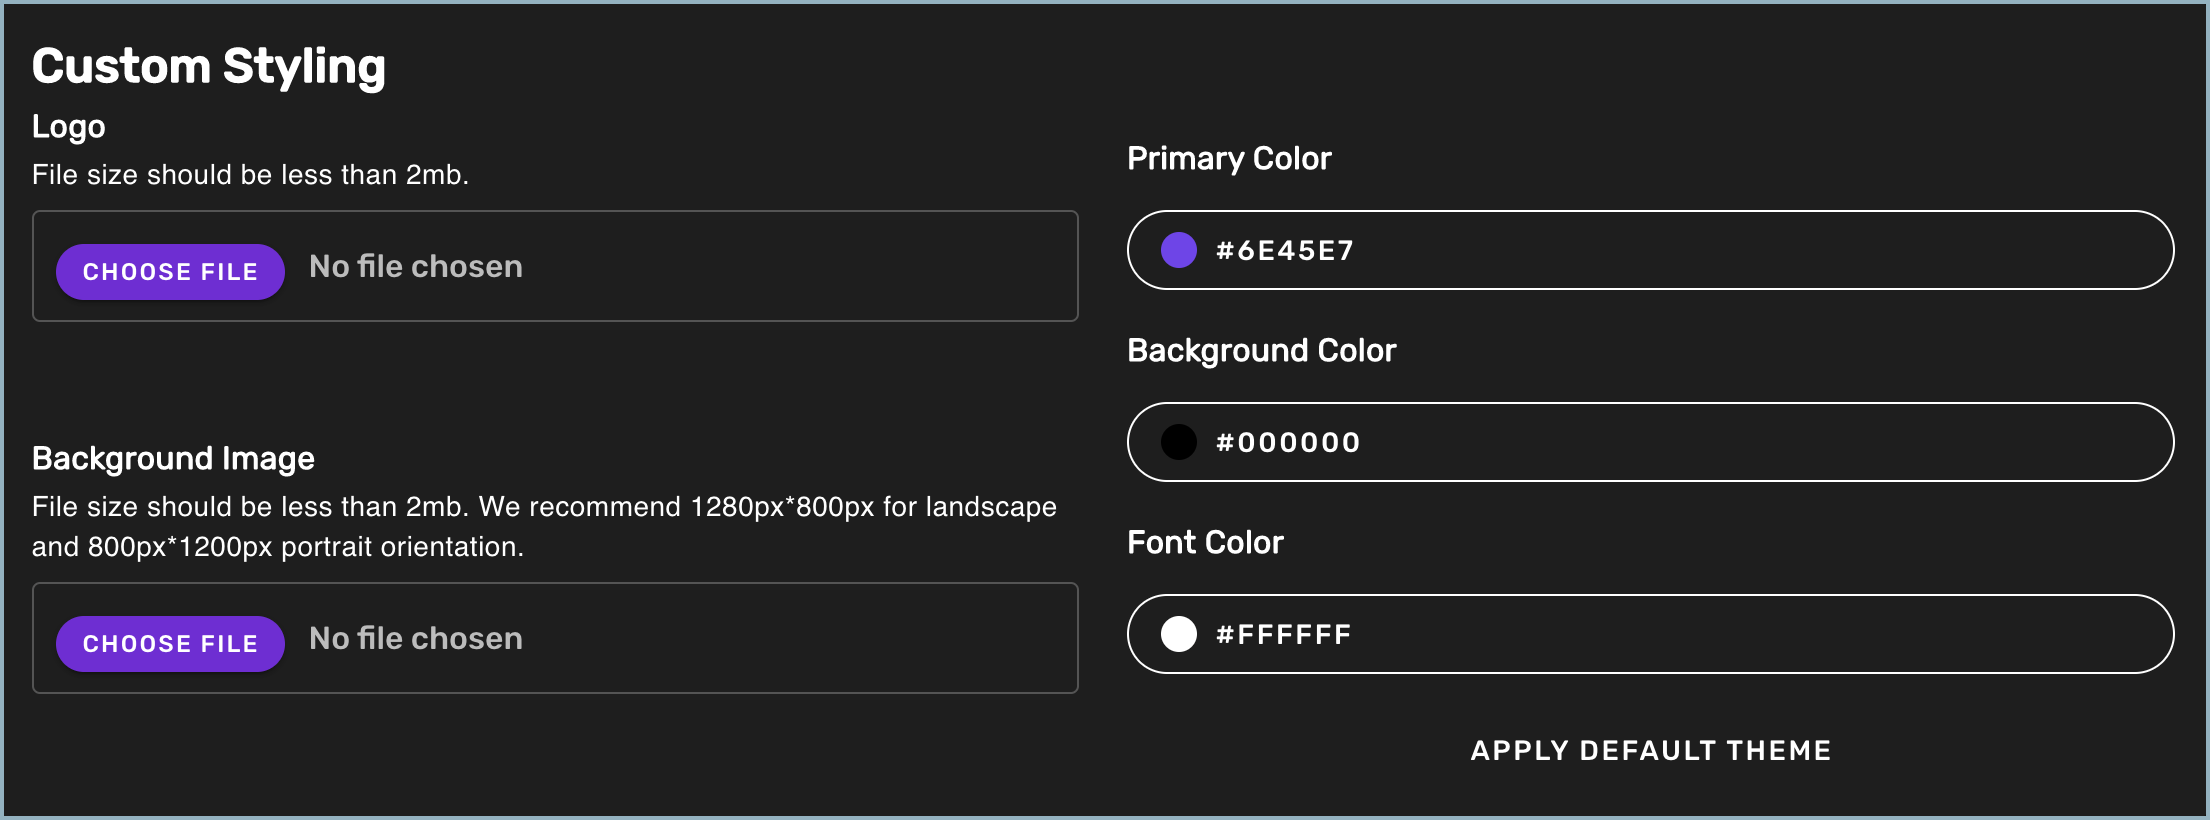
Under Custom Styling, you can customize your Turf displays to include your company's logo and create a color scheme that is in line with your company's branding.

- If you want to include your own company logo on the display, select Choose File under Logo, then browse for the image file you want to use. The file size for logo images should be less than 2MB.
- If you would like to include a background image, select Choose File under Background Image and browse for the image file you want to use. Background image files should be less than 2MB.Skykit recommends an image size of 1280 x 800 pixels for landscape orientation and 800 x 1200 pixels for portrait orientation.
- To change the primary color, background color, or font color of the display, click in the relevant color field. You can either use the color picker or enter the hex code for your preferred color.
If you prefer to use the default Skykit Turf color scheme, select Apply Default Theme.
Space Booking Settings

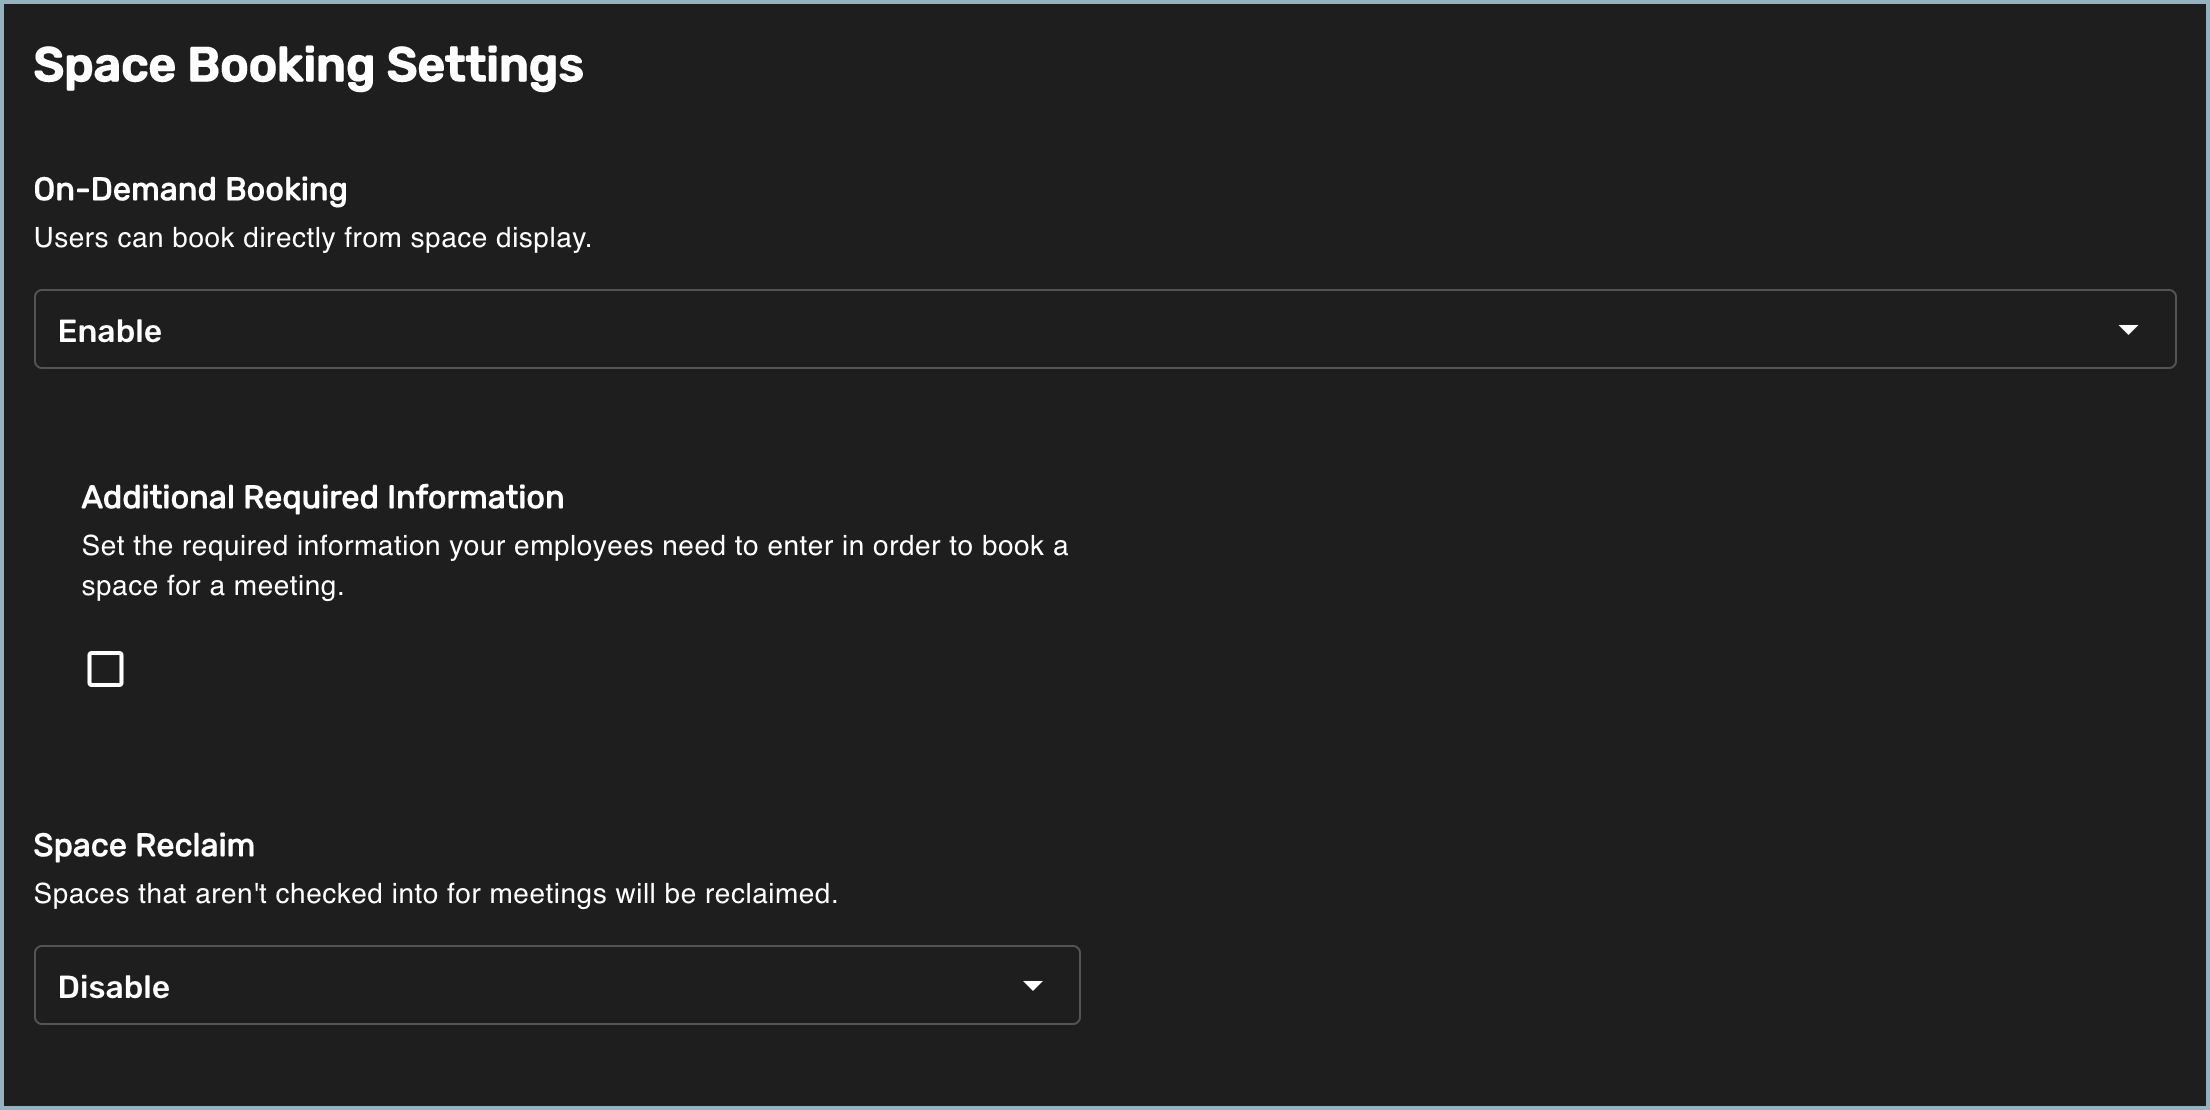
- To allow users to book a space directly from the display, select Enable under On-Demand Booking.
- To require employees to select their name when they book a space, check Additional Required Information.
- To allow spaces to become available again if they are booked but haven't been checked into, select Enable under Space Reclaim. When Space Reclaim is enabled, users can check in to a meeting from the display.Note: The check-in/space reclaim option is only available for spaces that are integrated with Google workspace calendars, not Microsoft 365 calendars.
- From the Space reclaim timer drop-down list, select the amount of time (5, 10, or 15 minutes) users have to check in to a meeting before the space is reclaimed. If you select 10 minutes, for example, the space will be reclaimed if no one checks in to the meeting within 10 minutes of the start time.
Desk Booking Settings
To enable users to book a desk directly from a display, select Enable under Enable desk booking.

Check-In Settings
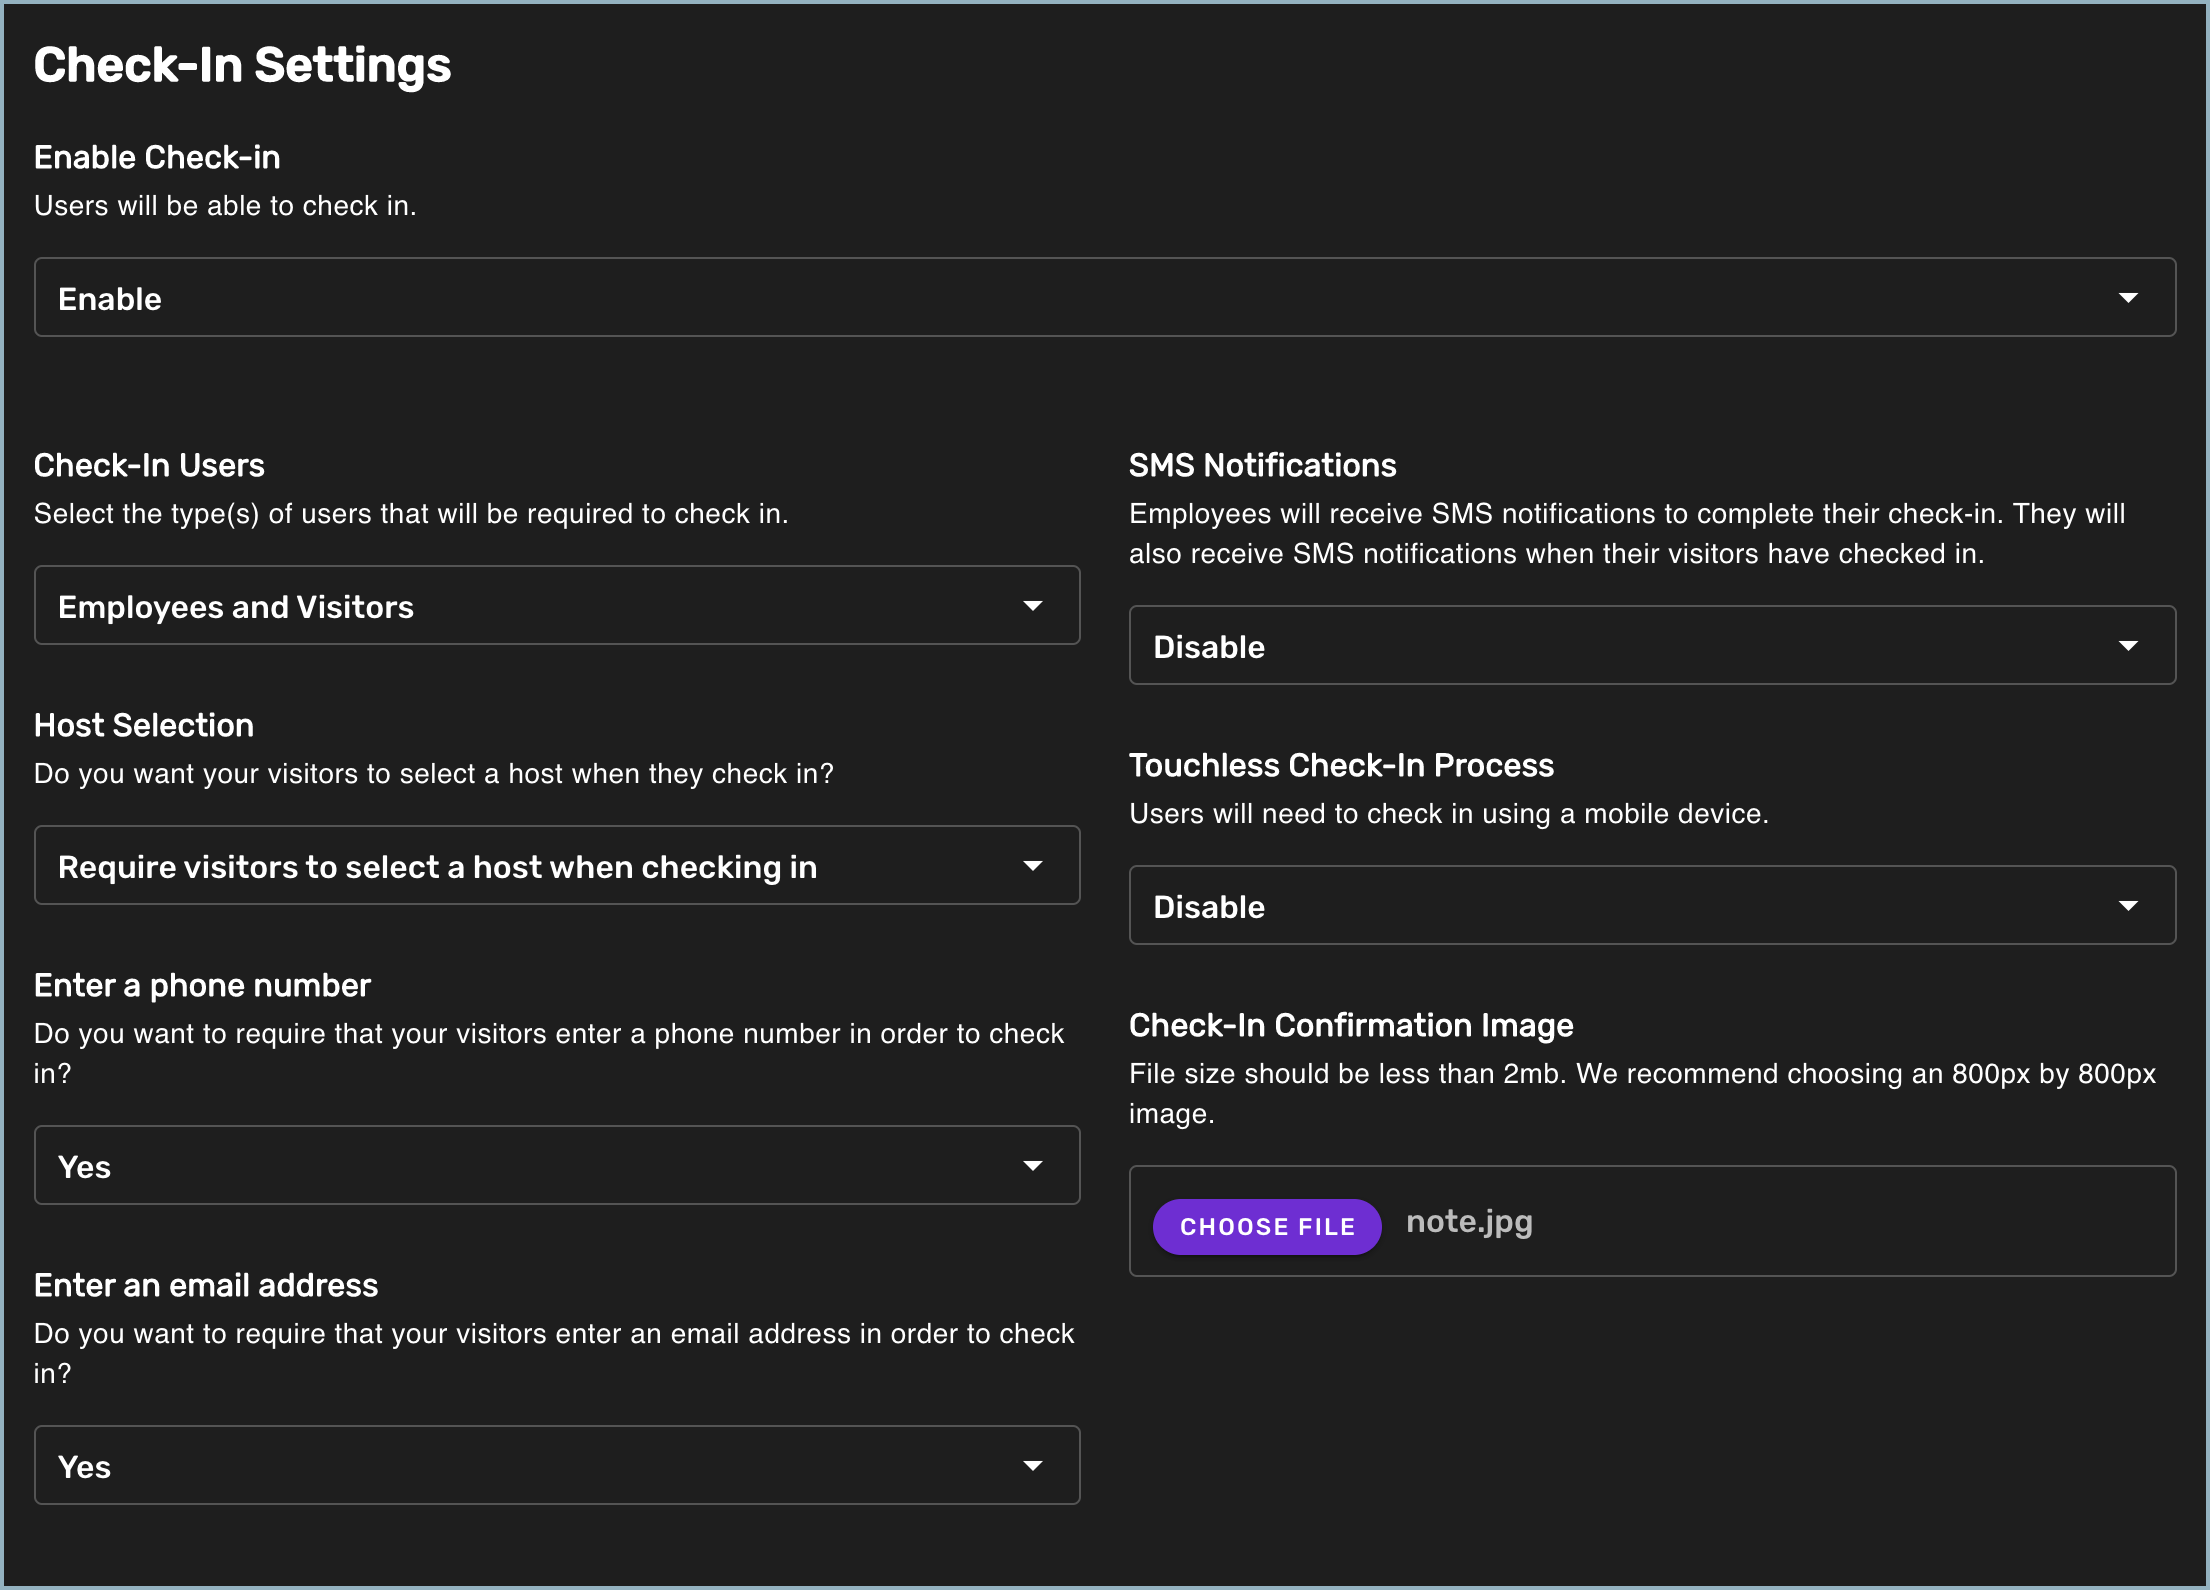
Under Check-In Settings you can configure settings such as who is required to check in and whether visitors need to select a host when they check in.

- To allow users to check in directly from a display, select Enable under Enable Check-in. If you choose Disable, users will only be able to check in using the mobile web app.
- Under Check-In Users, select who will be required to check in using Turf: Employees and Visitors, Employees Only, or Visitors Only.
- Under Host Selection, indicate if you want visitors to select a host when they check in. You can require them to select a host, leave it as optional, or not require them to select a host at all.
- If you want to require visitors to enter a phone number when they check in, select Yes under Enter a phone number. If not, select No.
- If you want to require visitors to enter an email address when they check in, select Yes under Enter an email address. If not, select No.
- If you want employees to receive an SMS text message to complete their check-in, select Enable under SMS Notifications. When this setting is enabled, they will also receive notifications when their visitors check in.
- To require users to check in using a mobile device, select Enable under Touchless Check-In Process.
- To add an image such as a logo to the check-in confirmation message, select Choose File under Check-In Confirmation Image and browse for the image file you want to use. Skykit recommends using an image that is 800 x 800 pixels and is less than 2 MB.
When you have finished configuring your spaces, select Save.
