The Dashboard Connections add-on is available to customers with Pro or Enterprise plans.
Creating Your Dashboard Connection
- After you log in to Skykit Beam, select the tenant in which you want to create a dashboard connection. The tenant's Content menu opens.
- Select +Content. A drop-down list opens, showing the content types that are available to you.
.png)
- Select Dashboards from the list to open the Dashboards settings window.
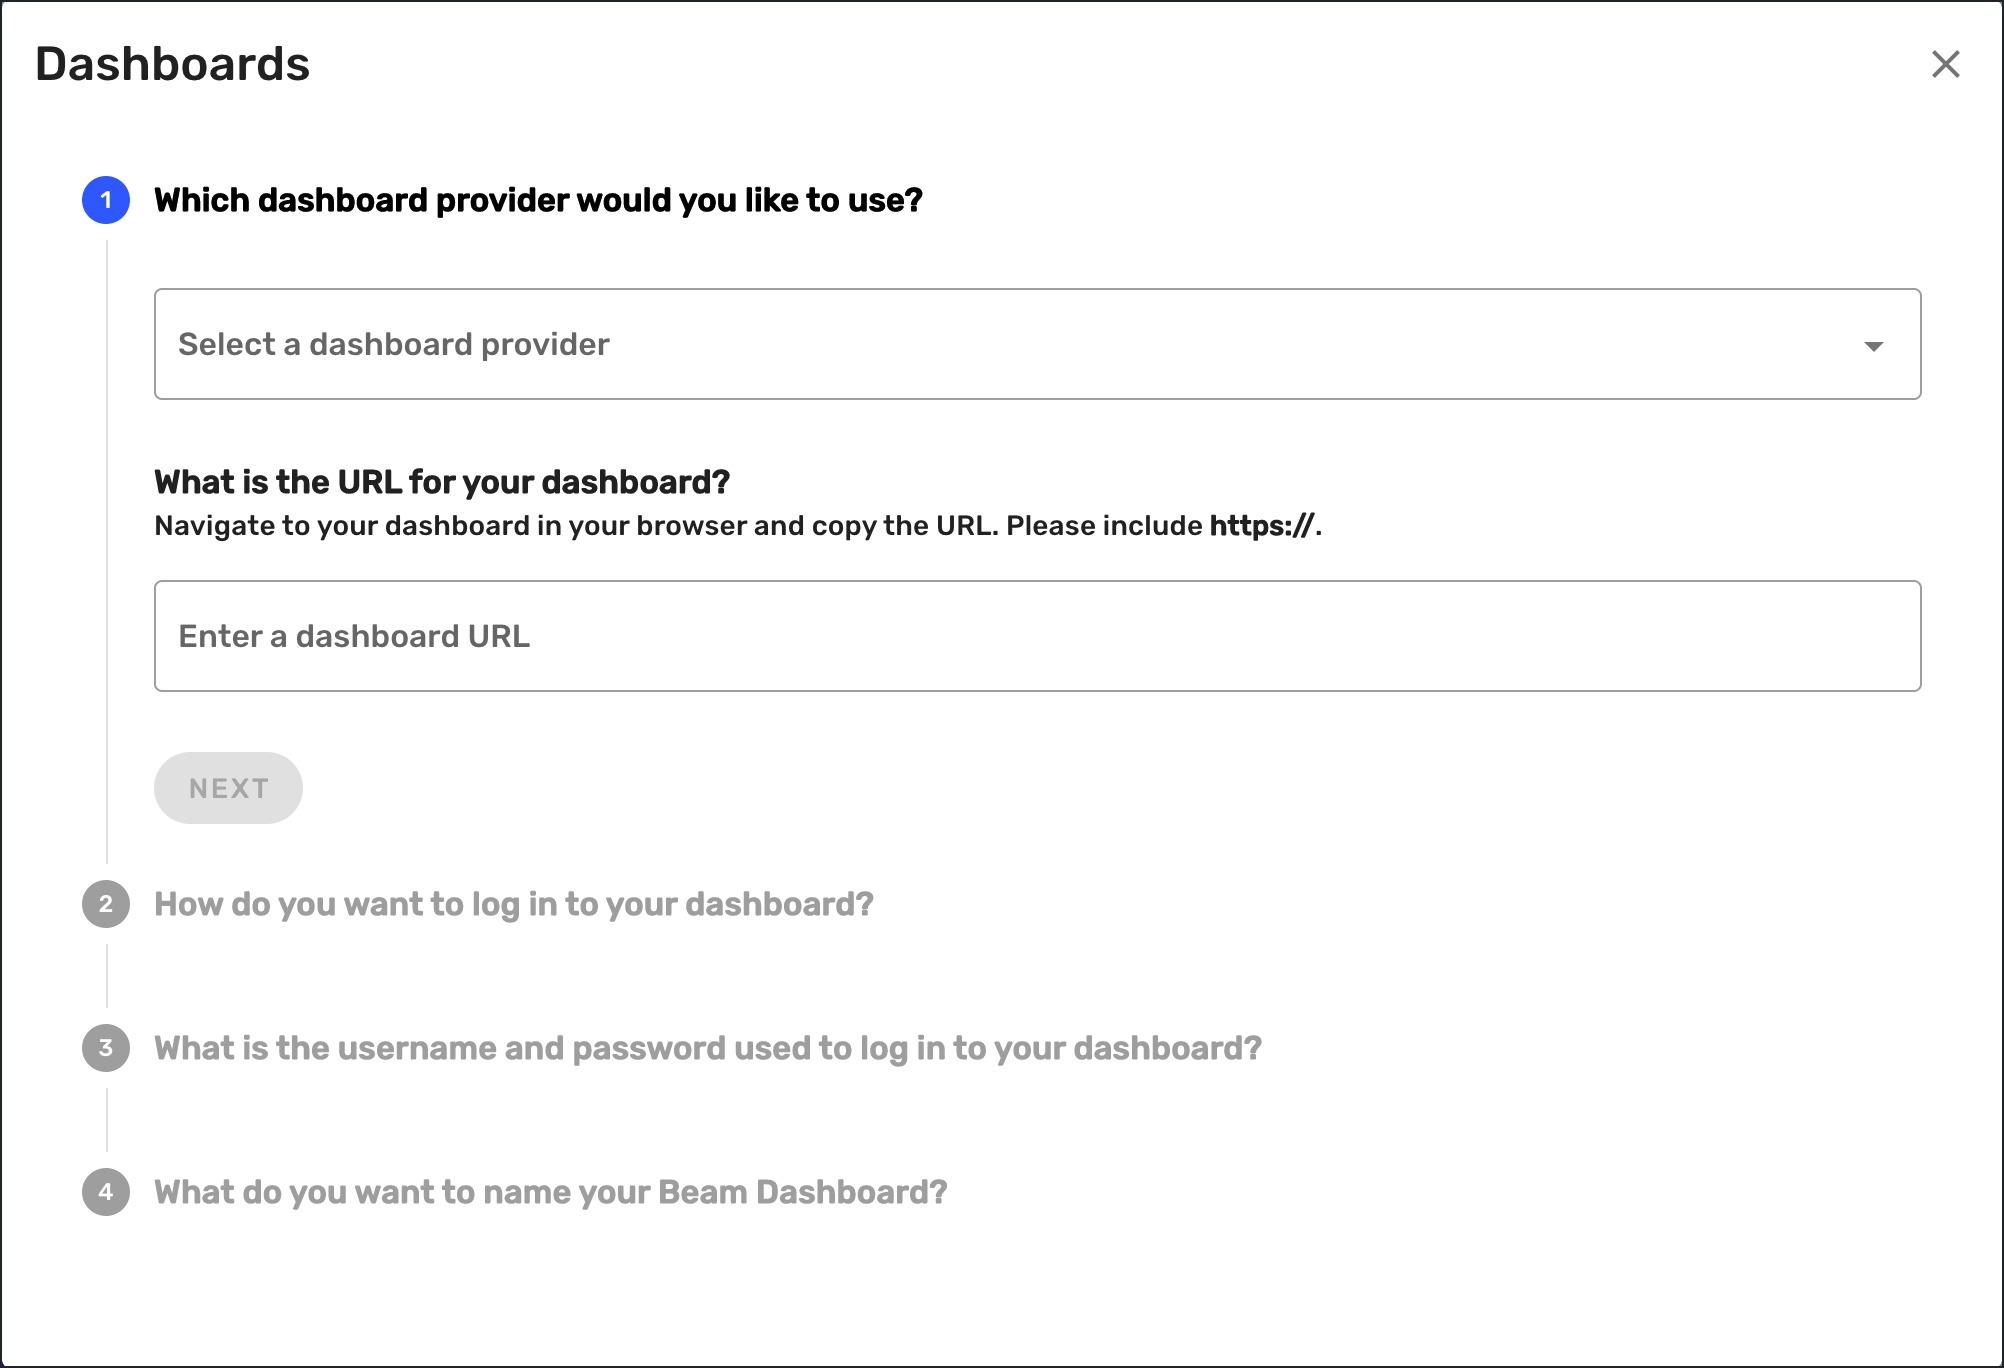
Note: If you do not see Dashboards listed, that means your plan does not include the Dashboard Connections add-on. Please contact support@skykit.com for more information.
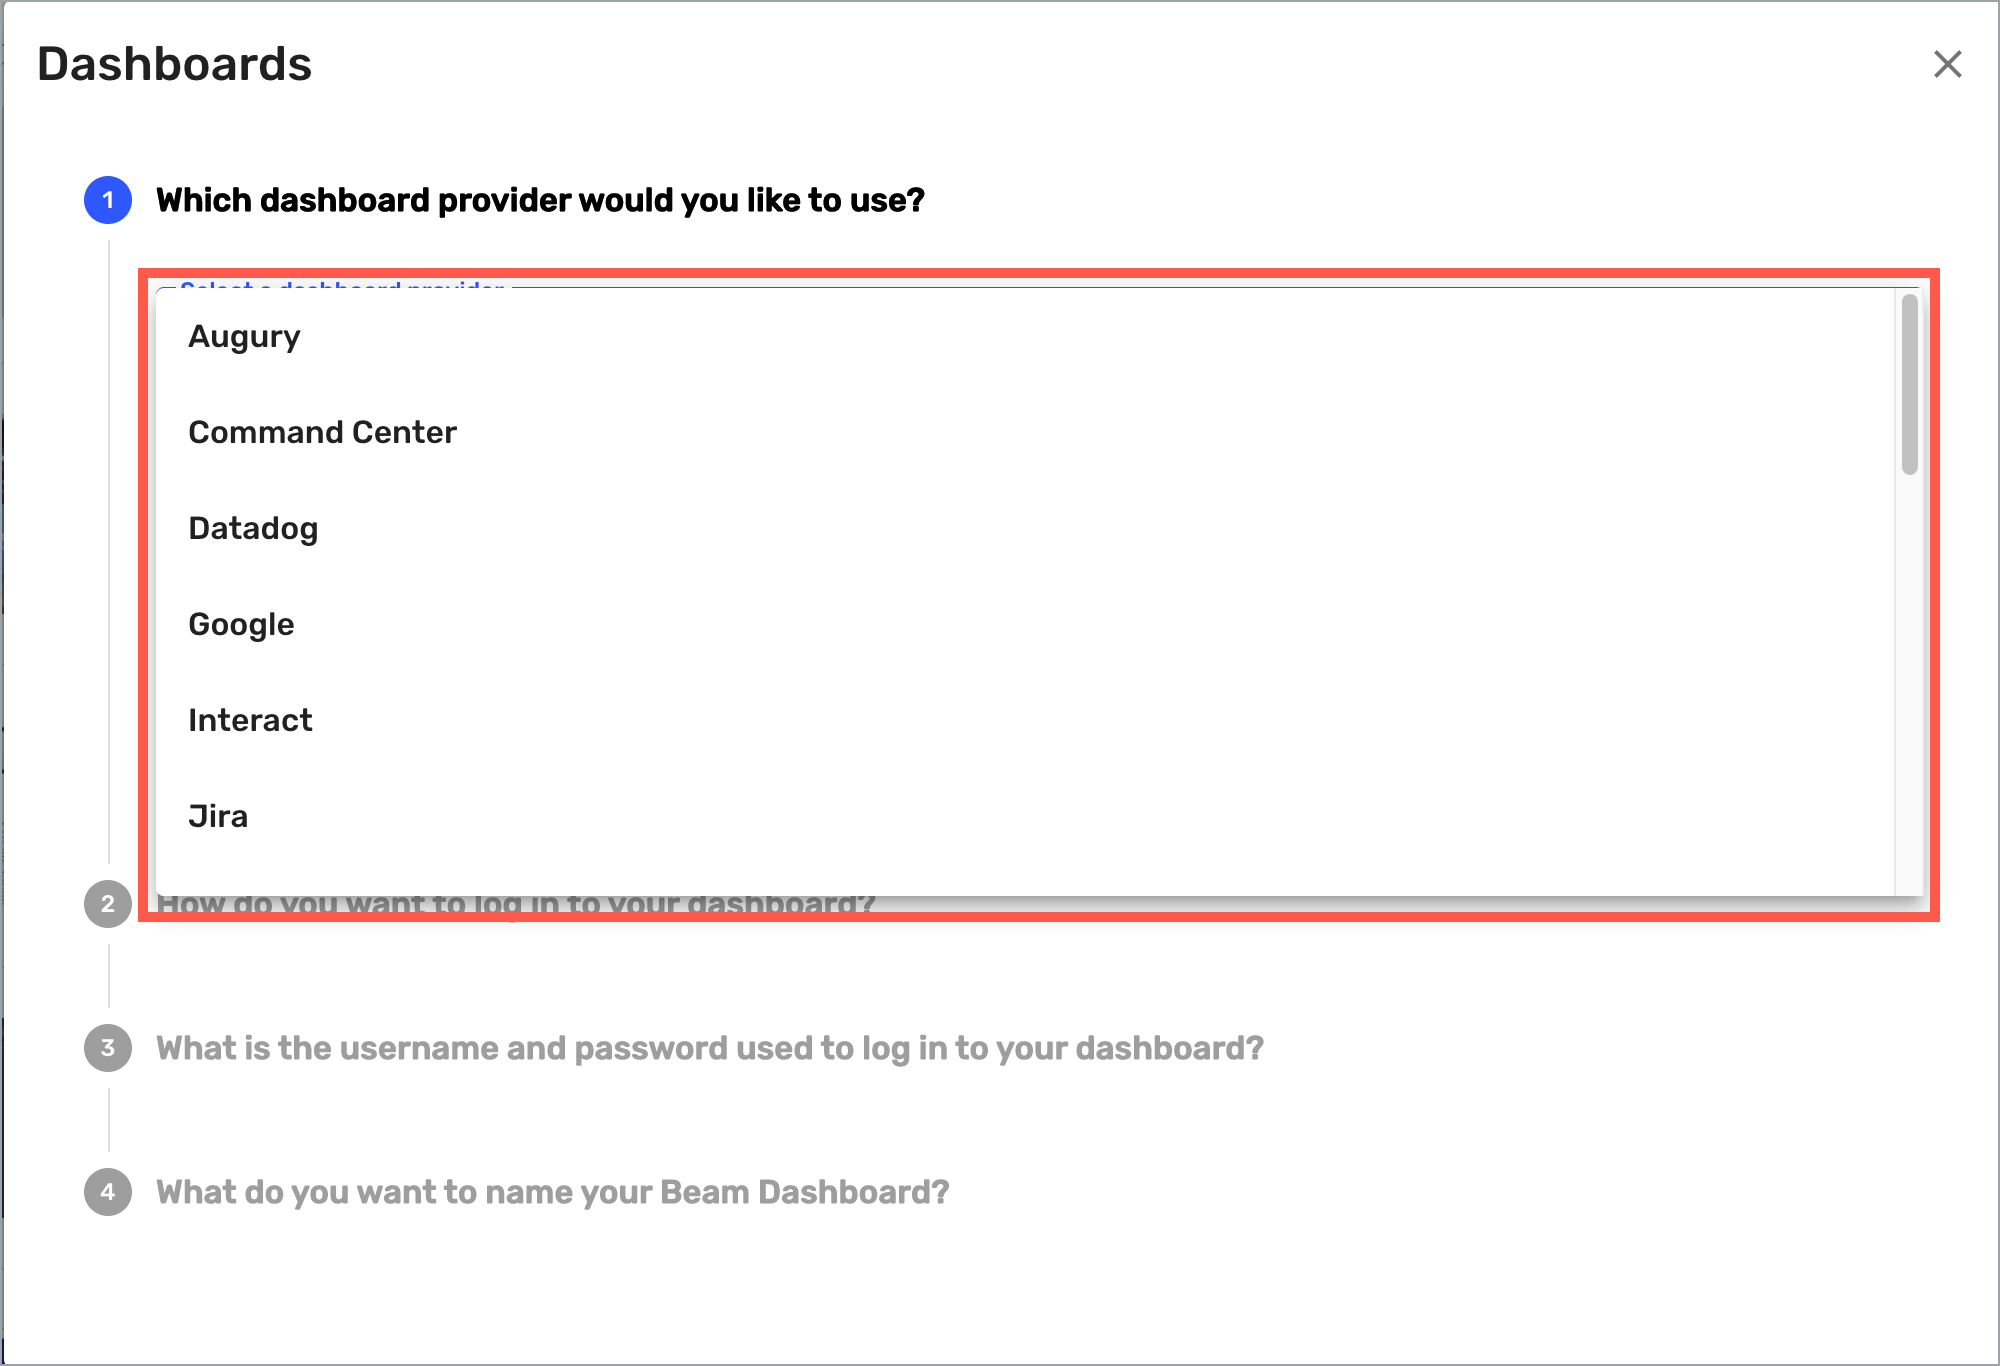
- From the provider list, select the dashboard provider you’re going to use. The list displays all dashboard providers you have access to based on your tenant permissions.
After you select the provider, you'll need a link to the dashboard that you want to display. In the following example, we're using an embedded link from Microsoft Power BI.
Note: Use the final URL for the dashboard you want to display. Do not use shortcut URLs or redirects.
You can see the complete library of dashboard connections on Skykit's website.
5. When you have the link to the dashboard, paste it into the URL field and then select Next.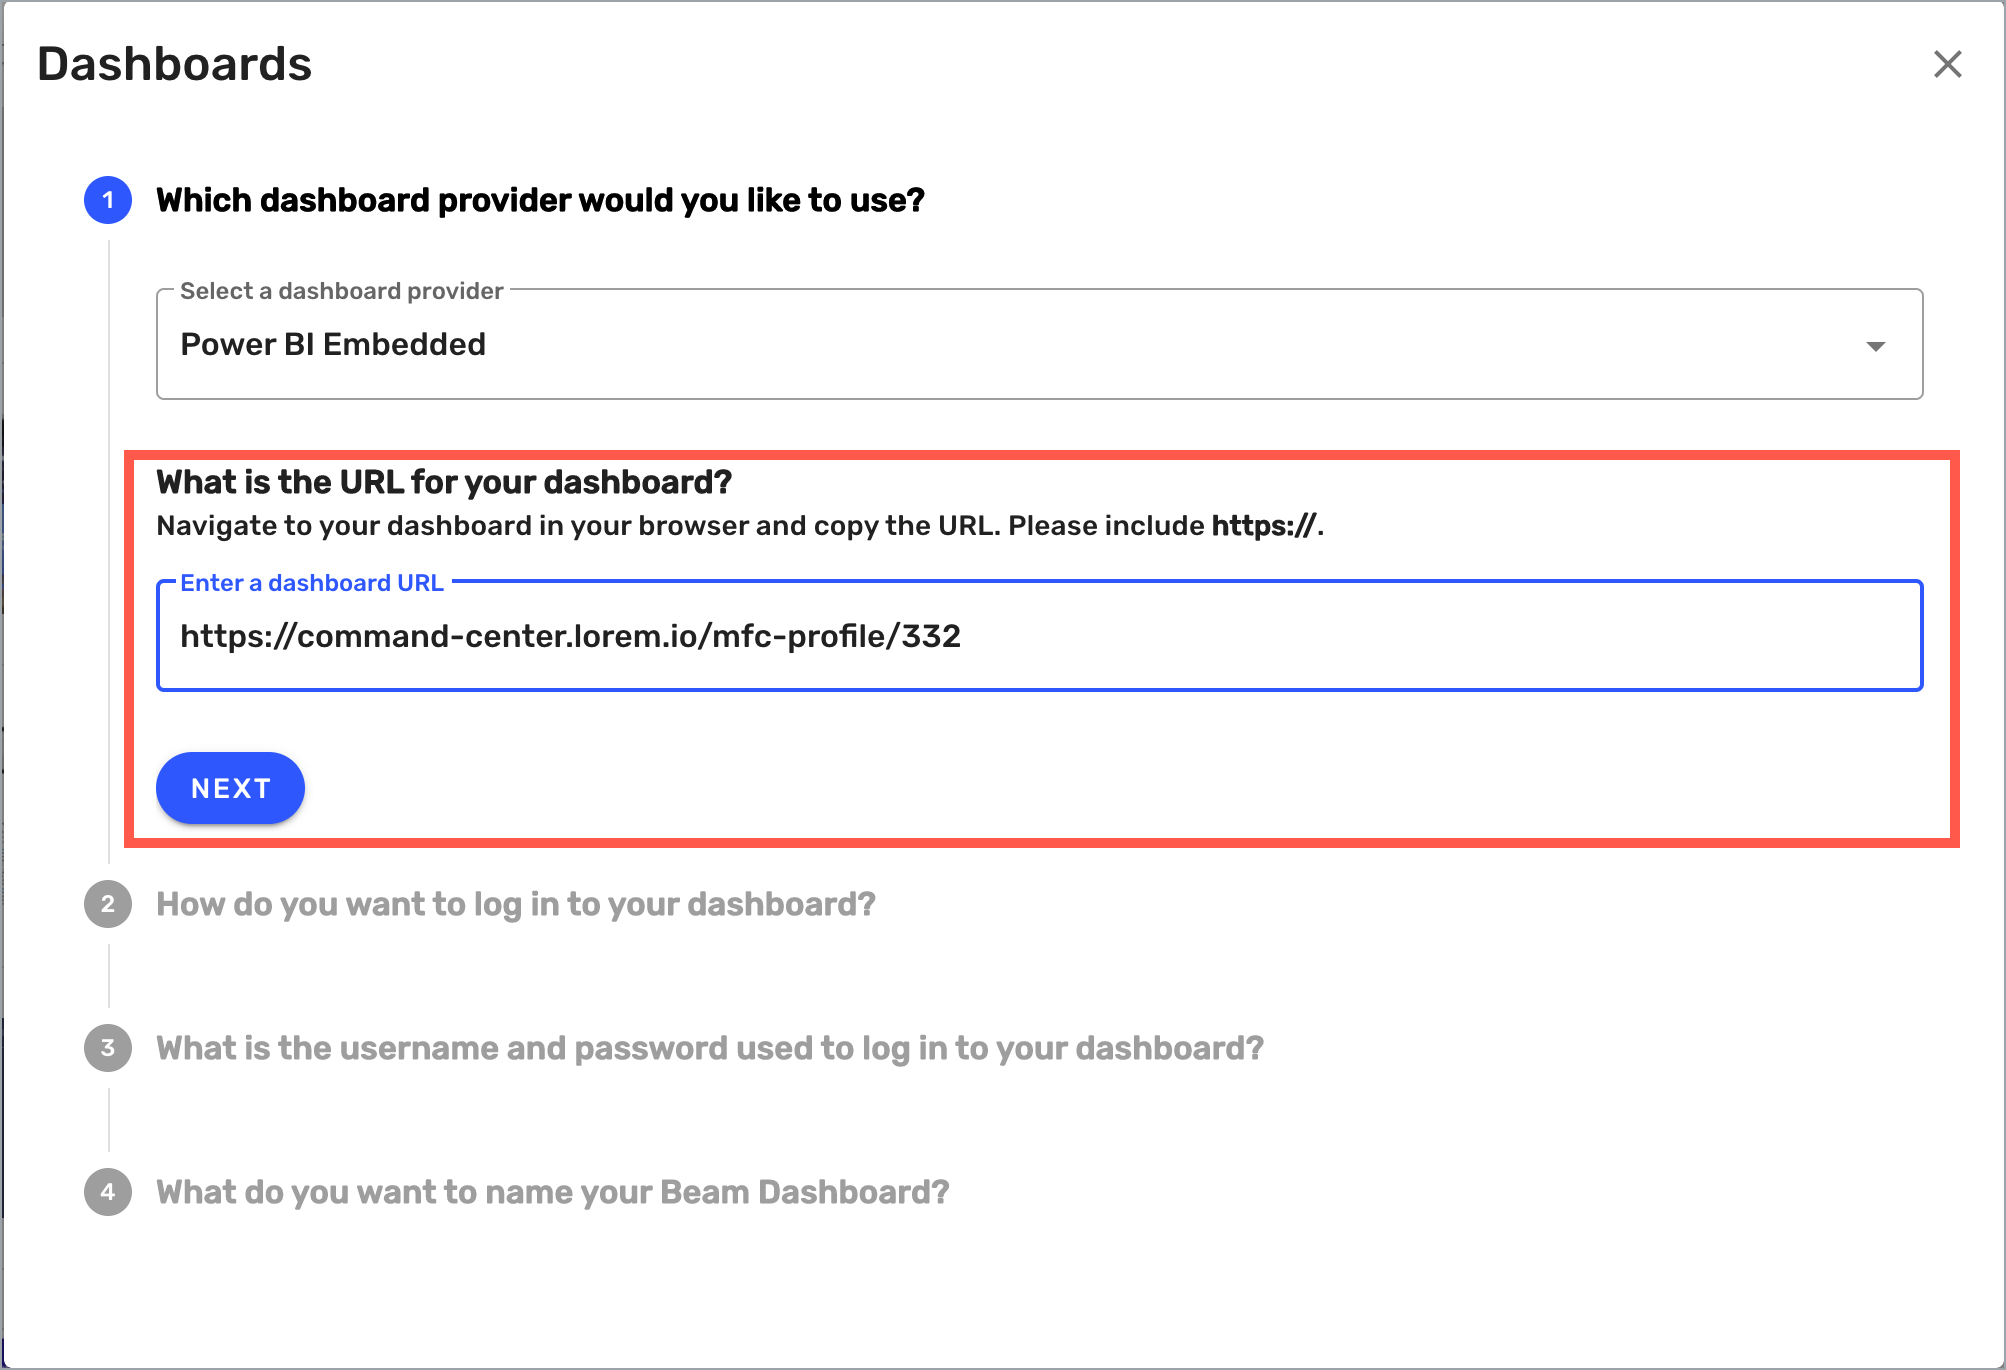
6. From the login drop-down list, select the method you want to use to log in to your dashboard and then select Next. The available methods will vary depending on the dashboard provider you selected.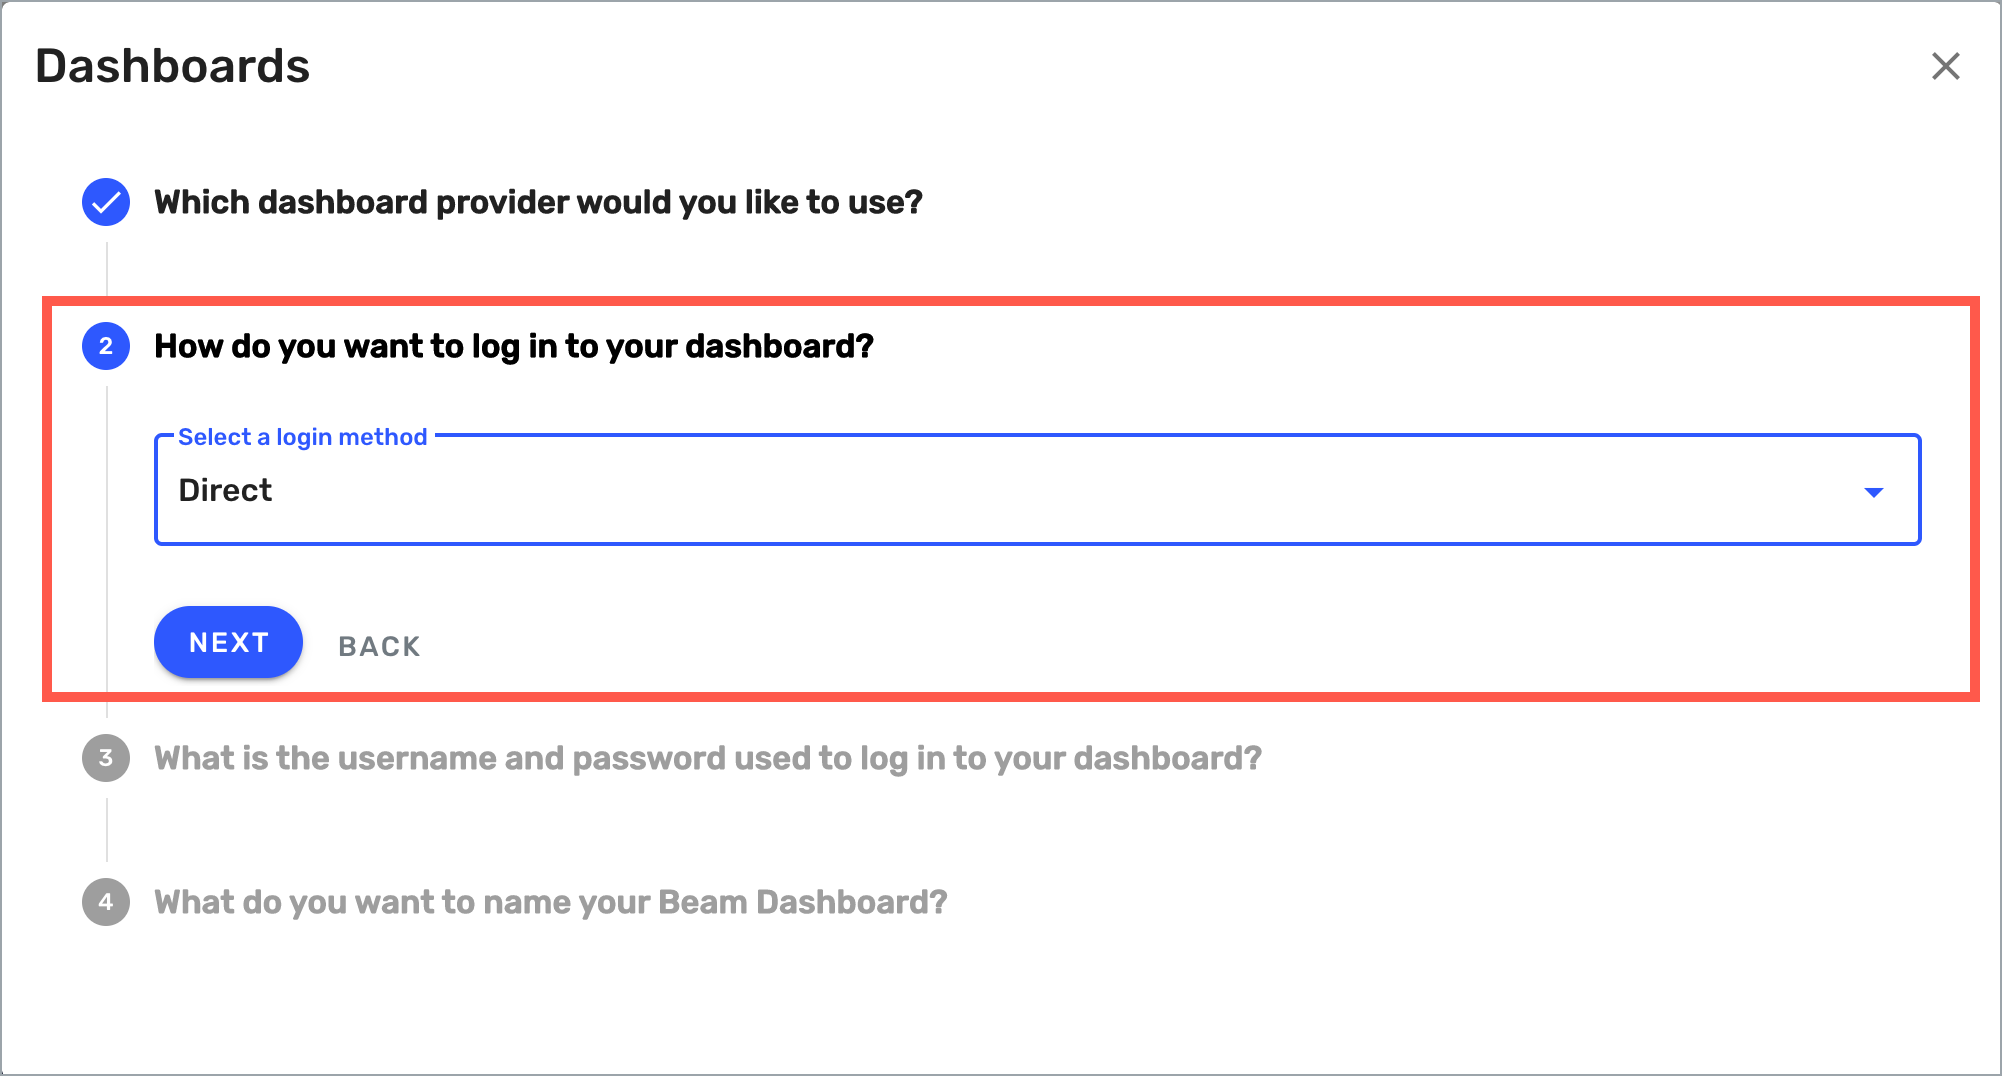
7. If this is your first dashboard connection, you'll need to create a user name and password.
Note: Only Tenant Admins may create new credentials. Non-admin users may create Dashboards but can only use credentials that have already been created.
- Select +Add a new dashboard username and password from the username list, then enter a user name and password for your dashboard software in the fields.
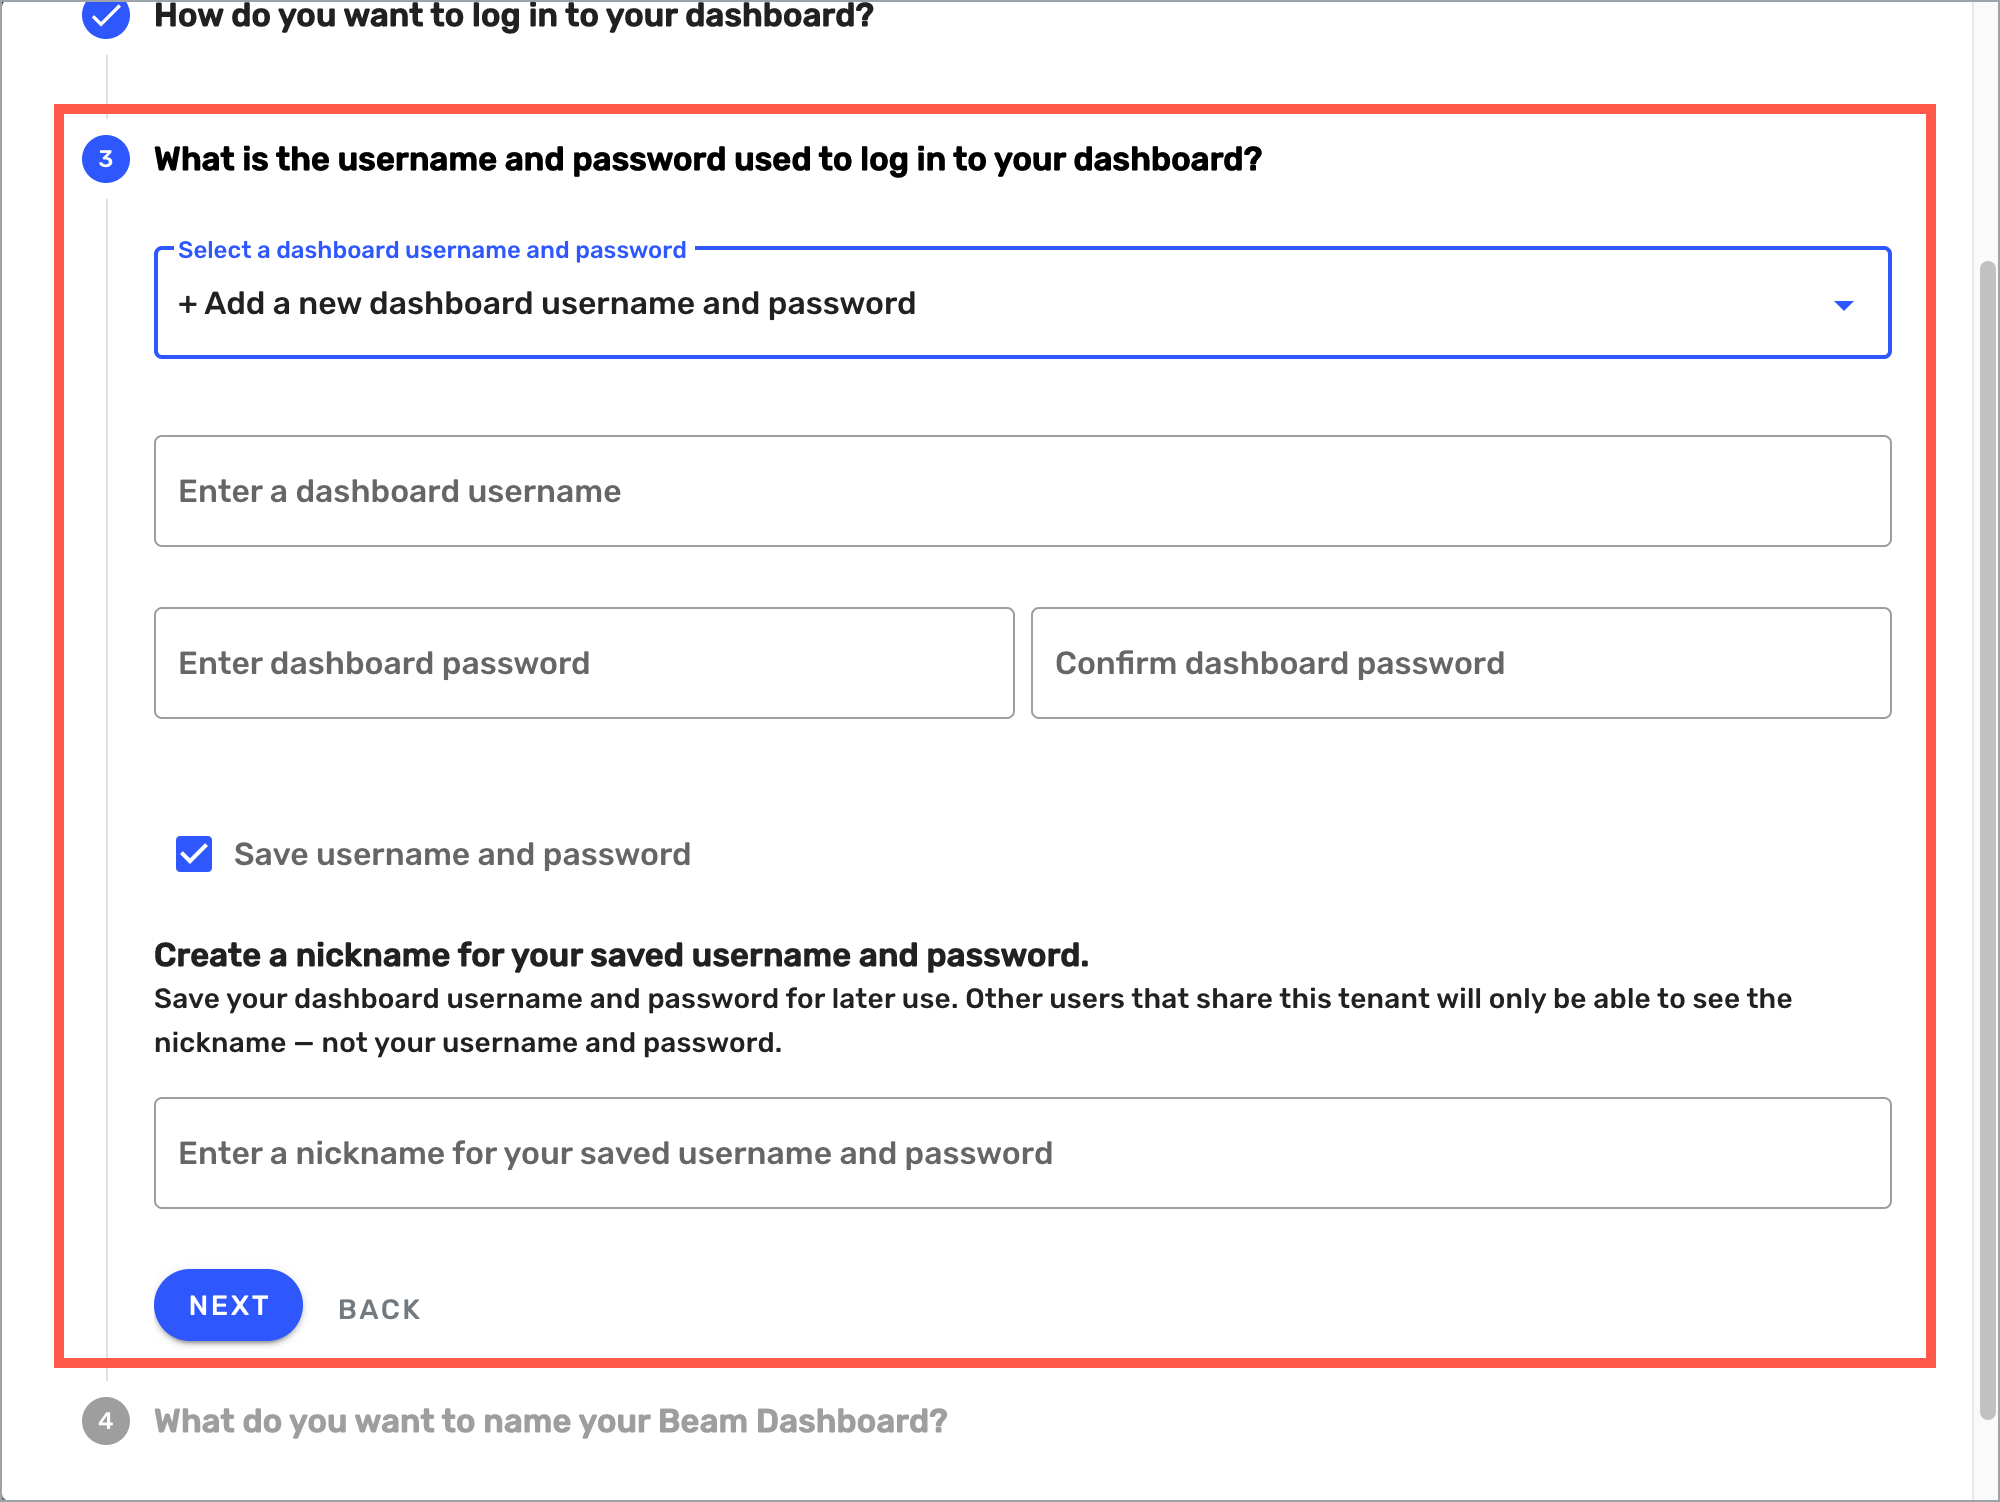
- Check the Save username and password box if you want to save your credentials for easier access in the future.
- If you choose to save your user name and password, enter a nickname for your saved credentials (for example, Mary's Login).
- Select Next to continue.
Note: You won't have to do this a second time for dashboard connections from the same software.
If you have multiple logins and want to add another, you might need to scroll to the bottom of the list to see the option to add another login.
- Enter the name you want for the dashboard. This name will be displayed in your content list.
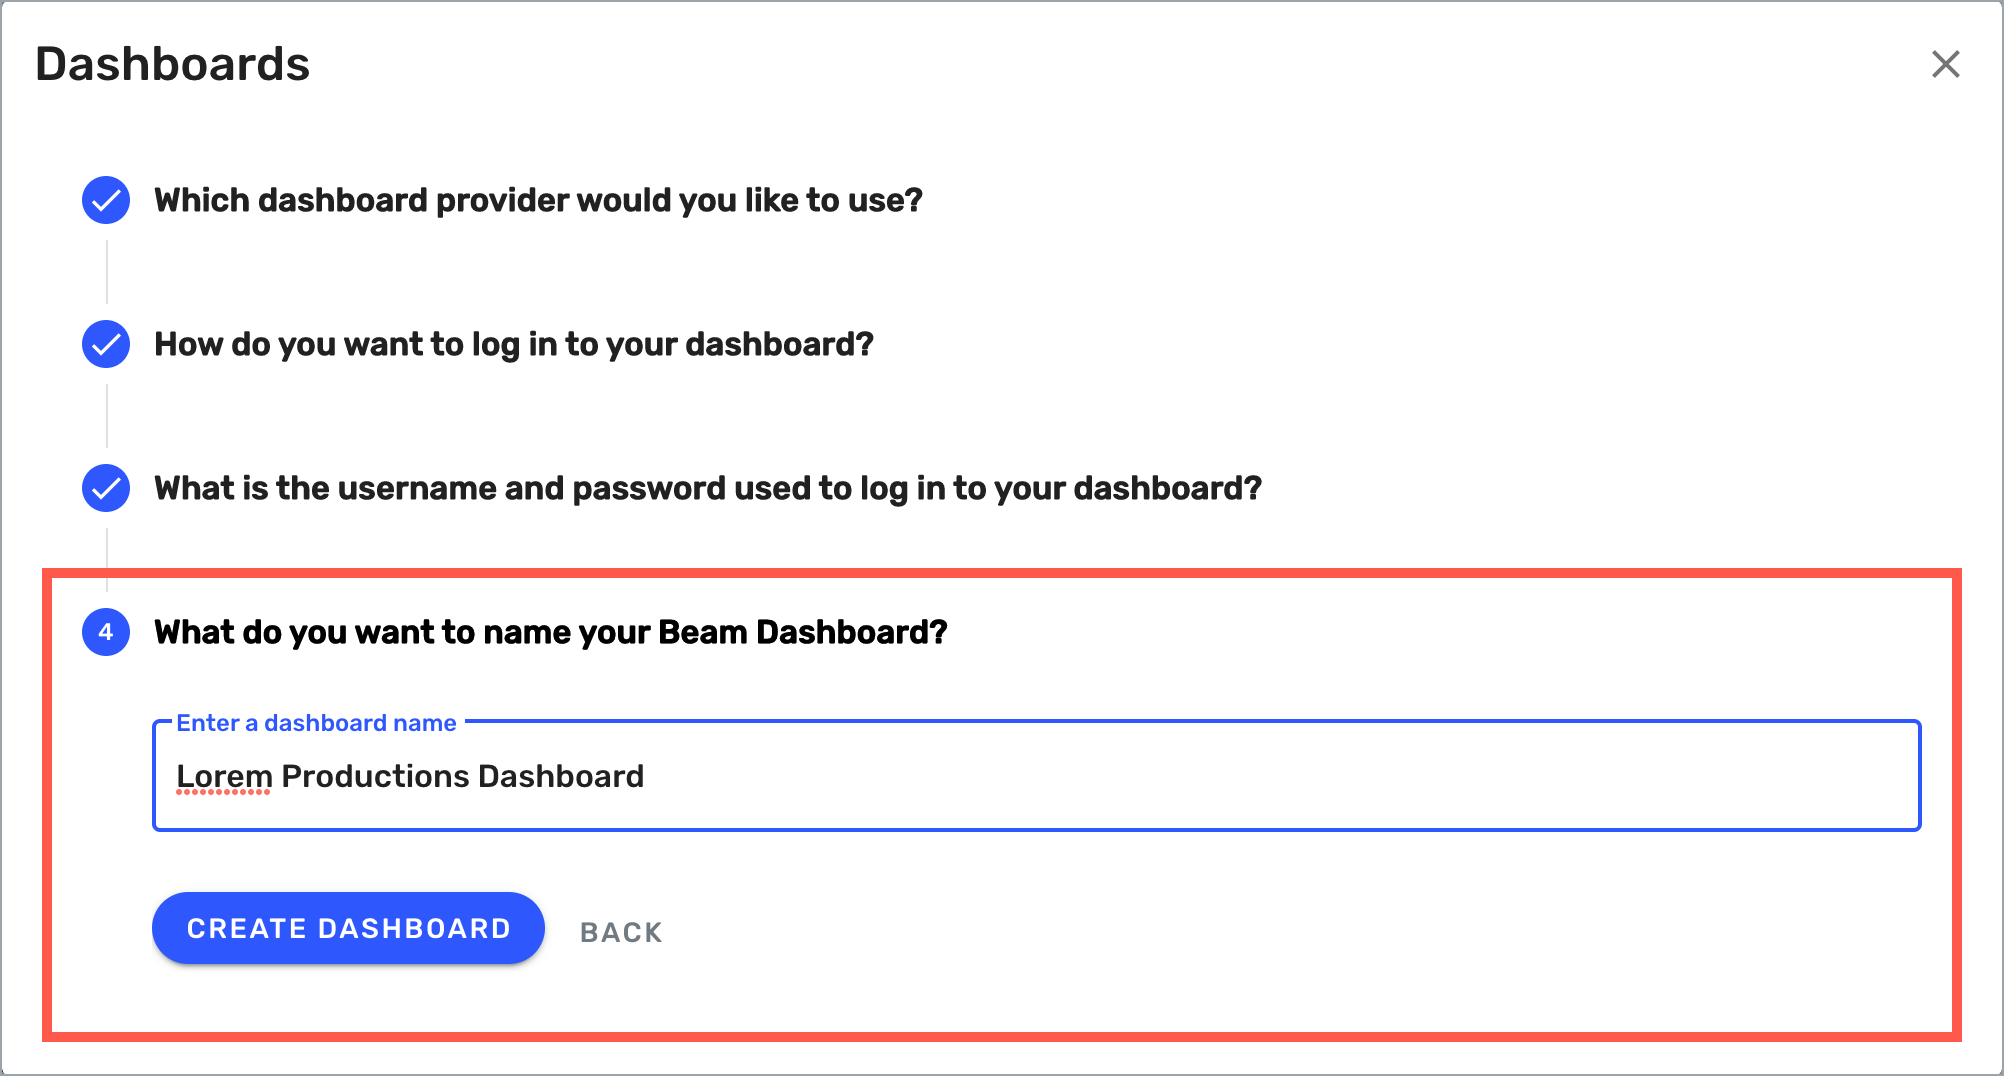
- Select Create Dashboard to create the dashboard connection and add it to your content list.
.png)
Next Steps
After you’ve created your dashboard connection, you're ready to manage it or add it to a playlist.