By assigning custom labels or "tags" to your devices, you can organize your displays in a way that works for you and your company. If you also use Skykit Beam, the labels you create and assign in Skykit Control will sync with Skykit Beam (and vice versa). Labels also allow you to narrow the device list by filtering it to include only those devices that have been assigned certain labels.
Creating Label Categories and Labels
In order to create labels, you must first create a label category, then add labels to the category.
Creating a Label Category
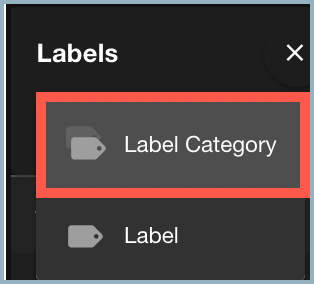
- Select the label icon to the left of the search field to expand the Labels menu. The menu lists all existing label categories and labels and allows you to create new labels.
.png)
- To create a new label category, select +Create and then select Label Category.
The Create a Label Category window opens.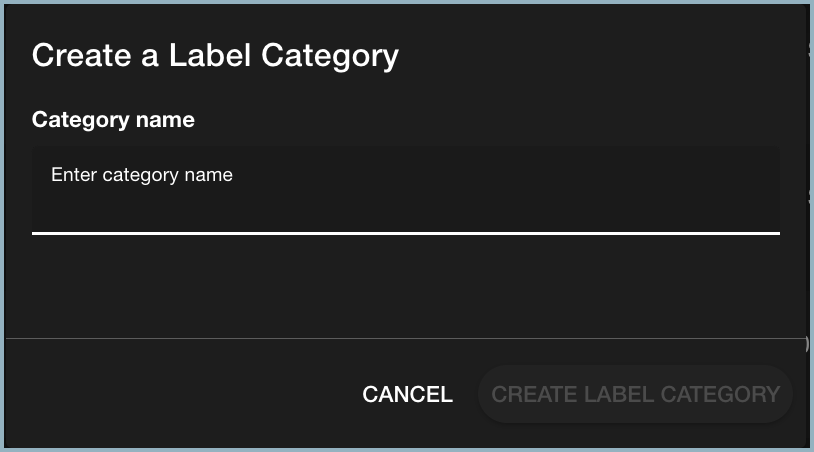
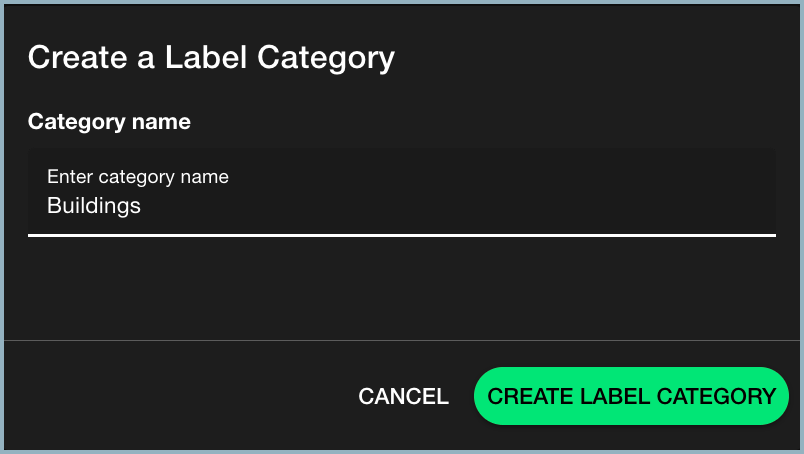
- Enter a descriptive name for the label category and select Create Label Category.
The new category is added to the labels menu.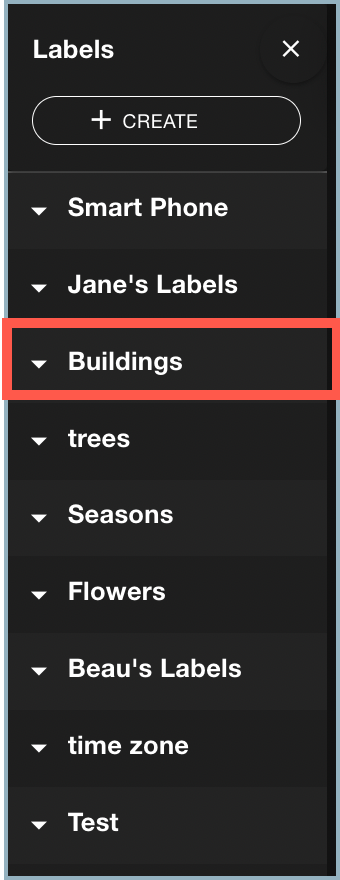
Creating Labels
To add labels to a category:
- Select +Create and then select Label.

The Create a Label window opens.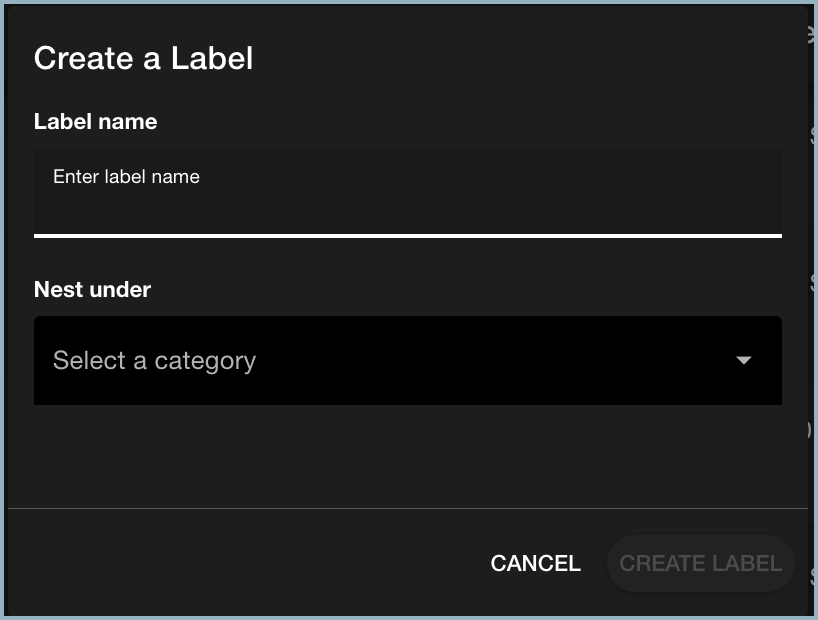
- Enter the label name in the Label name field.
- From the Nest under drop-down list, select the category where the new label will live. The Create Label button becomes available.
.png) Note: Labels must be nested under a label category. You cannot save a label without adding it to a category.
Note: Labels must be nested under a label category. You cannot save a label without adding it to a category. - Select Create Label to add the label to the category.
.png)
- Repeat steps 1–4 for each label you want to add to the label category.
Editing Labels and Label Categories
Note: If you use Skykit Beam, any changes you make to a label category or label in Control will also be applied in Beam (and vice versa), so you will not have to manually update the labels assigned to displays or playlist entries.
To edit a label category or label:
- Hold your mouse over the category or label name and select the three-dot menu to see the menu options.
.png)
- Select Edit. The Edit Category or Edit Label window opens, depending on which one you're updating.
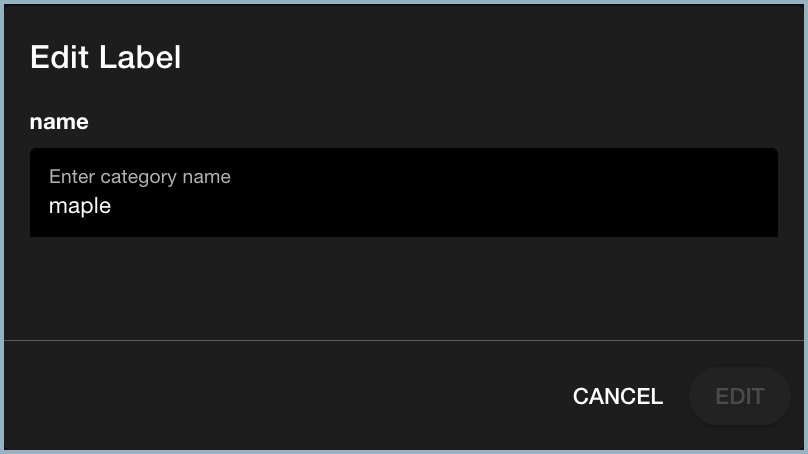
- Edit the label or category name.
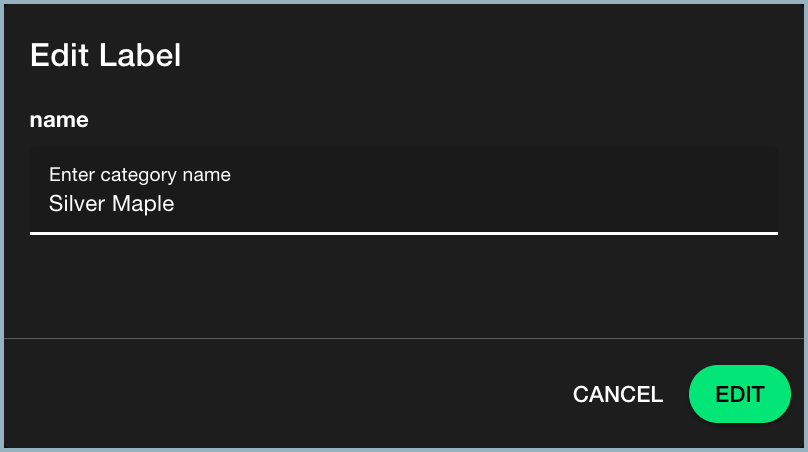
- Select Edit to save the changes and return to the Labels menu. The edited label or category name is updated for every device it is assigned to.
.png)
Deleting Labels and Label Categories
Warning: Before you delete a label or label category, make sure none of the labels you plan to delete are in use. Deleting labels that are actively being used could interrupt playback.
When you delete a label category, you also delete all the labels within that category.
When you delete a label category, you also delete all the labels within that category.
To delete a label or label category:
- Select the three-dot menu next to the category or label you want to remove and select Delete.
- You're asked to confirm that you want to permanently delete the label or category.
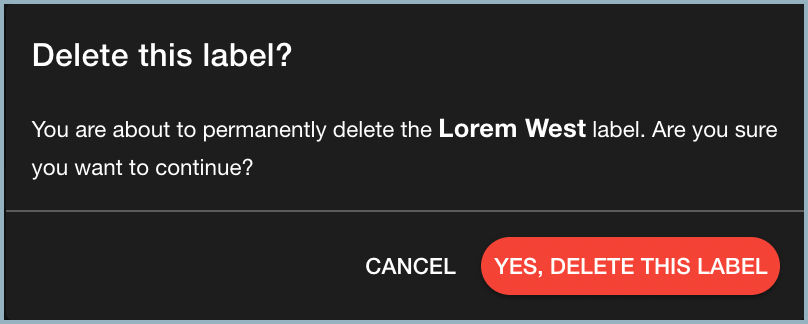
- Select Yes, Delete This Label. The label is removed from the list.
Next Steps
When you've finished creating labels, you can assign them to your devices.