Enabling Display Overlays on All Displays in a Tenant
- 14 Feb 2023
- Print
- DarkLight
- PDF
Enabling Display Overlays on All Displays in a Tenant
- Updated on 14 Feb 2023
- Print
- DarkLight
- PDF
Article summary
Did you find this summary helpful?
Thank you for your feedback!
- In Skykit Control Console (Legacy), go to the tenant for which you want to enable display overlays and select the Overlays tab.
.png)
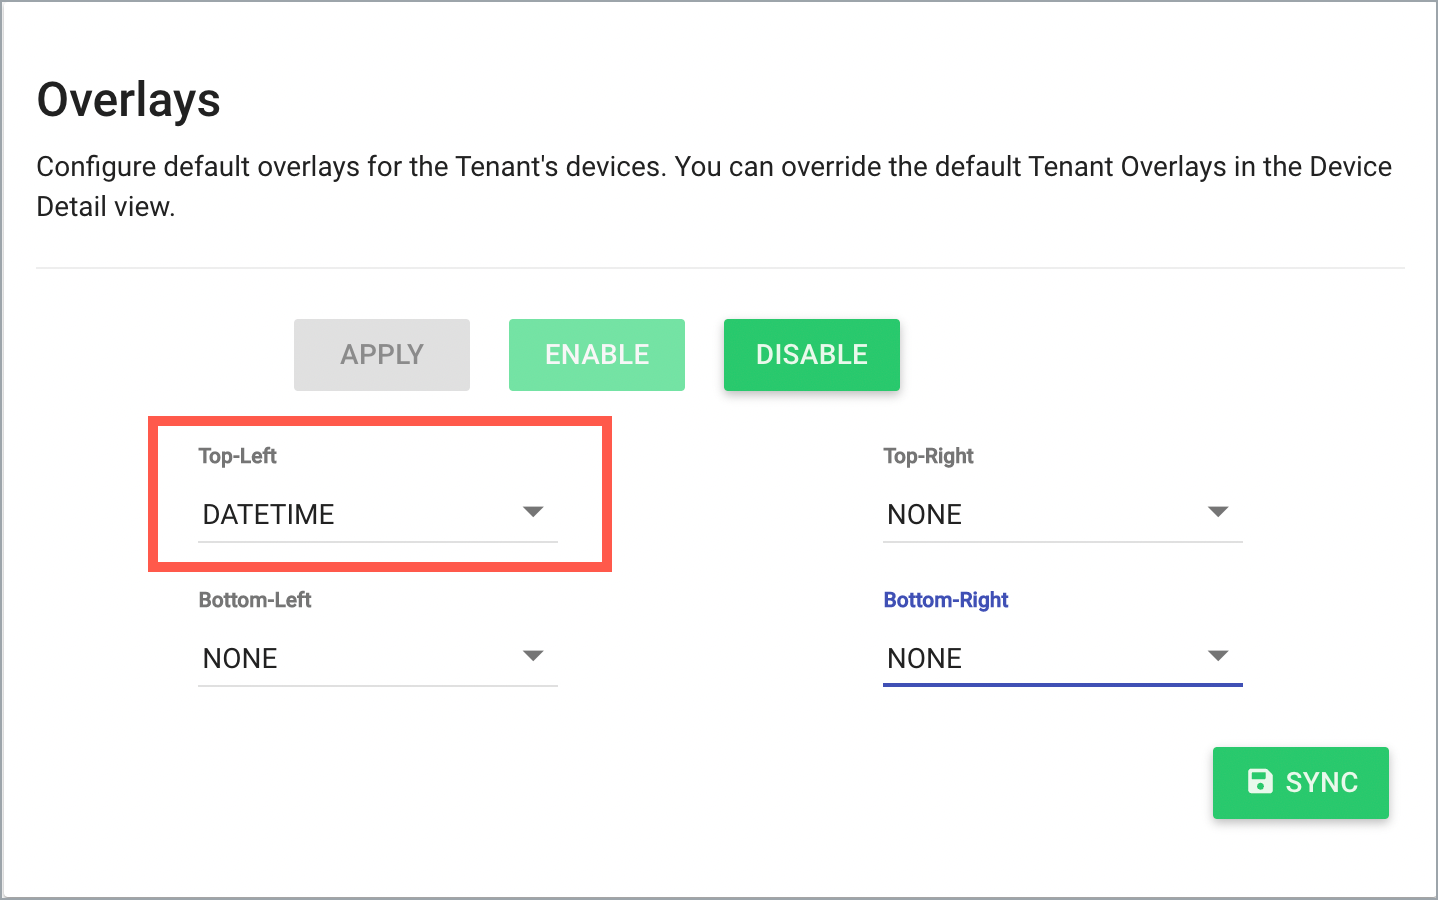
In the following example, we'll show the Date and Time in the top left corner and the company logo in the top right corner. - If display overlays have not been enabled for your tenant, select Enable.
- From the Top-Left list, select DATETIME. This will show the Date and Time overlay on all of your displays.

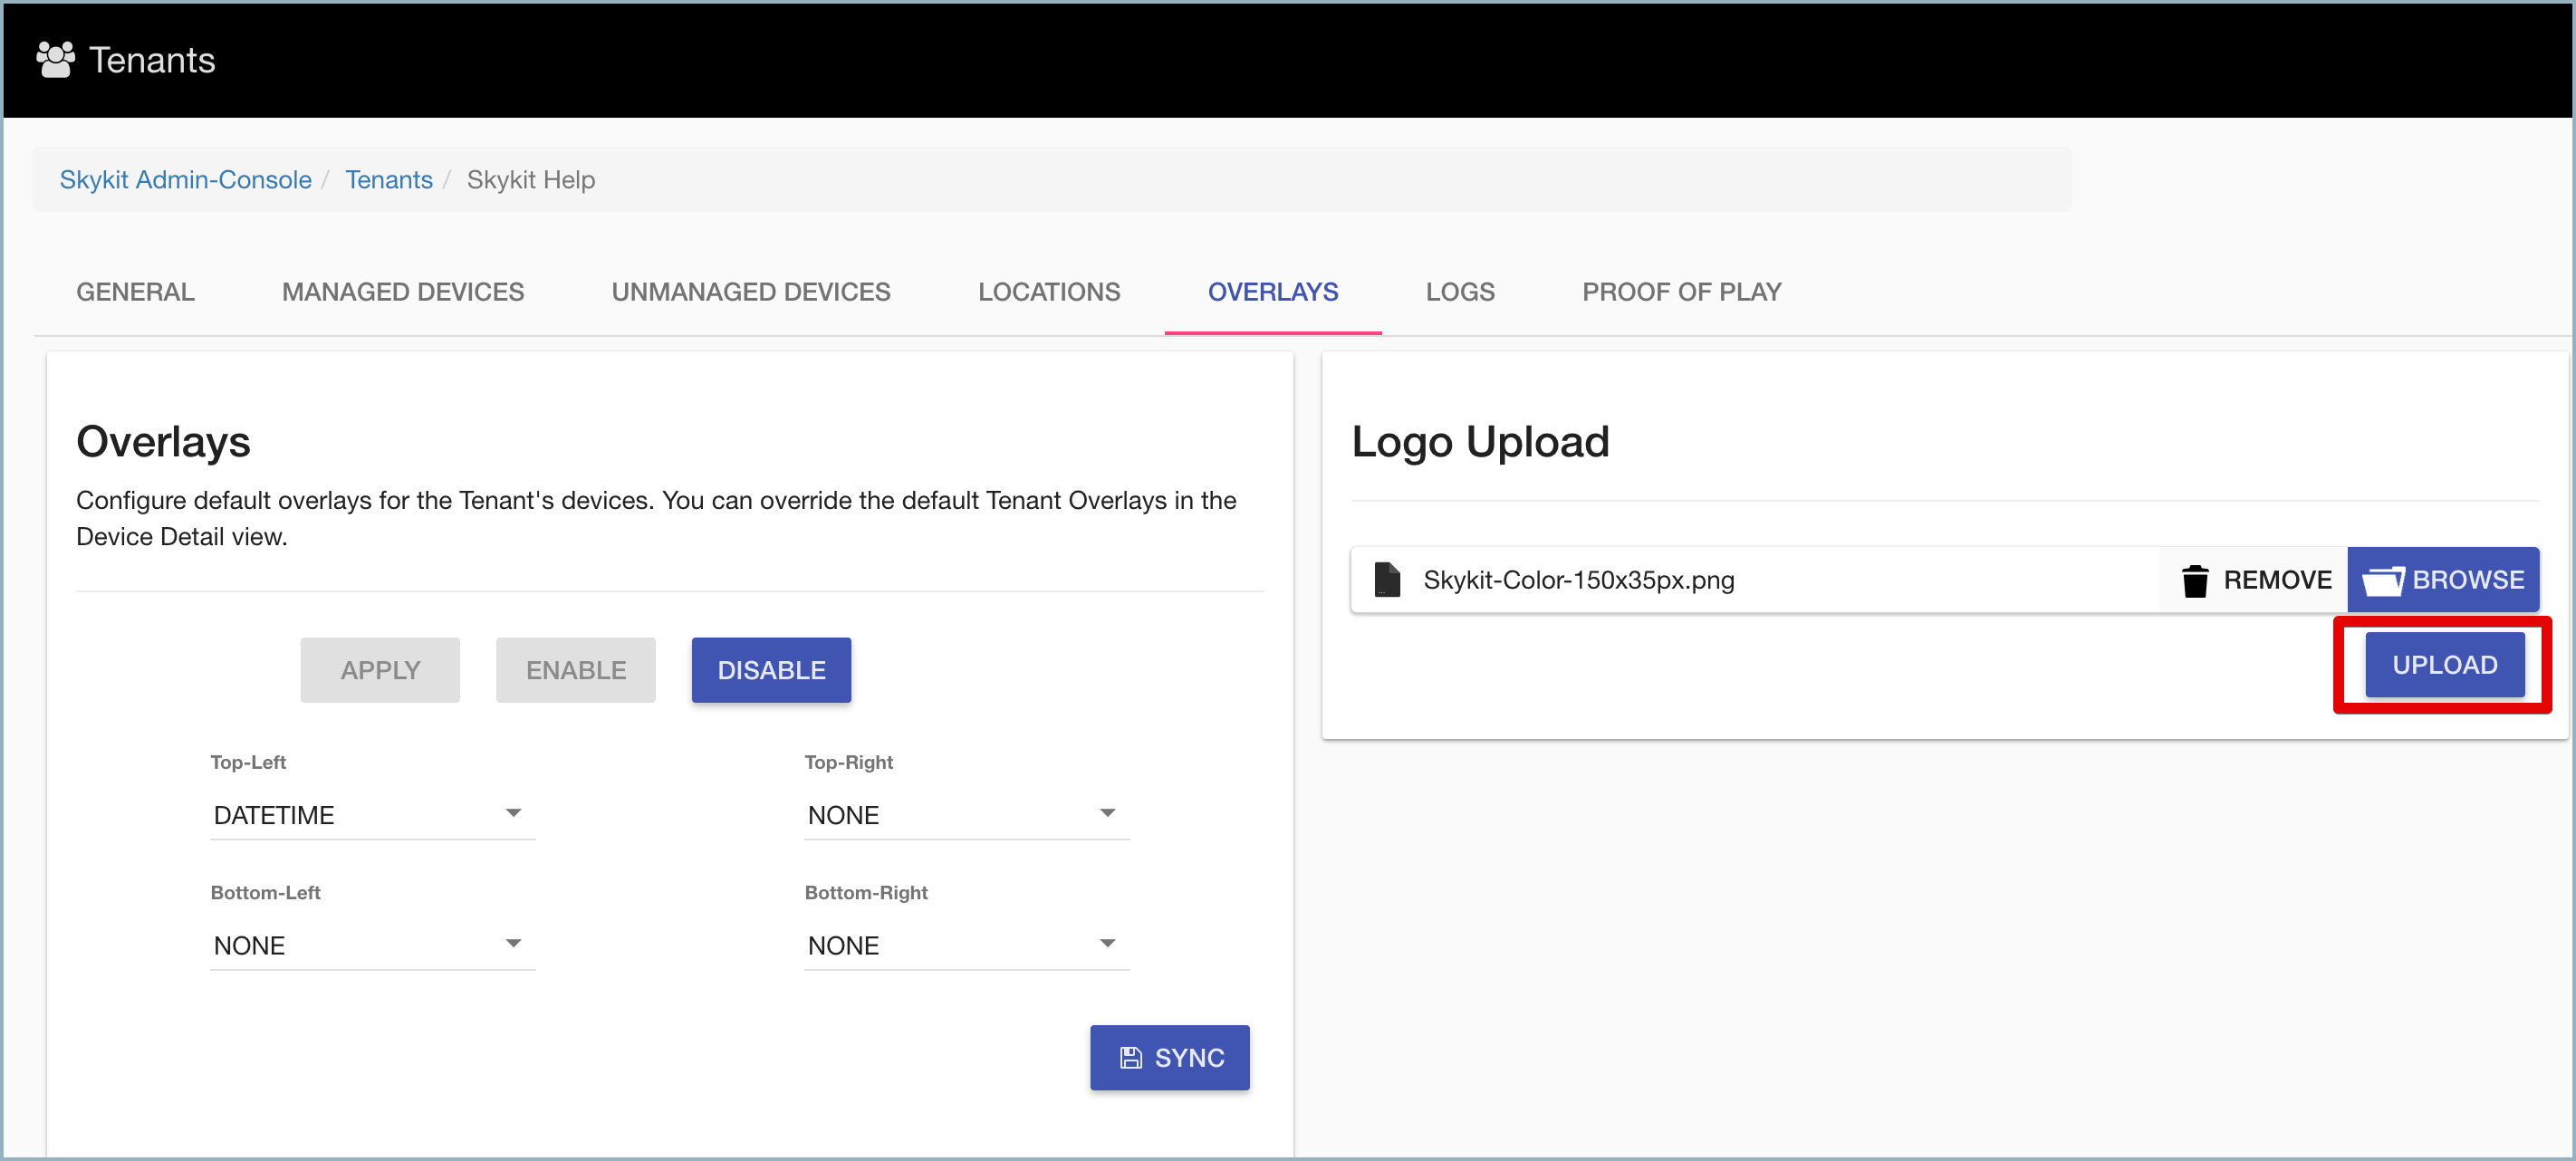
- To add a small image (in this case, the company logo) to the top-right corner, you first need to upload an image into Skykit Control Console.
- Select Browse in the Logo Upload section to open your system's file explorer and find the image you want to use as an overlay.
- Select the image you want to upload and then select Open.
- Select Upload to upload your image into Skykit Control Console.

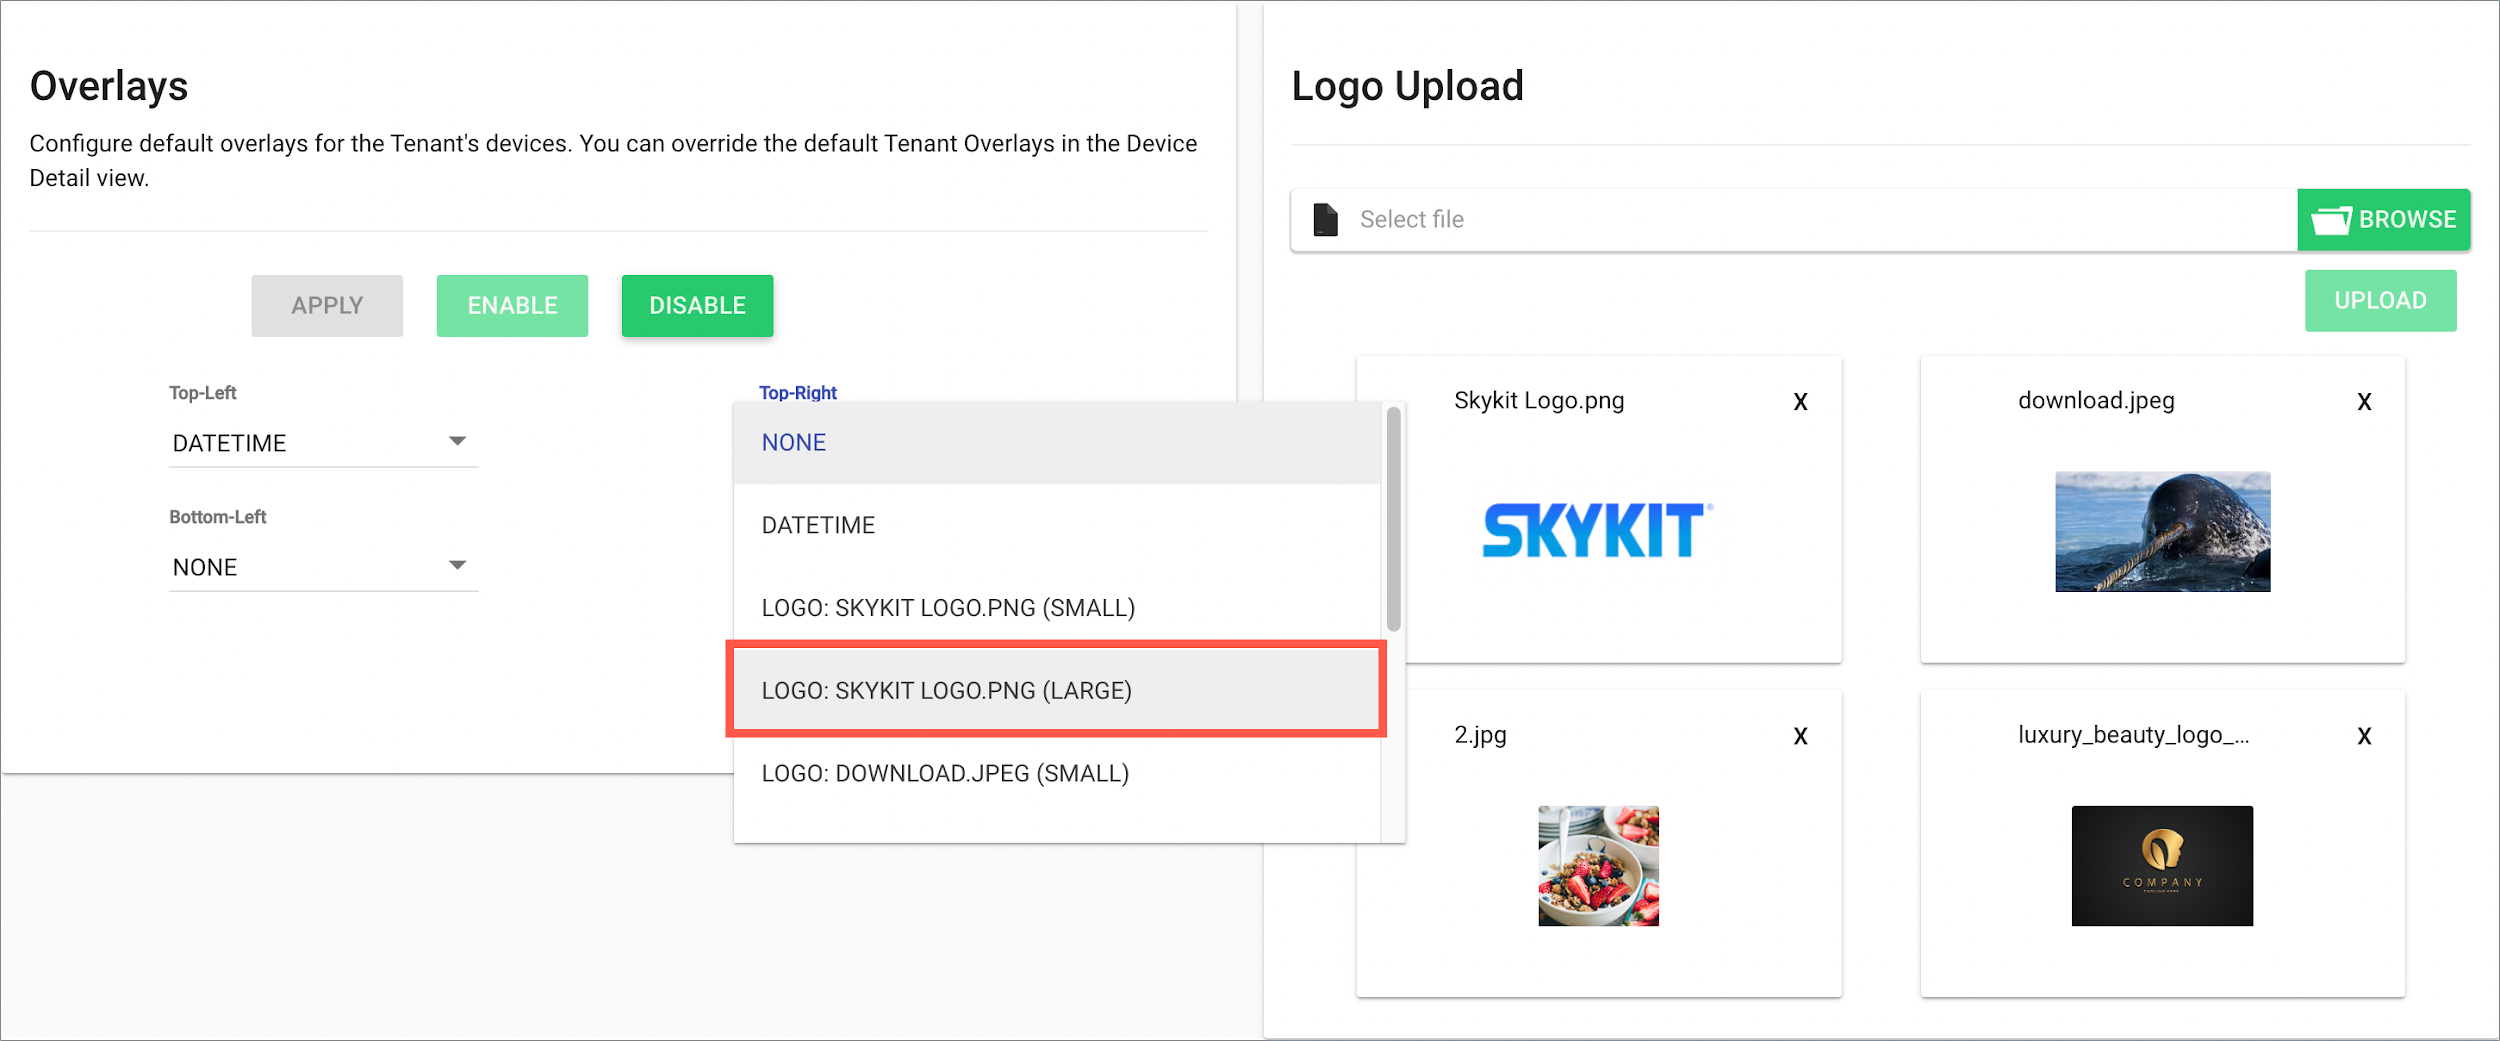
- In the Overlays section, select the Top-Right drop-down list. You'll see two versions of your uploaded image: Small and Large. Select the option that meets your needs. In this example, we'll choose the large version.

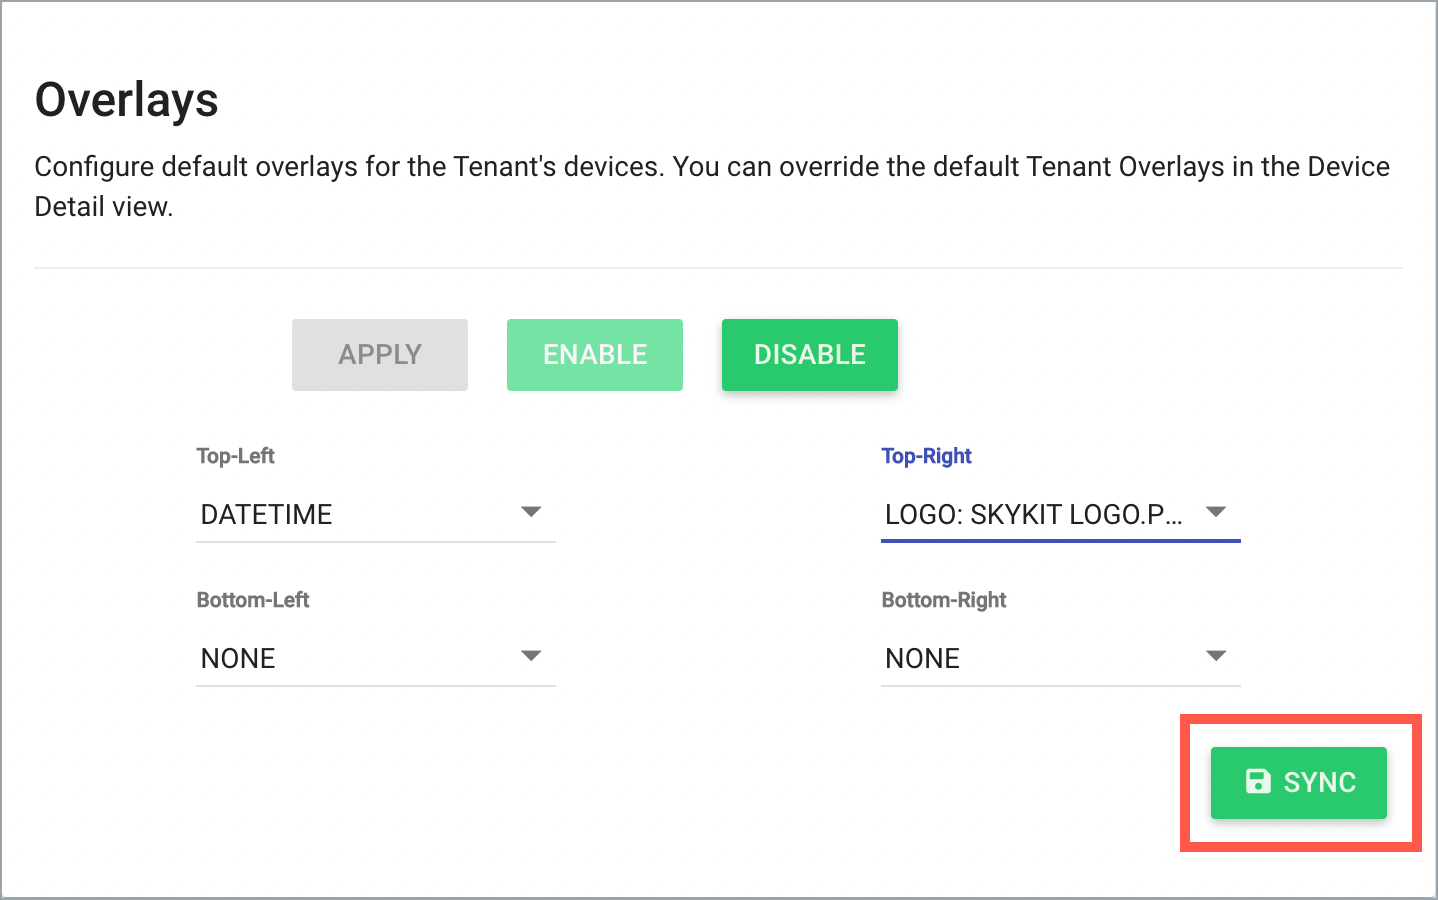
- Finally, in the Overlays section, select Sync. Your display overlays will appear in the corners of all your displays.

Was this article helpful?

.png)


