Facebook for digital signage pulls posts from your Facebook Business page. Posts can be organized in your chosen layout and style, including video playback and a call to action.
What you need to get started:
Facebook for digital signage requires Authentication from a user with admin access to a facebook business page.
Facebook may require occasional re-authentication if the authenticating user is deactivated, user’s password is changed, or security issues arise. Generally the authentication lasts at least 60 days, but could last for up to 1 year before requiring a re-authentication.
Plan your design based on our playback recommendations.
Create a feed
Navigate in a browser to Screenfeed.com then Choose Log In in the top right corner.
Choose Configure Feeds from the account dashboard.
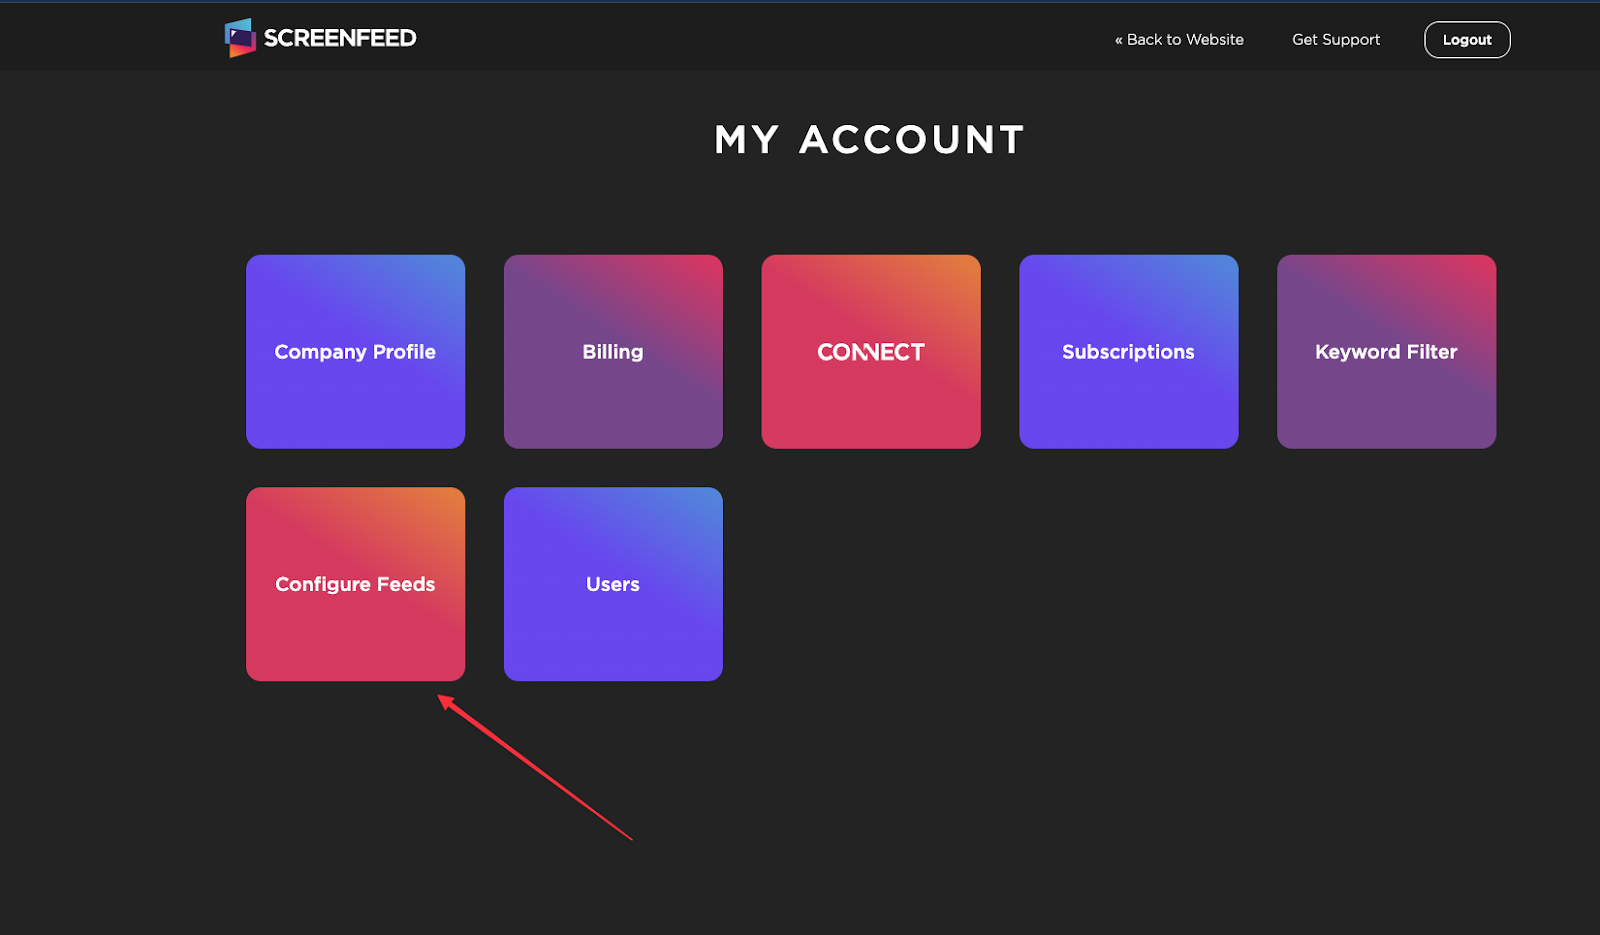
Next scroll to find your Facebook subscription.

Click the Create a Feed button to create a new feed.

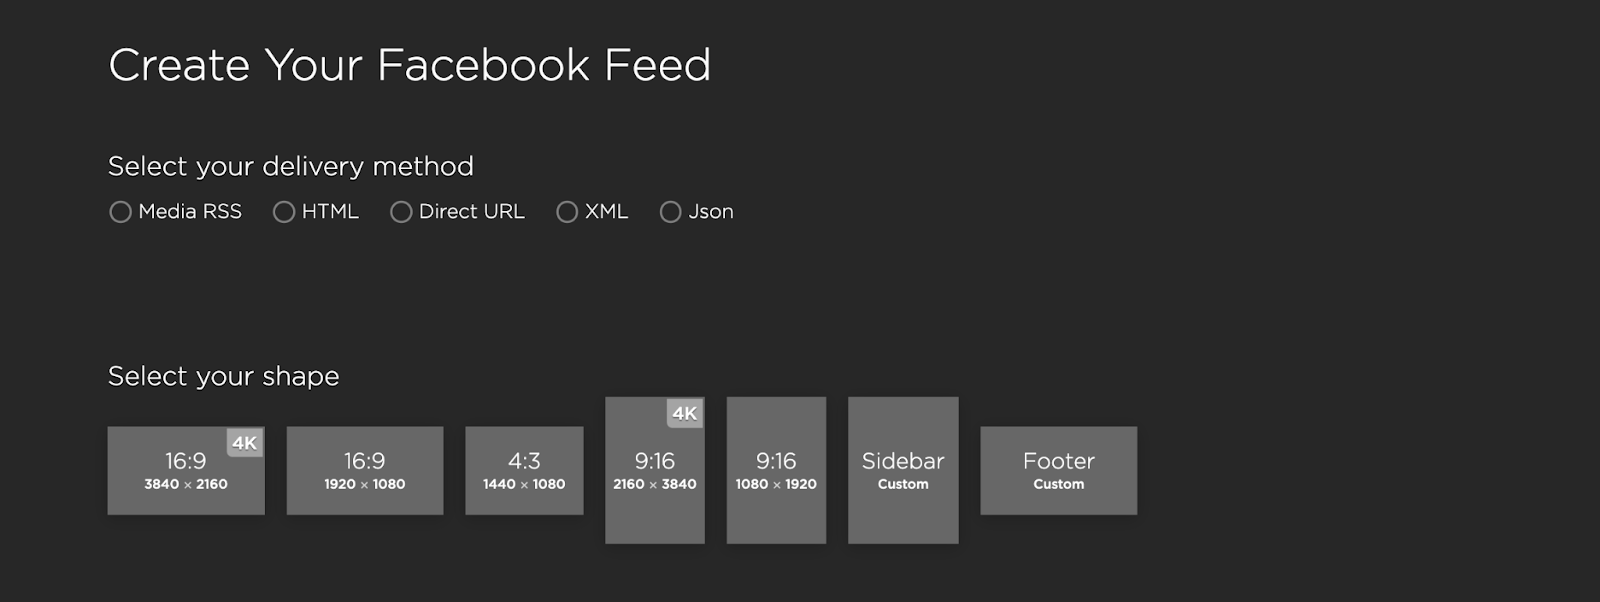
Feed Delivery
Select your delivery method. (HTML is the only delivery method that supports video and animations)
Then choose the shape and orientation of your display.
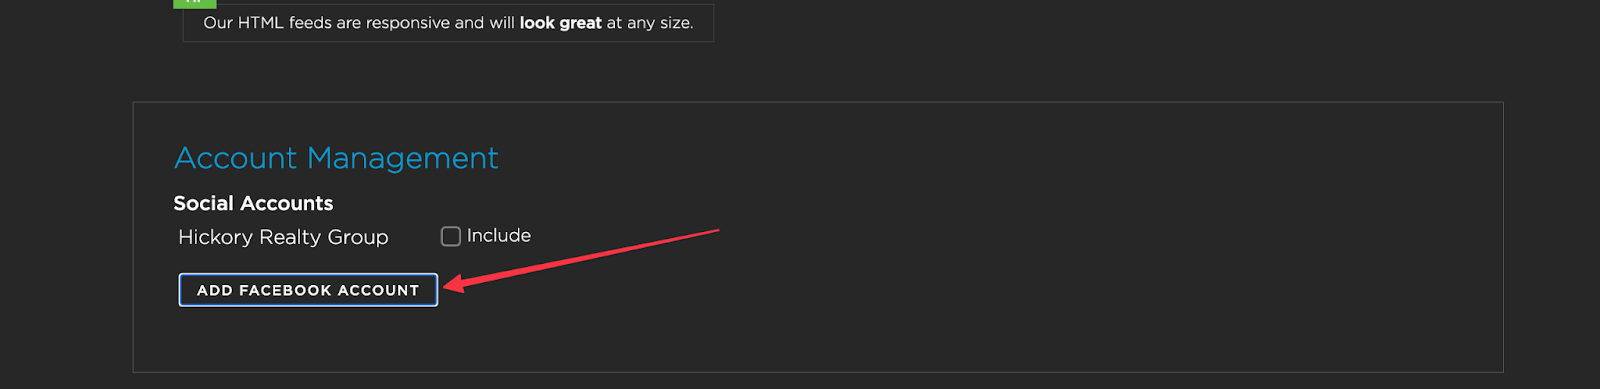
Account Manager
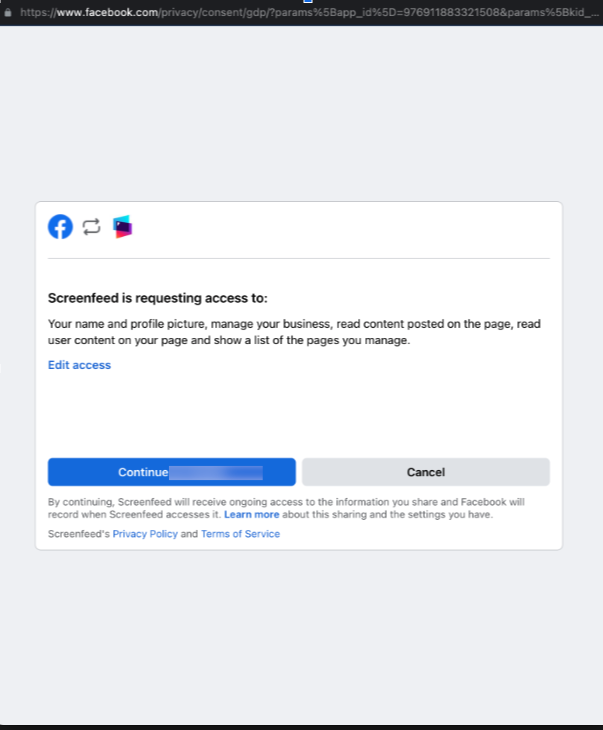
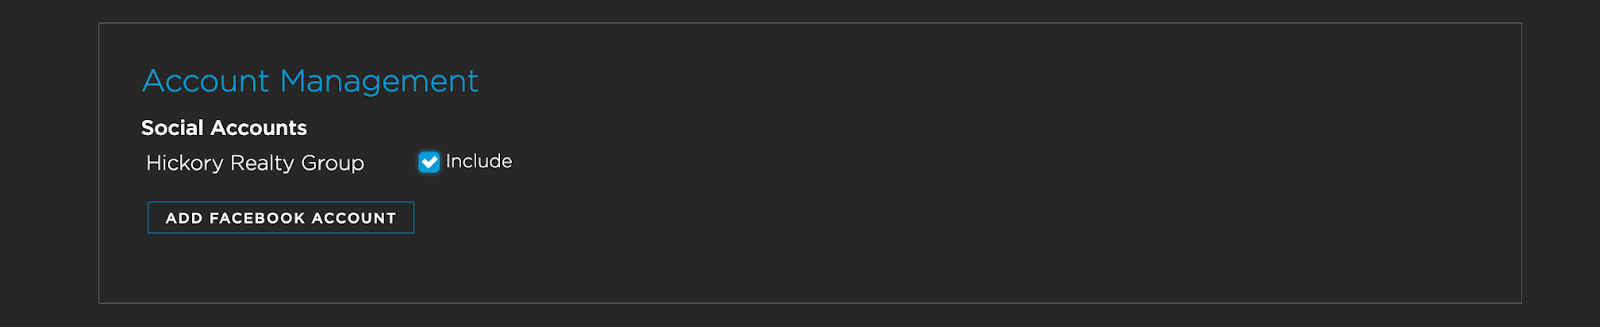
To connect your facebook business page for feed configuration click Add Facebook Account under the Account Management Section to authorize.
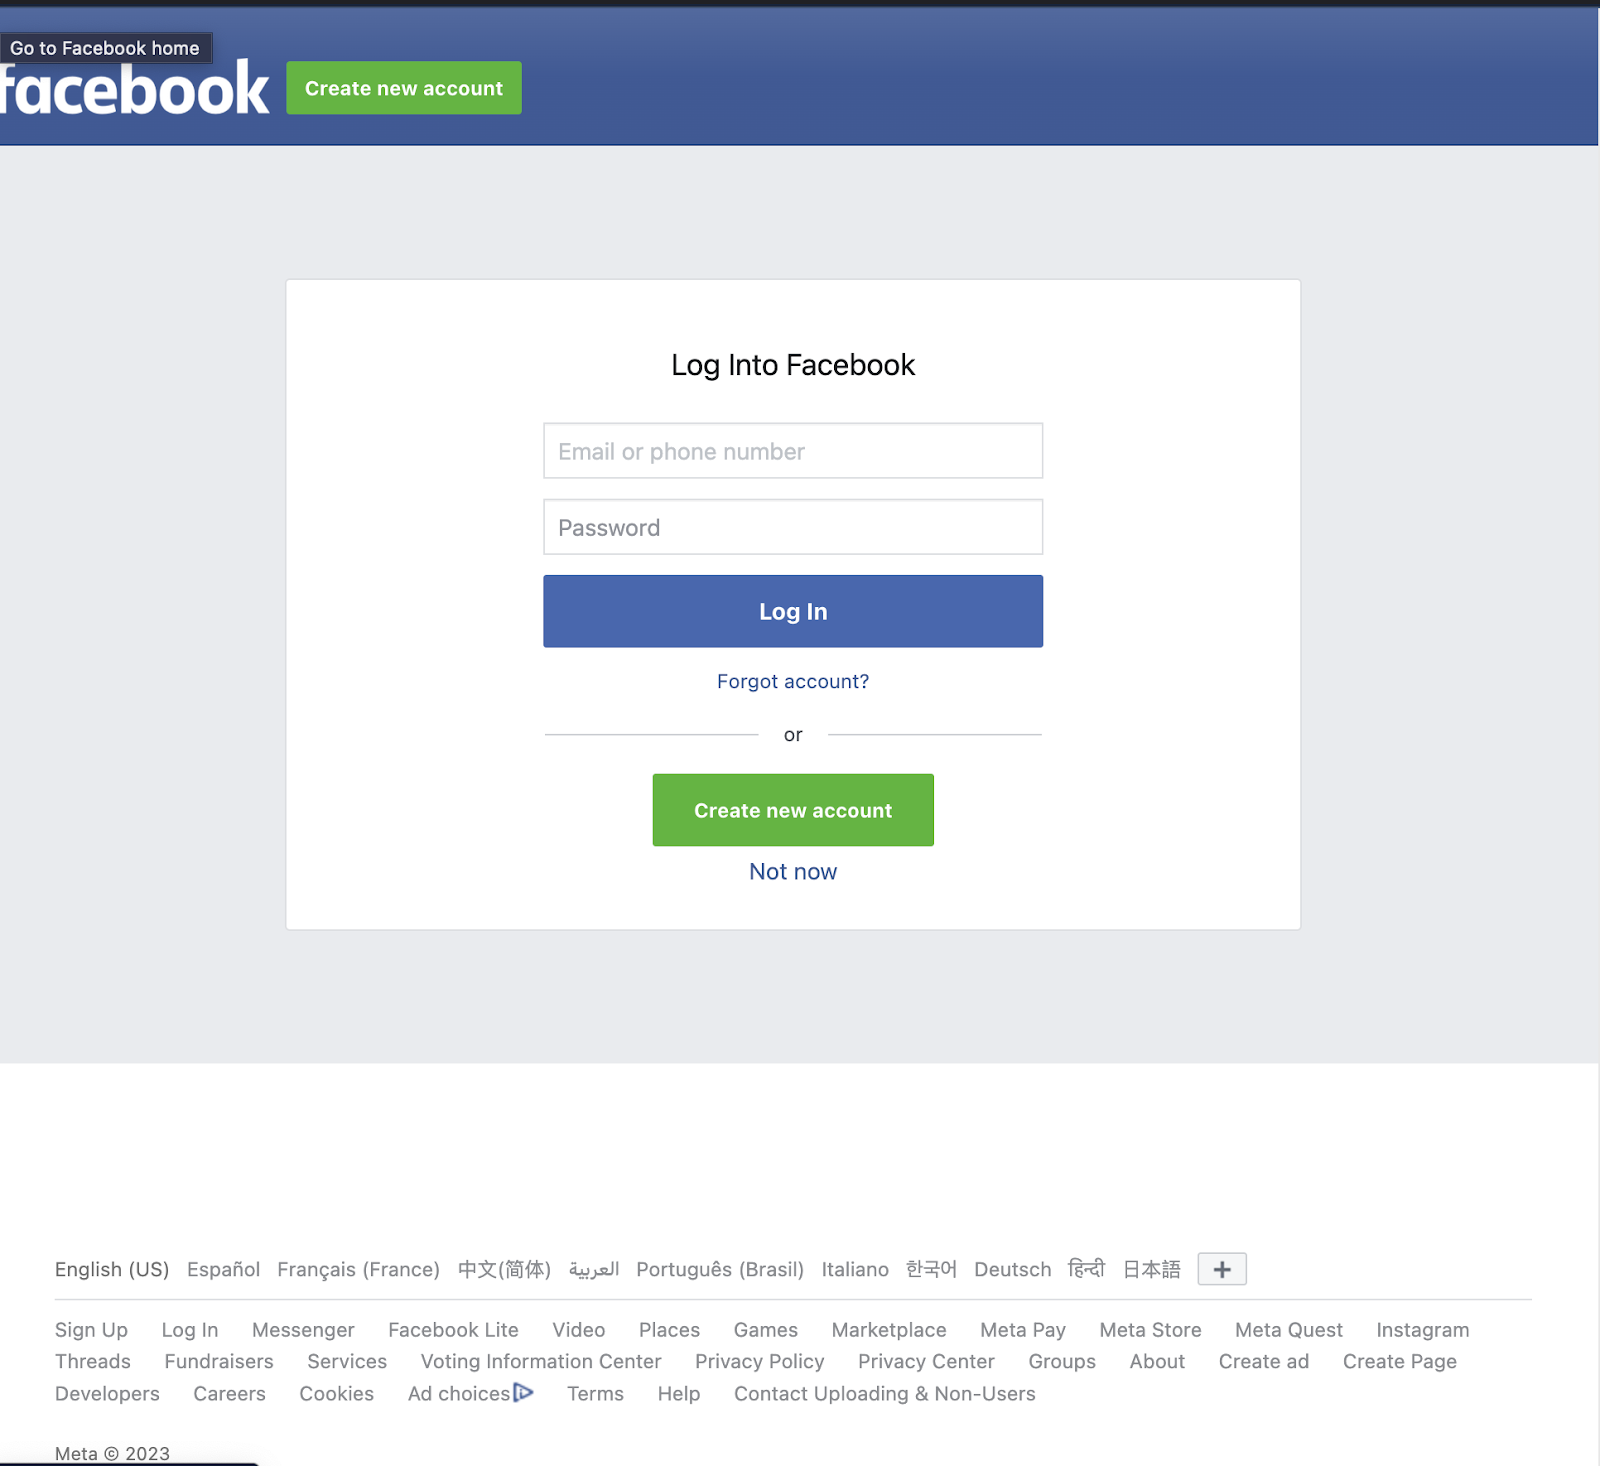
A window will appear for you to log in with your facebook credentials.
Click Continue to Authorize Screenfeed to connect to the facebook account.
You can add multiple Facebook Business pages that you administer to add to the feed by clicking the checkbox next to the page name.
Customize the feed style
Next, customize the feed style, including fonts, backgrounds, animation settings, call to action and how many posts you want to display at once.
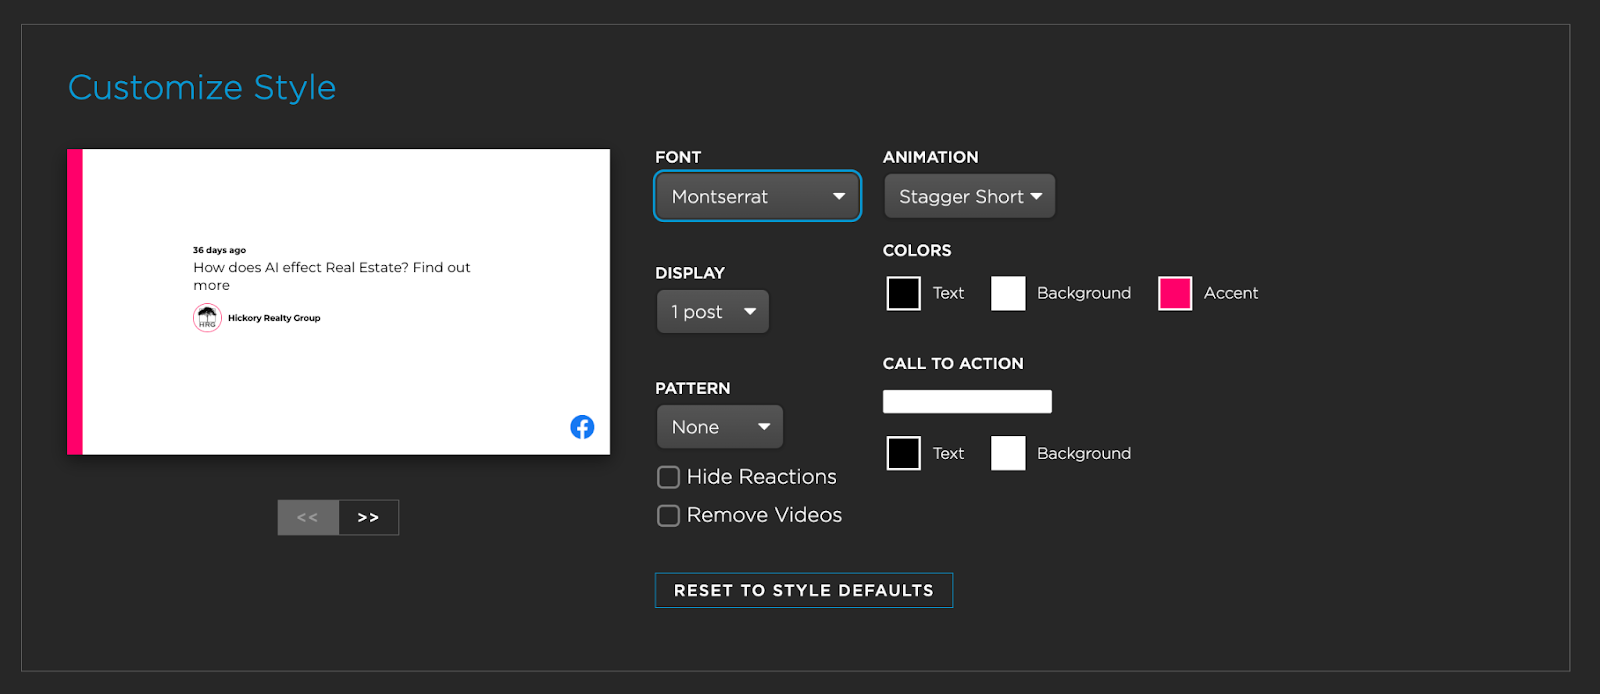
The number of posts you display and allowing or removing videos could impact playback on your device. Take a look at our recommendations for social playback for more information.
Adjust feed Content Settings
Set the desired Language, age and quantity of posts you want to show and the duration of each item.
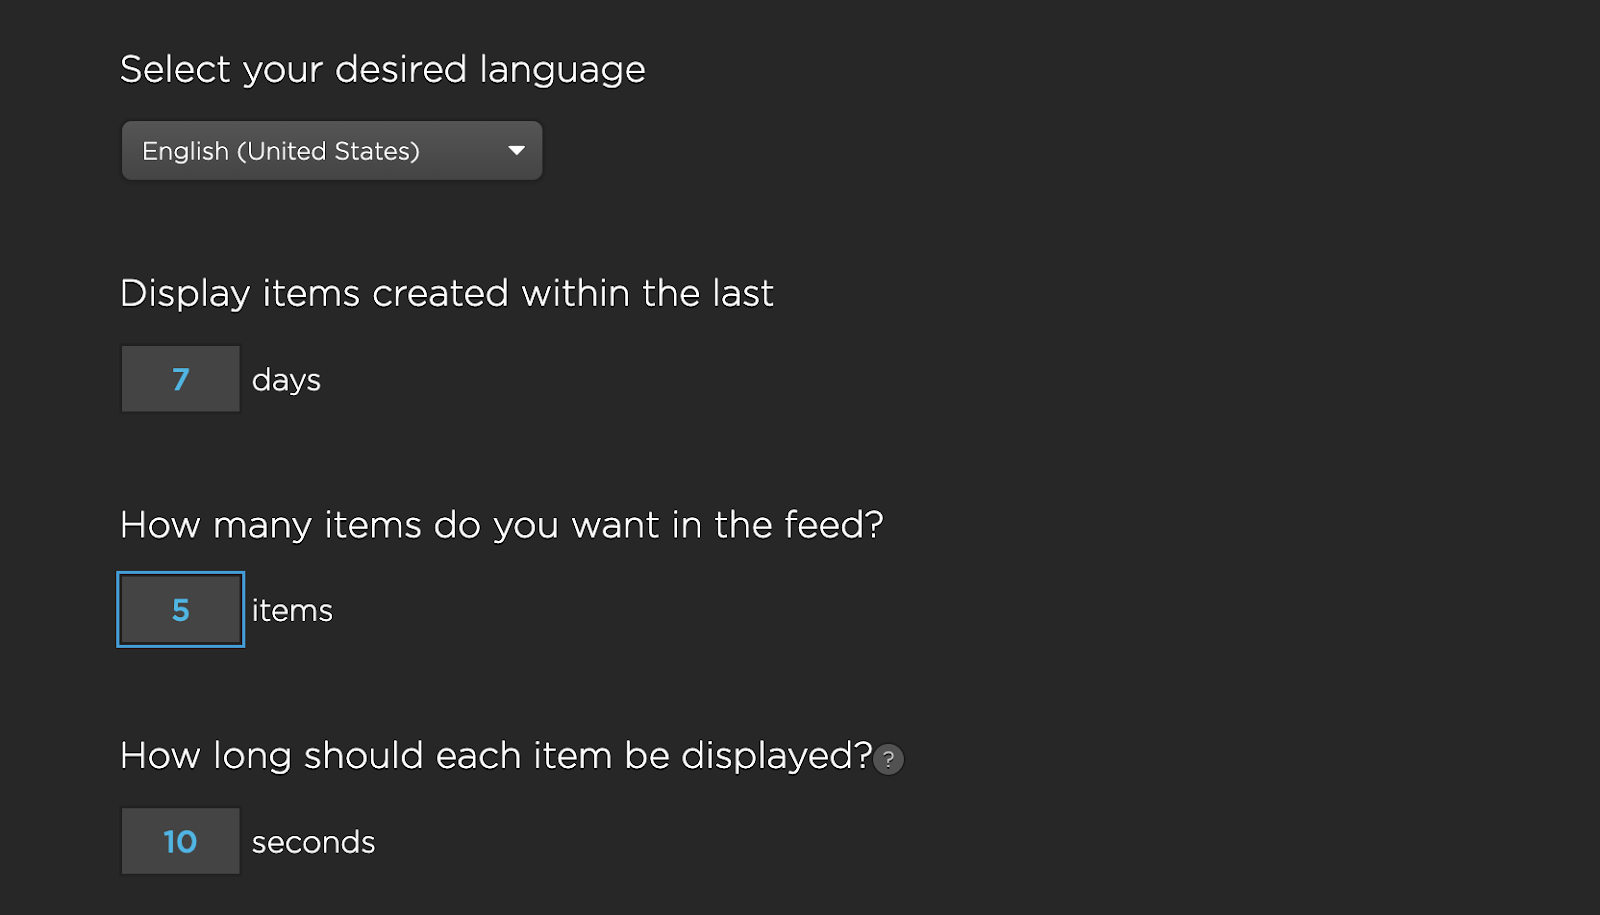
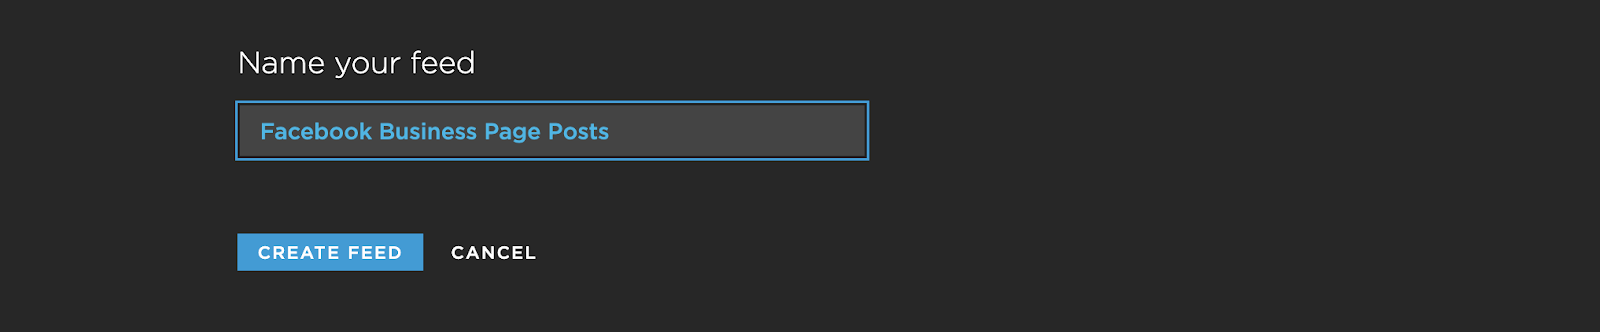
Name your feed then click Create Feed.
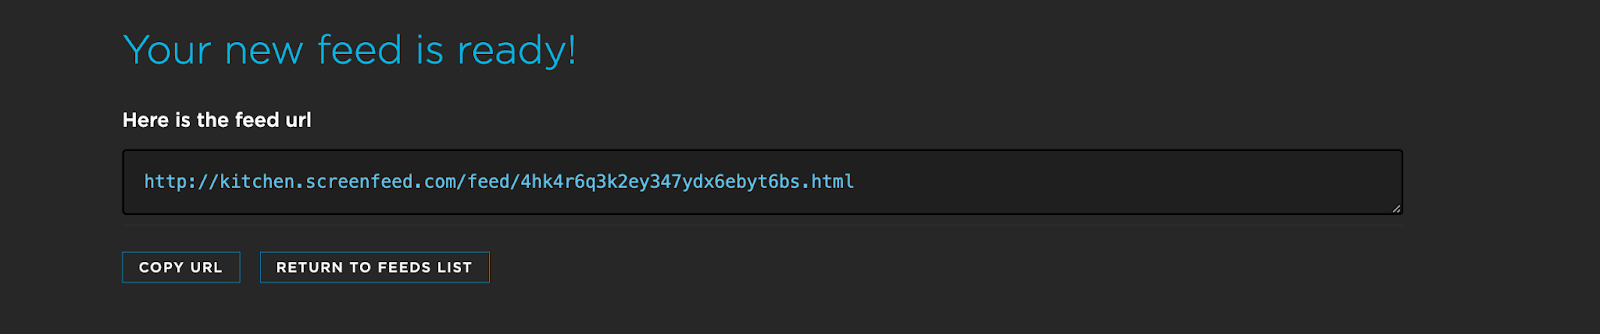
Now the feed is ready! Copy the url for use in your Playlist.
Moderating a feed
To moderate a Facebook feed, find the feed in the feed configurator and click the Moderate button.

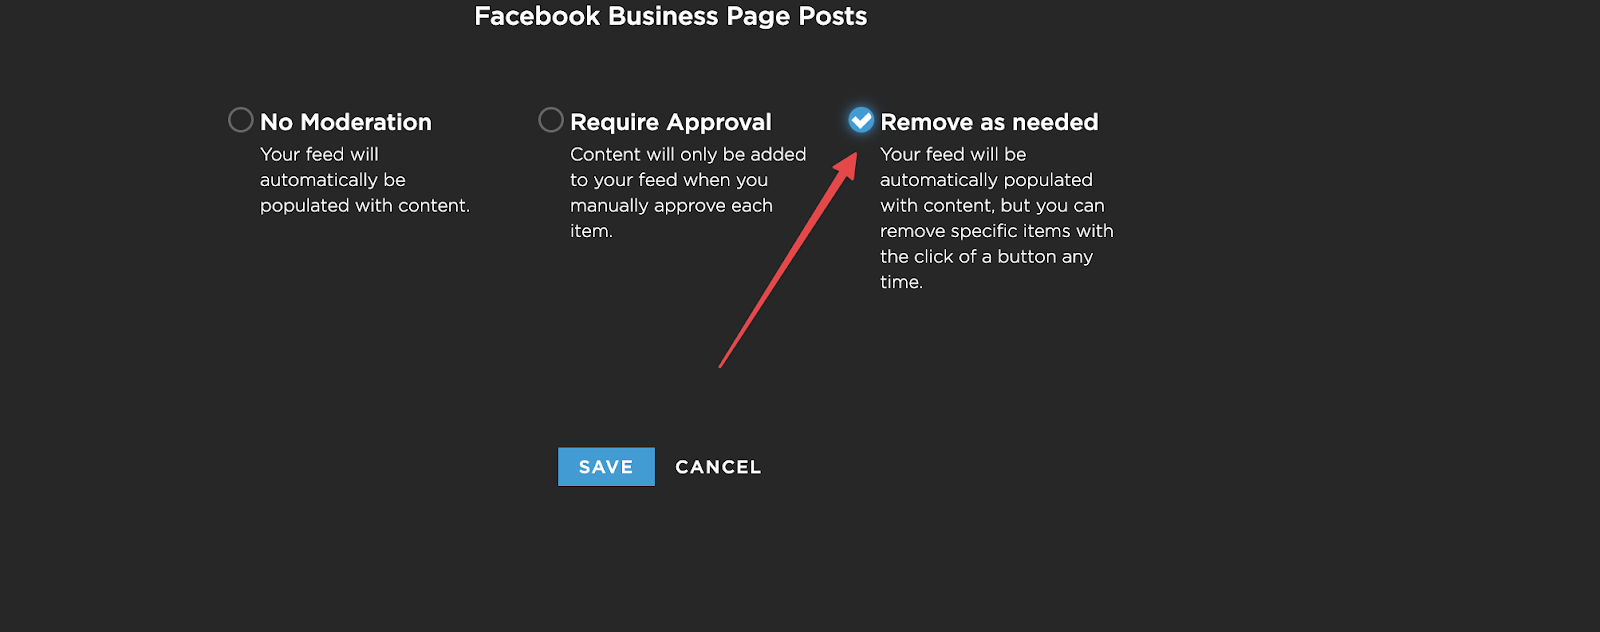
There are two options for moderation requiring approval or removing posts as needed.
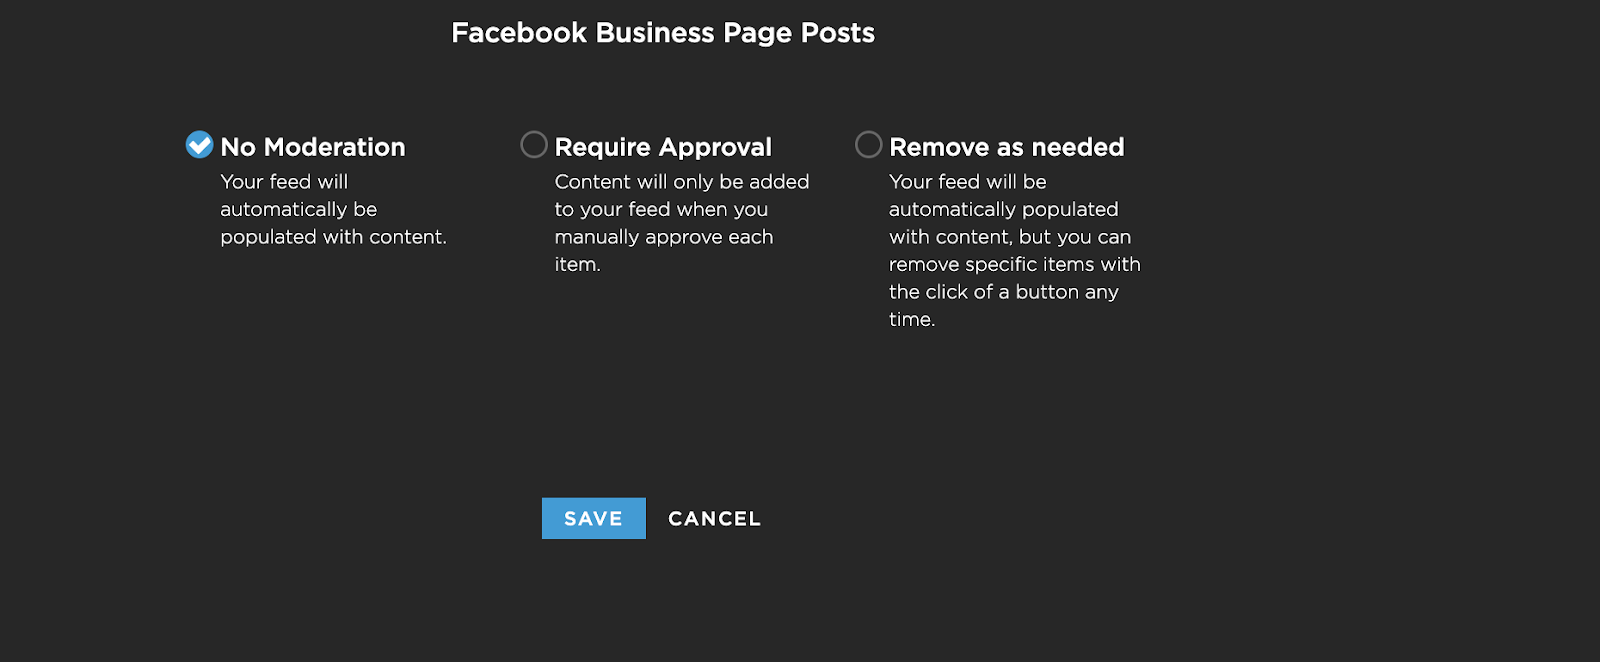
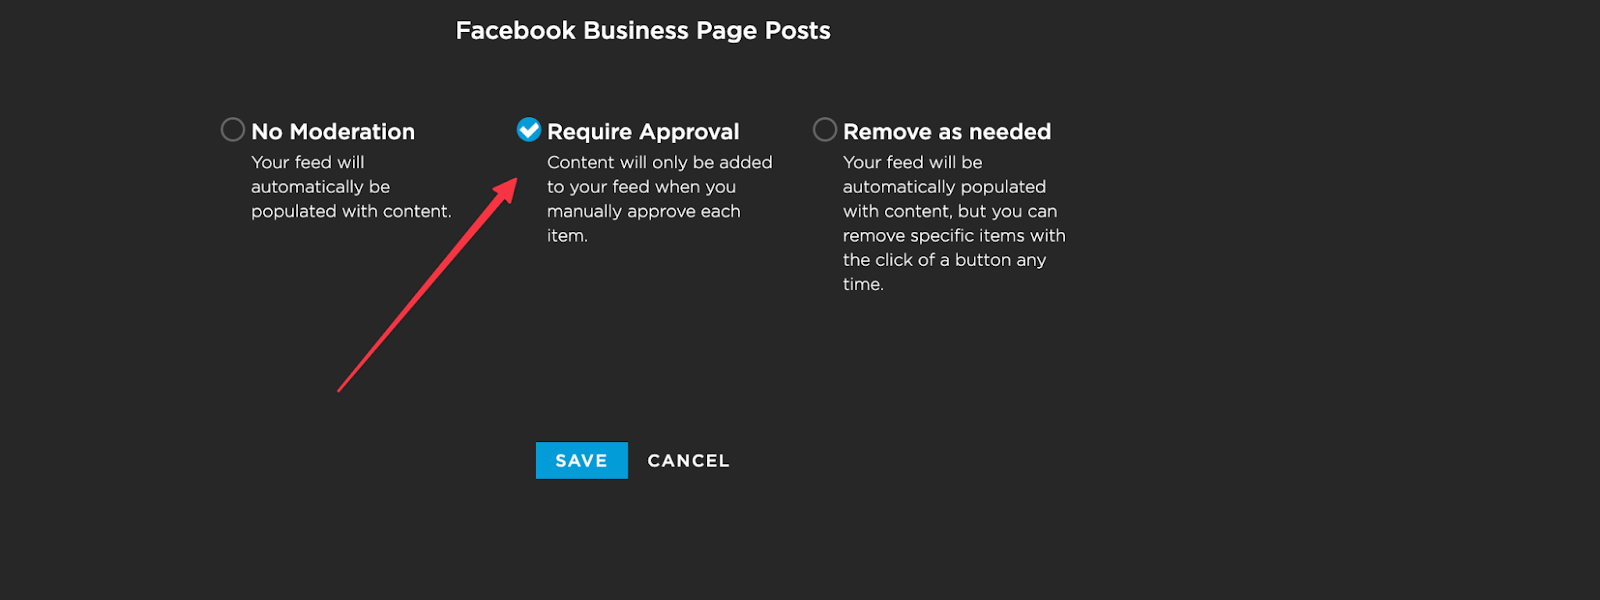
Select Require Approval to only show posts that you hand pick, then Click Save.
You will see a scrollable list of posts, Click the Checkbox next to the post to show the item in your feed.
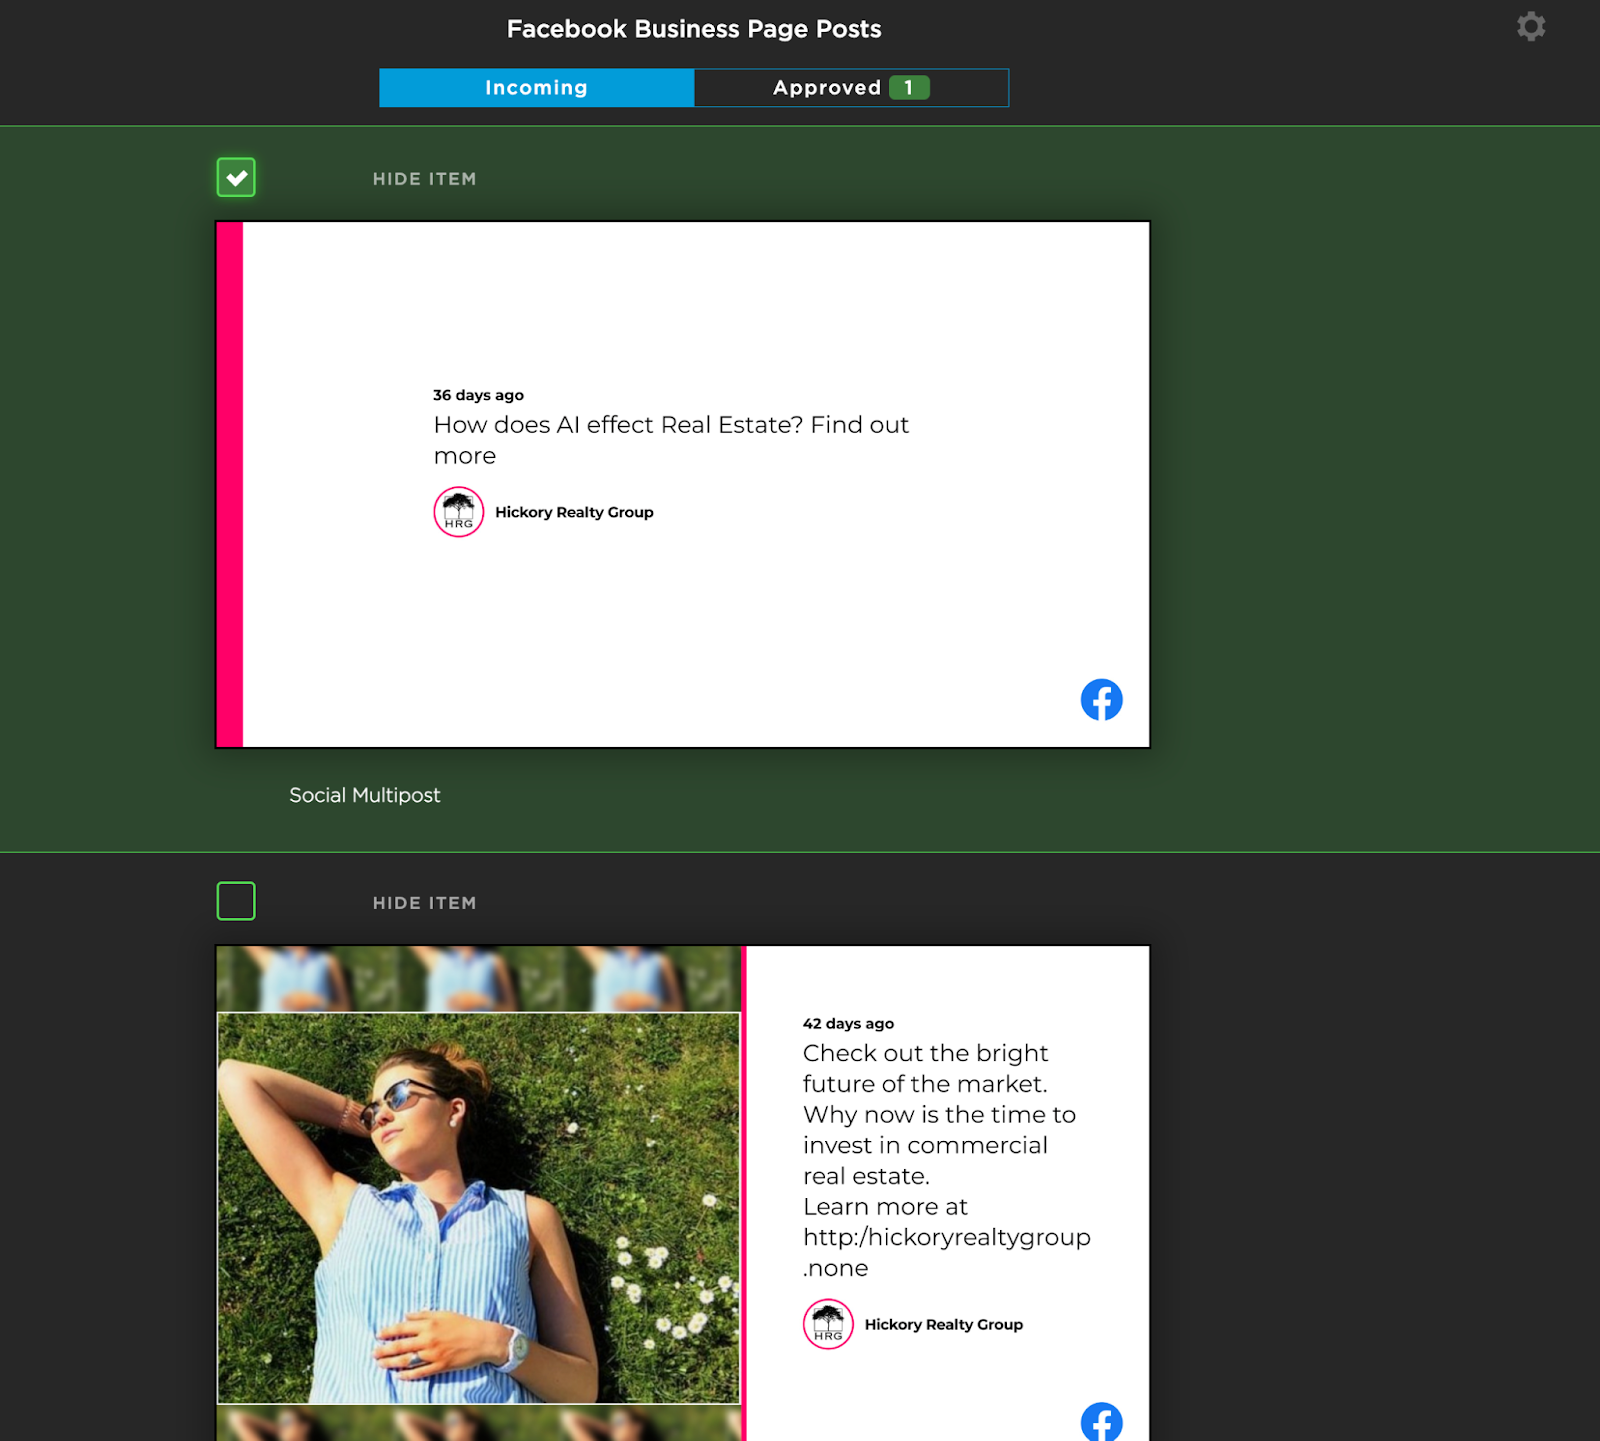
To see only approved items click on the approved tab at the top of the screen.
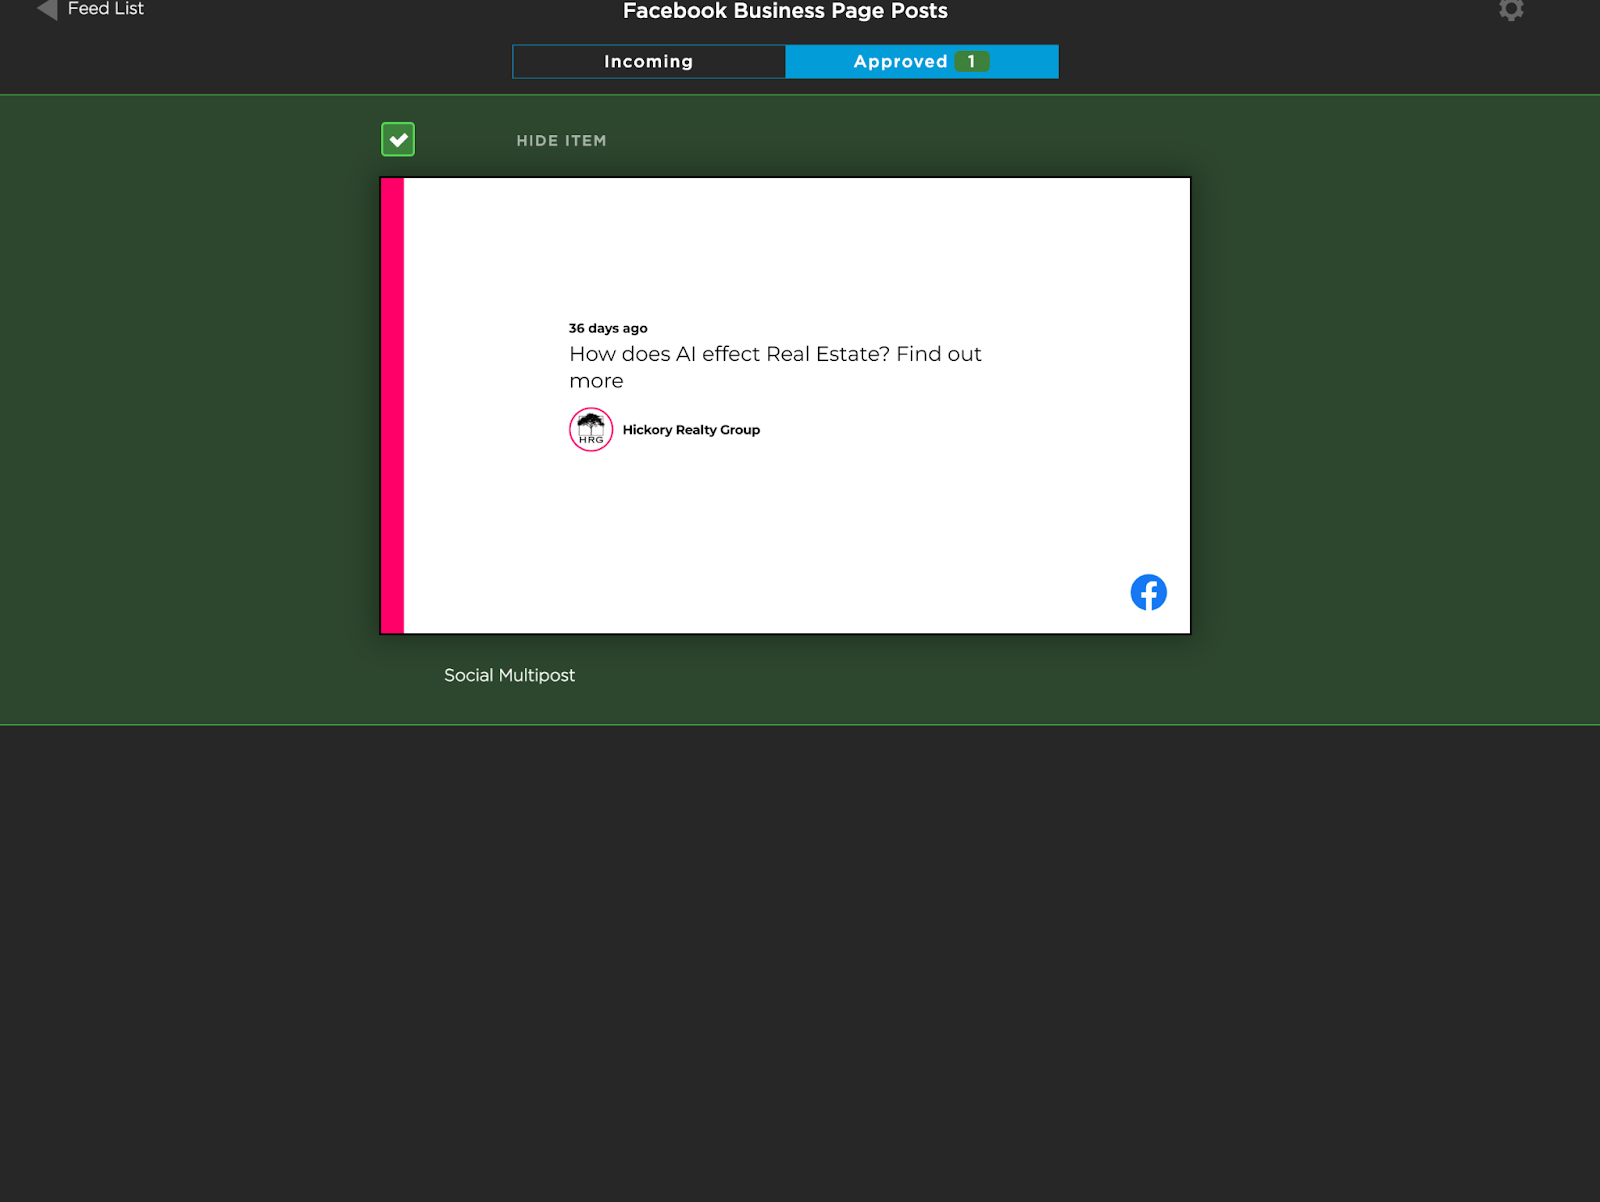
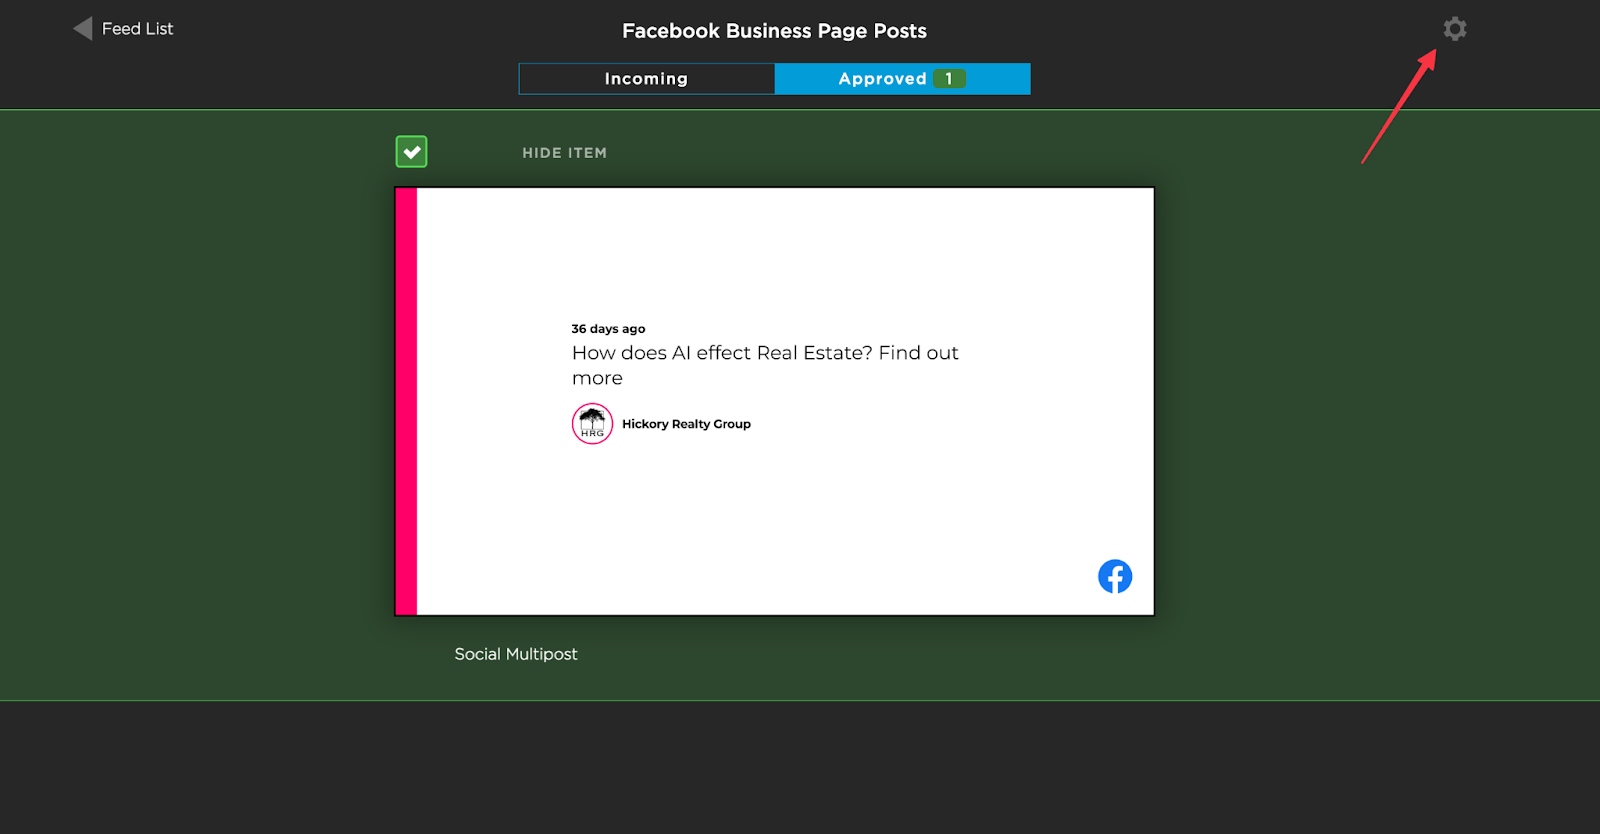
Changes are saved automatically, click on the feed list button to return to the feed configuration screen. To switch your moderation method click the gear in the right corner.
Select Remove as needed to hide posts you don’t want to show then Click Save.
You will see a scrollable list of posts, click the checkbox next to the post to remove the item from your feed.
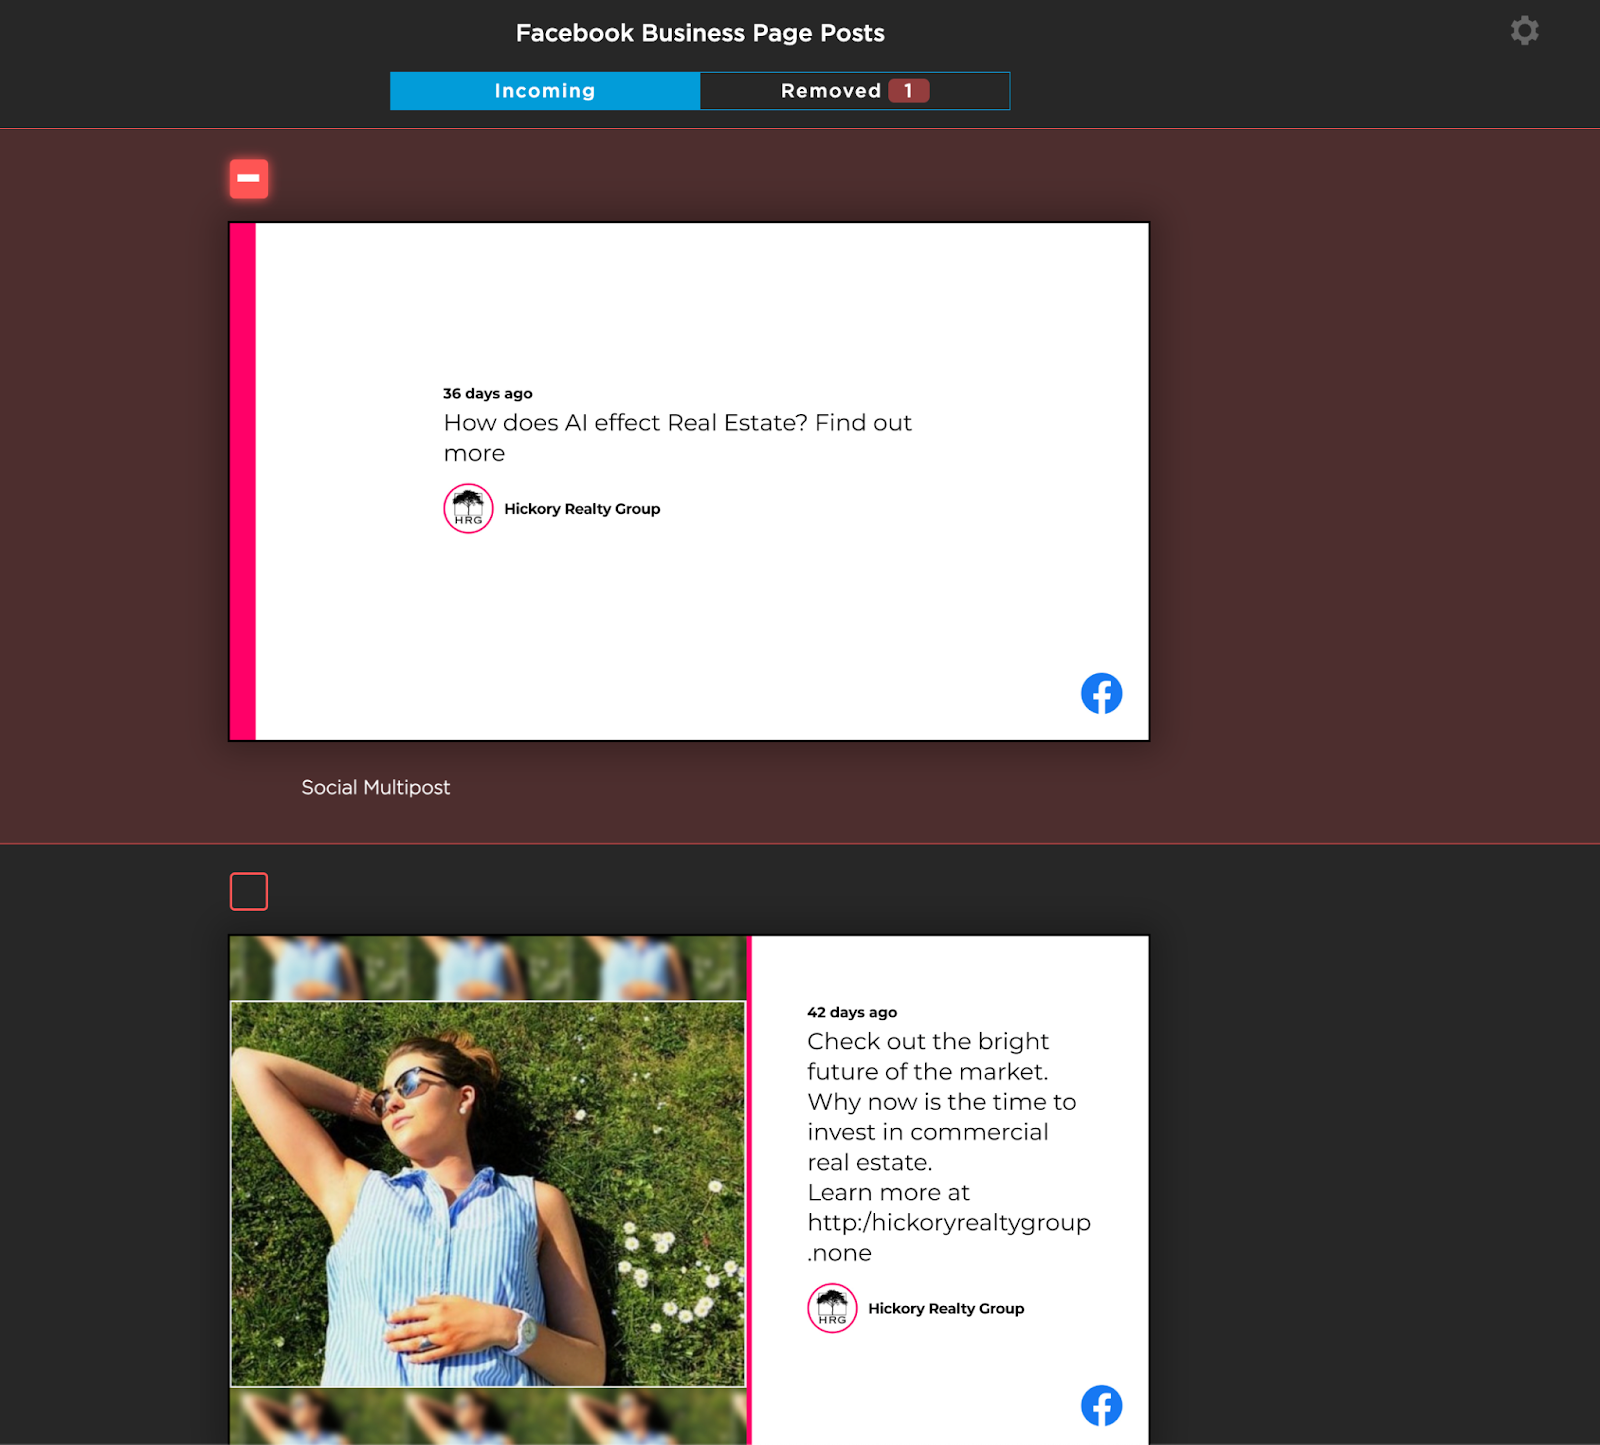
Click the Removed tab at the top to see only the removed items.
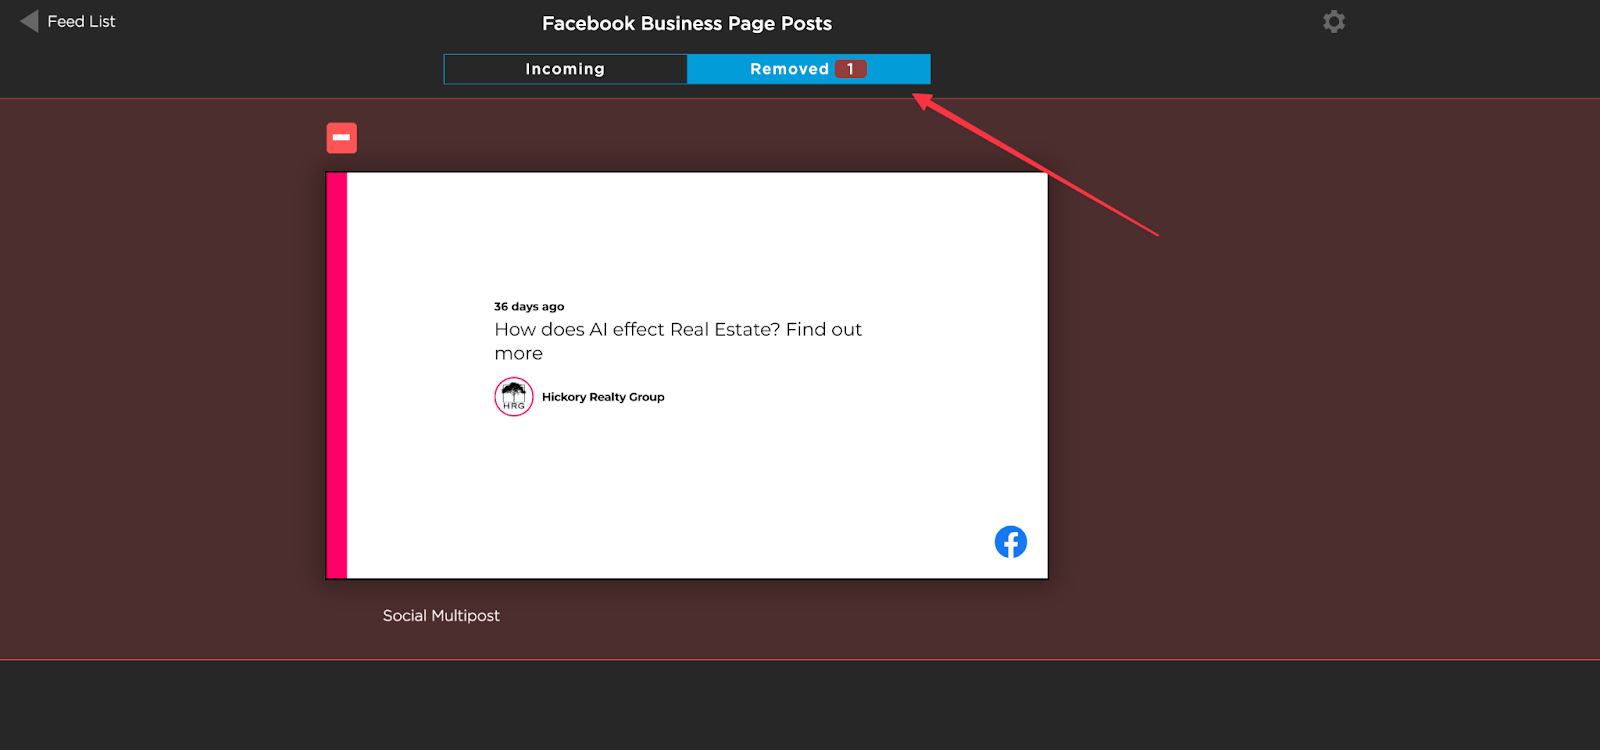
Changes will automatically save. Click on feed list in the top left corner to return to your list of feeds.
Next Steps
A social feed URL will be provided. Use this URL when creating a Screenfeed Direct App to display the feed on your displays.