To set up your New Relic dashboard connection in Skykit Beam, you'll need:
- A display or screen to play your content
- A media player and an HDMI cord
- Internet connectivity
To set up your display:
- Turn on the display.
- Connect your media player to the display using the HDMI cord.
- Connect your power cable to a power source and to your media player.
- Log in to Skykit Beam to set up your secure dashboard connection.
Creating a New Relic Dashboard Connection
When you're setting up your New Relic dashboard connections in Beam, you can choose a direct connection method or you can create a web view and connect it to your New Relic dashboards.
Finding Your New Relic Dashboard URL
No matter how you connect your dashboard in Beam, you'll want to set it to TV mode so charts and graphs do not get cut off on your display. You'll also need to copy the dashboard's URL.
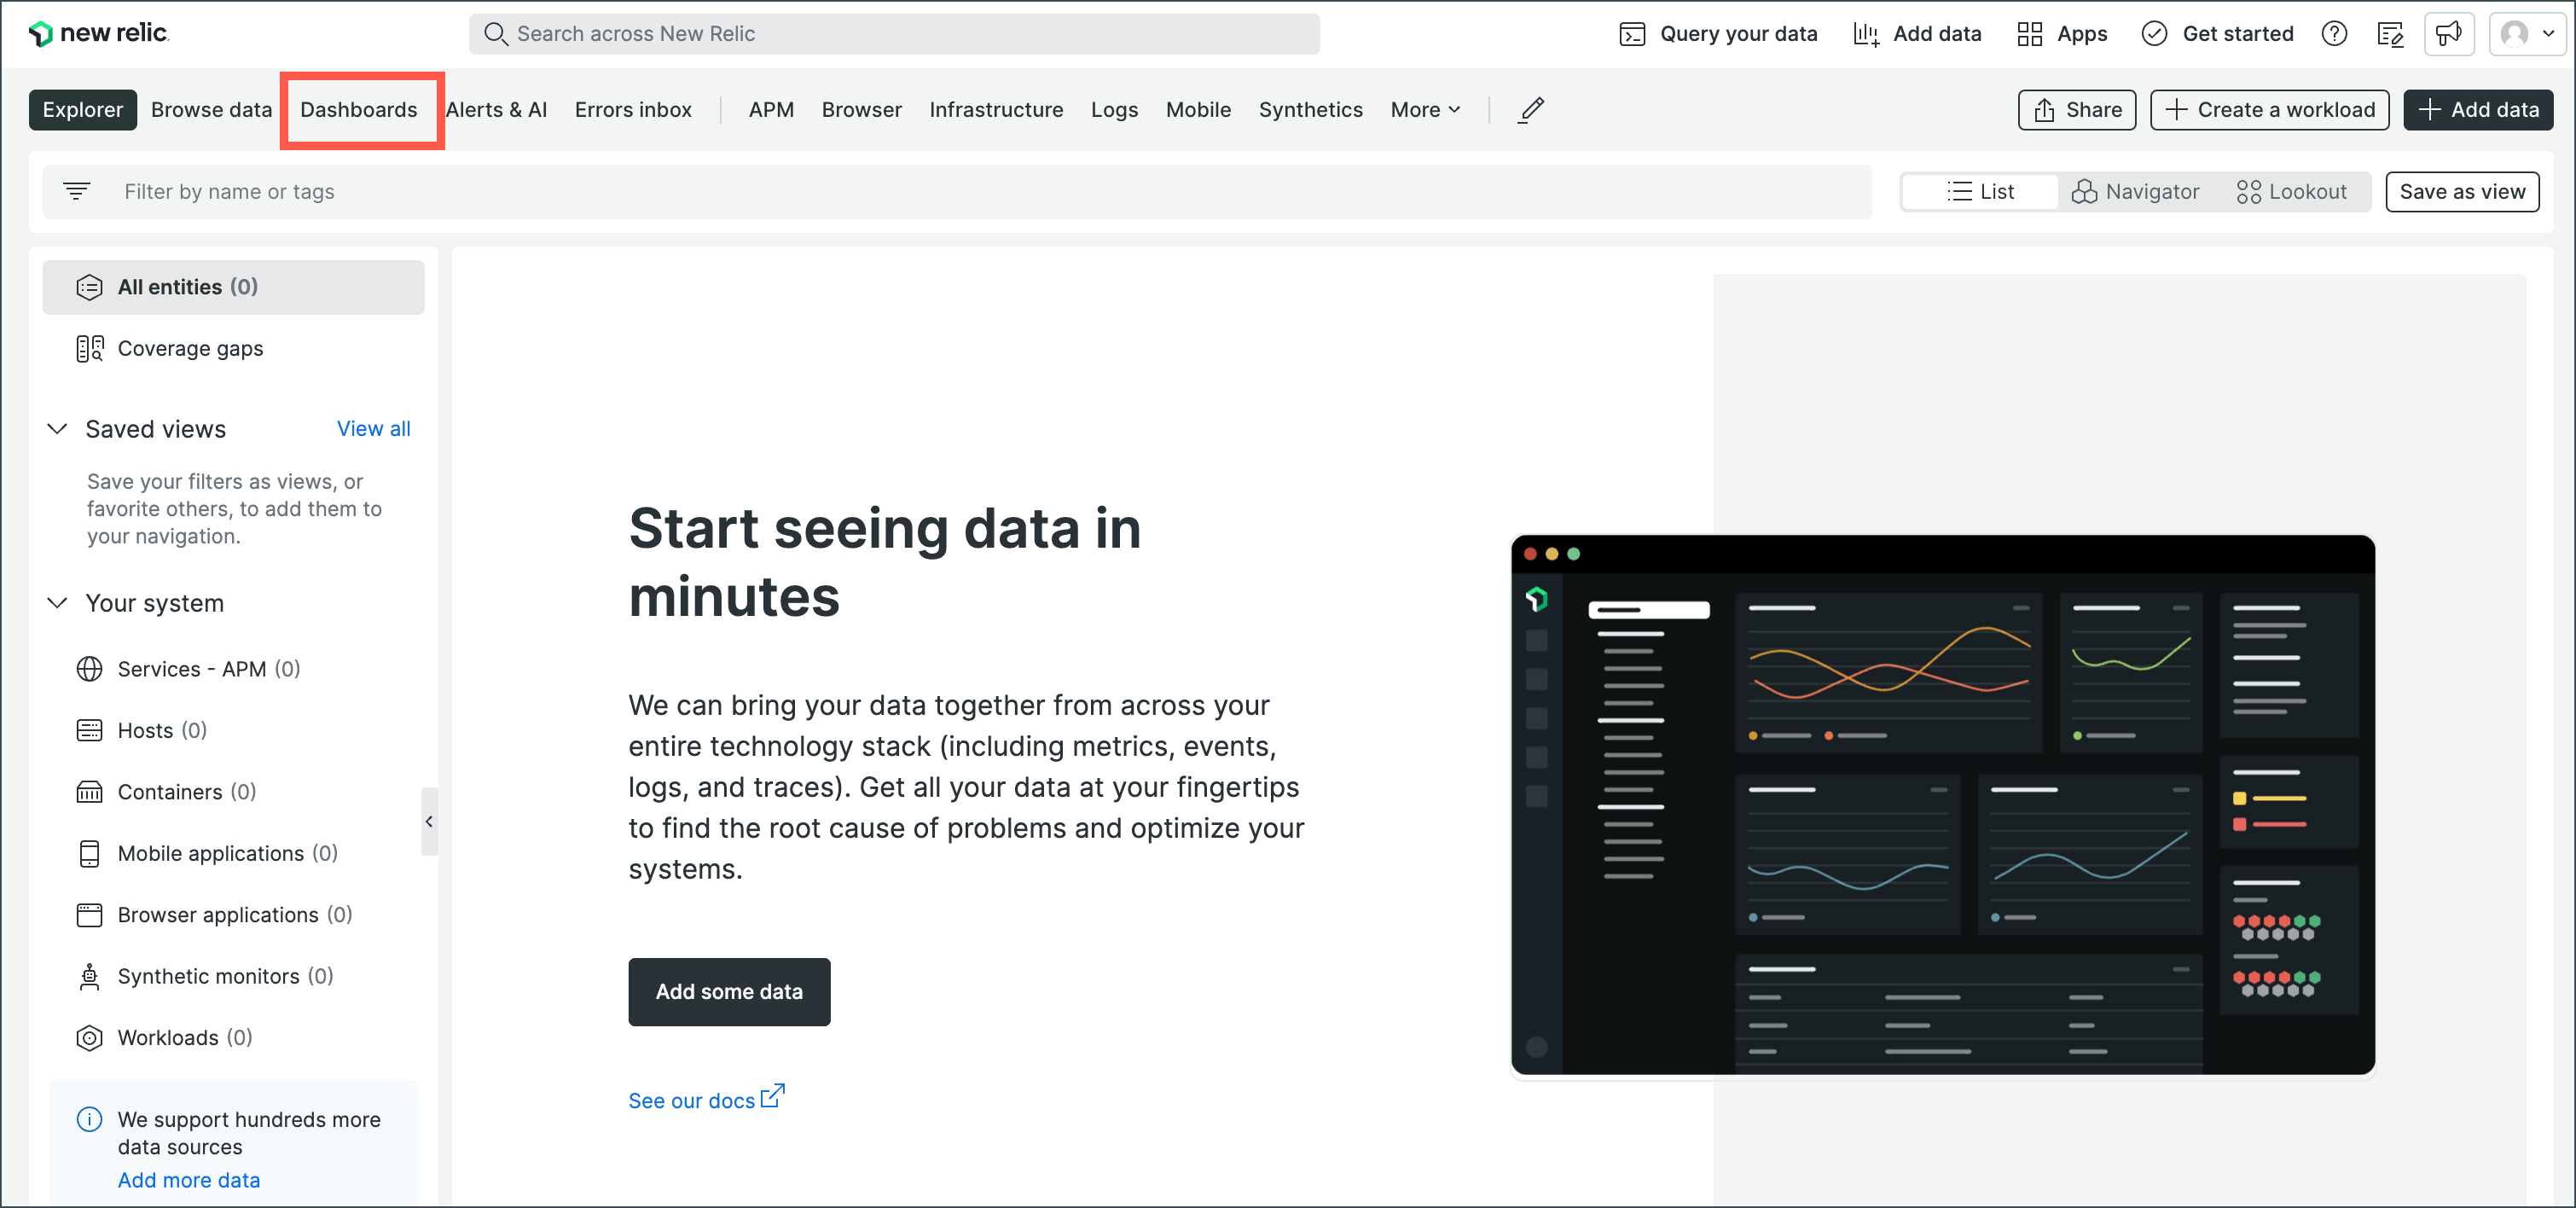
- Log in to New Relic and select Dashboards on the menu bar.

- Open the dashboard you want to display.
- Select the TV mode icon in the upper right corner of the window.

When you select TV mode, the toolbars and search field are hidden and the dashboard is sized so you can see all parts of it in one view without needing to scroll. - Copy the URL. This is what you will enter into Beam when you create your dashboard connection.
Creating a Direct New Relic Dashboard Connection
If you're creating a direct New Relic dashboard connection, see Creating a Dashboard Connection in Skykit Beam. When you're prompted for the URL, paste the URL of your New Relic dashboard in the field.
Creating a Web View for New Relic Dashboards
If you're creating a web view to connect to your New Relic dashboards, see Creating Web Views in Skykit Beam. When you're prompted for the URL, paste the URL of your New Relic dashboard in the field.