After you create a collection, you can manage it by setting up play rules for individual entries and adding or removing entries.
Setting Up Play Rules for a Collection Entry
Play rules allow you to configure when and where a collection entry plays—within a specific time frame, only on certain days or months, or only on specific displays.
- Select Collections from the navigation bar to open the Collections menu.
- Select the collection you want to manage. The Collections detail window opens.
.png)
- Select the collection entry you want to manage. The entry's Play Rules drawer opens.
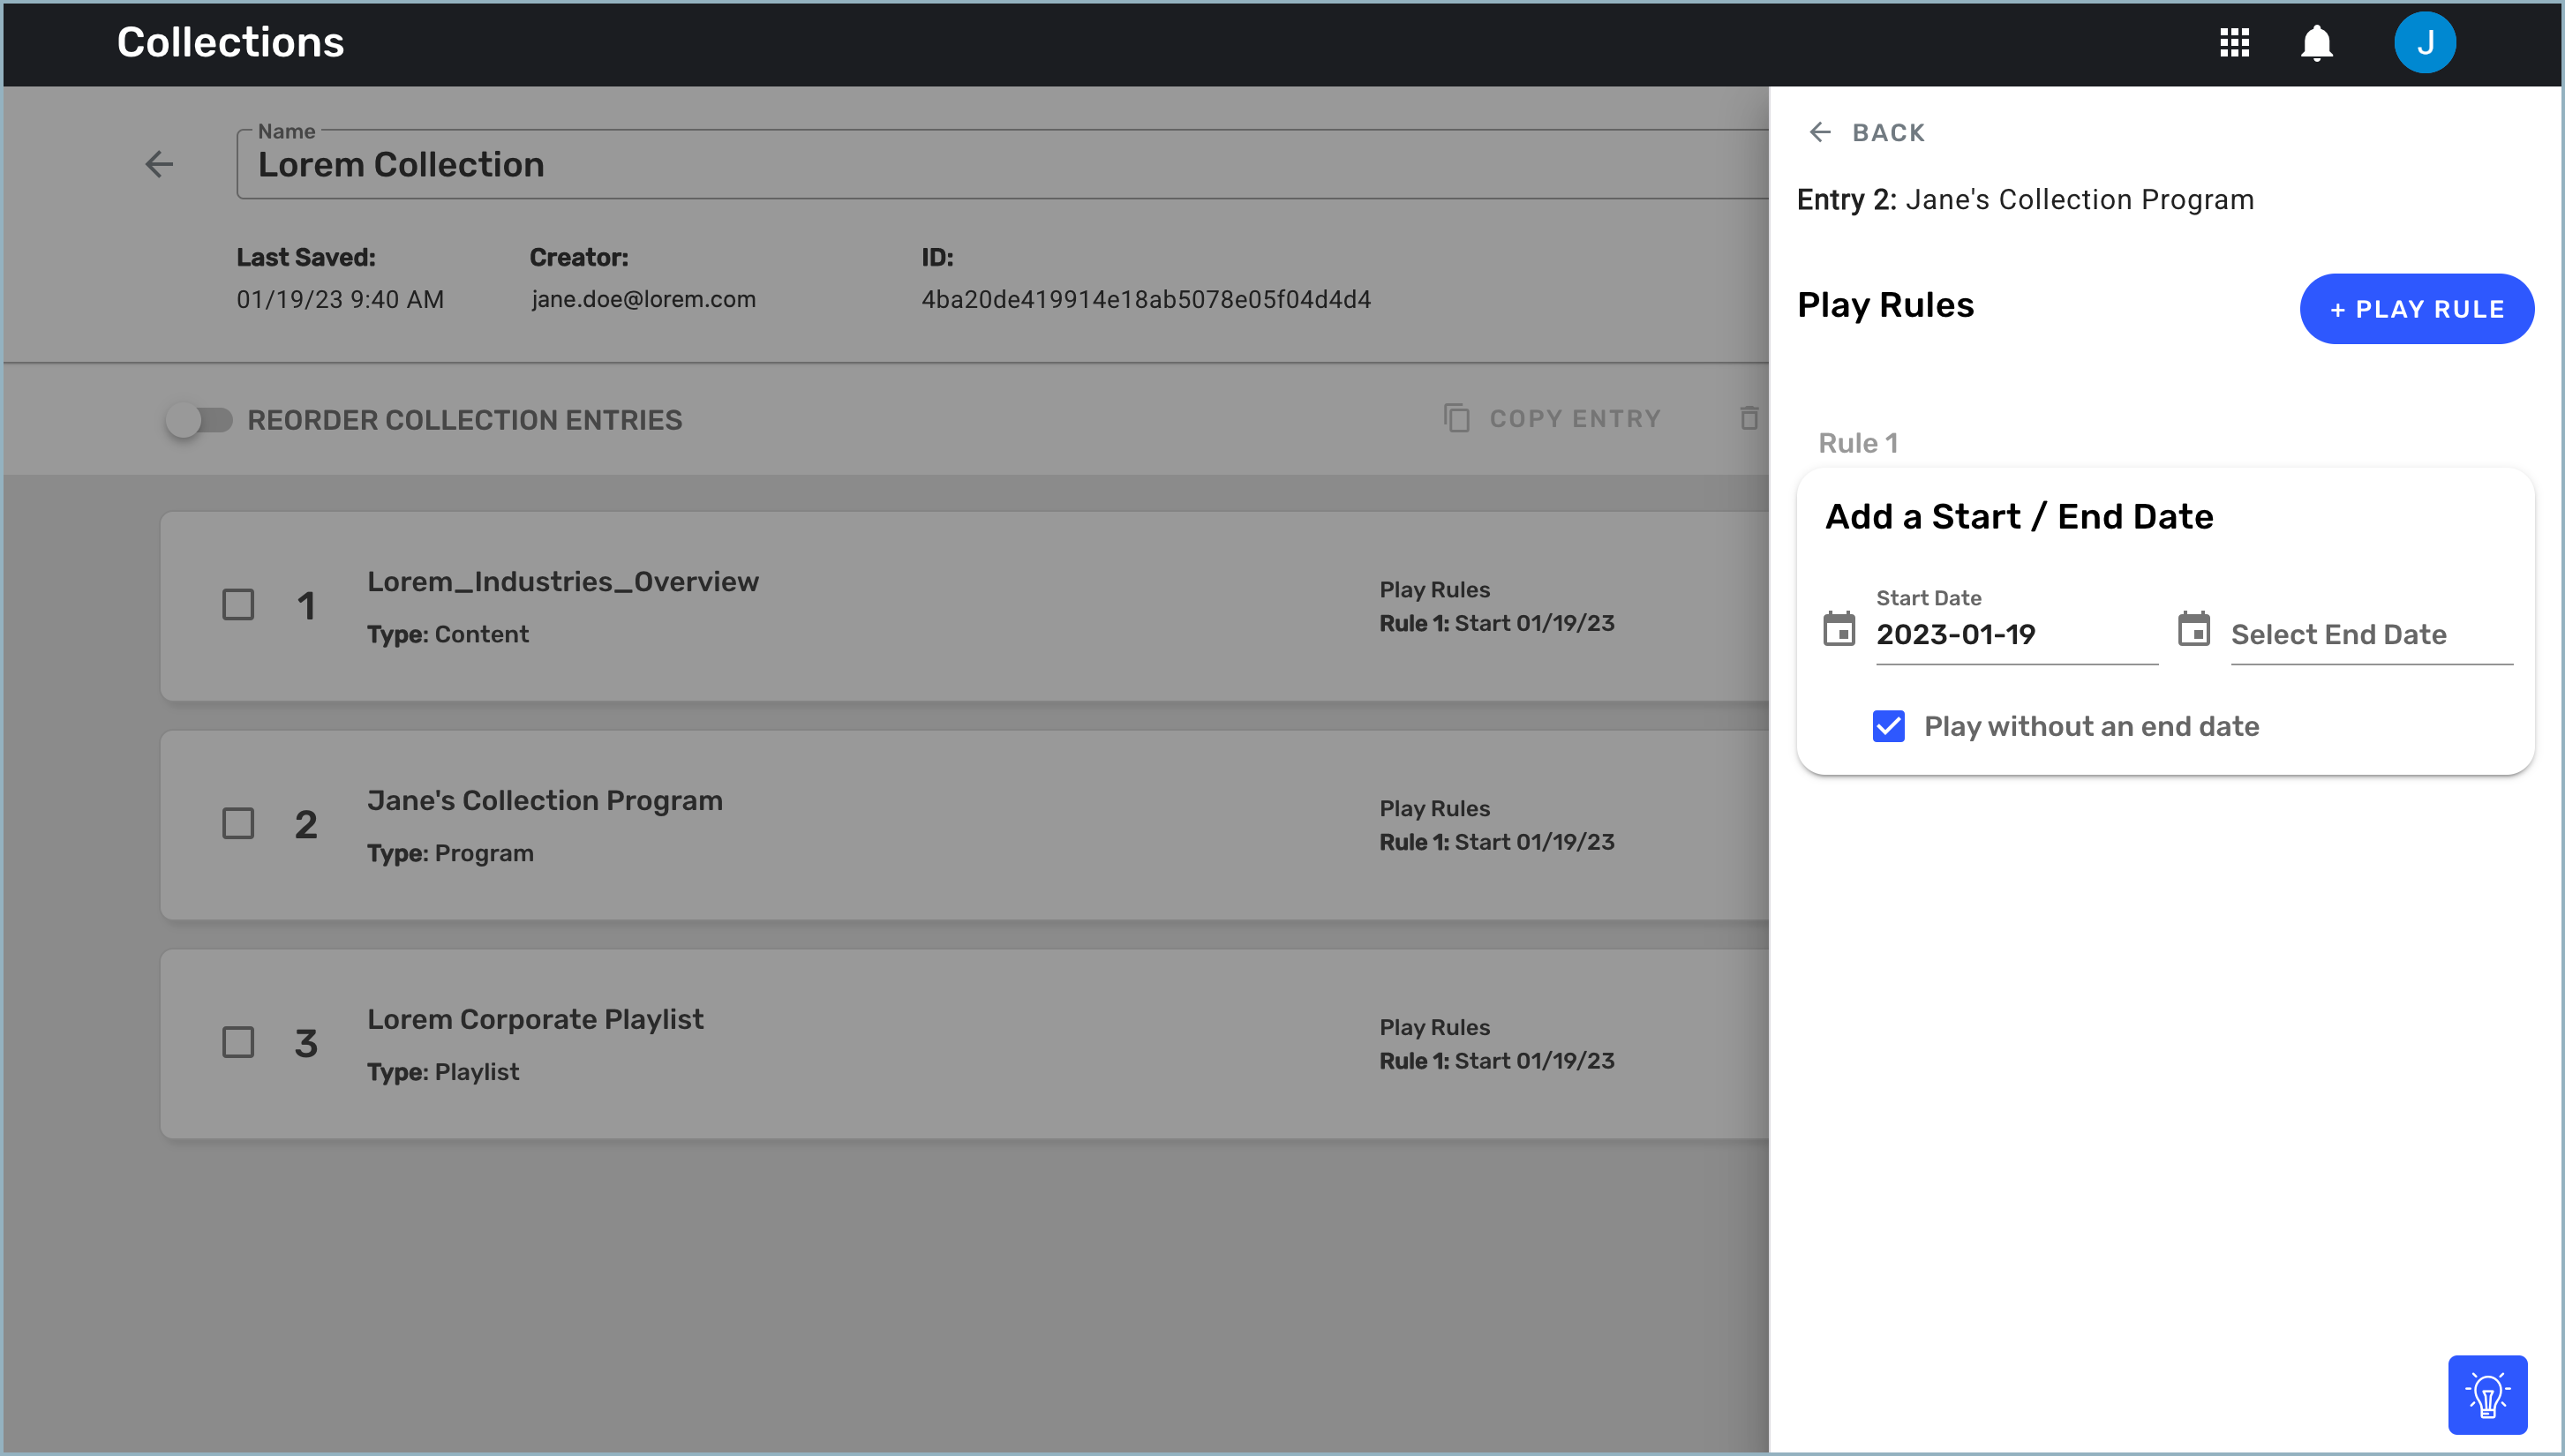
The Add a Start/End Date rule is in place by default, with the start date set to the current date, the end date left blank, and Play without an end date checked. - To change the entry's start and end dates, click in the date fields and use the pop-up calendar to set a new date range.
If you want the entry to play indefinitely, leave the Select End Date field blank. If you do set an end date, the Play without an end date setting is unchecked automatically. - To set start and end times for the entry, select +Play Rule > Add a Start Time/End Time.
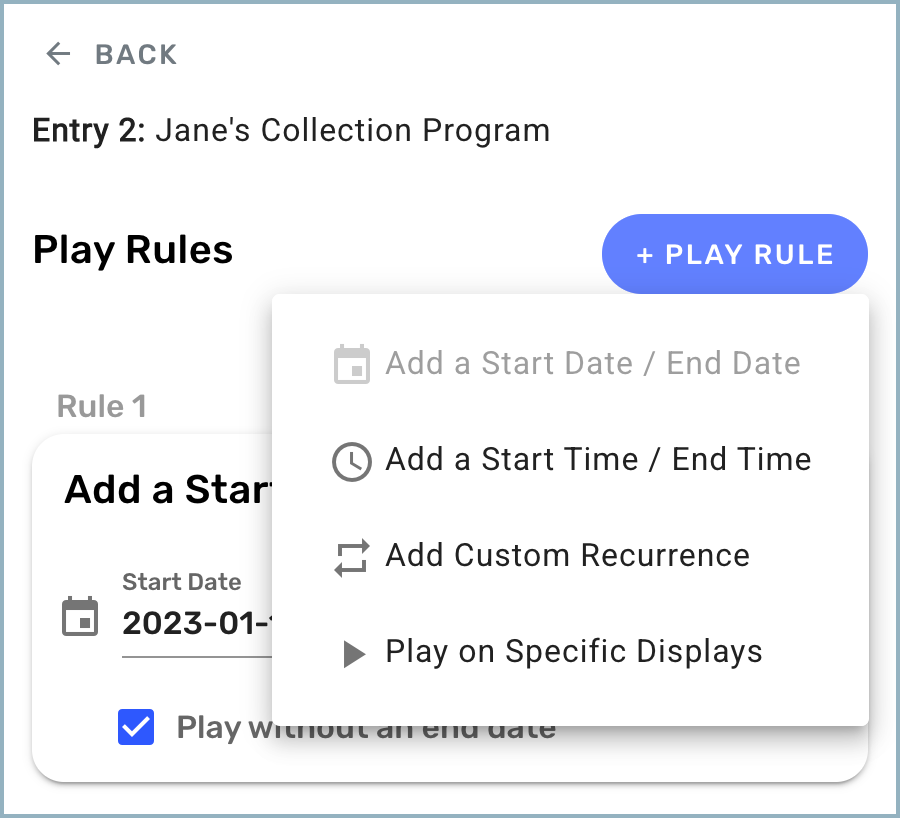
A new rule section is added to the drawer.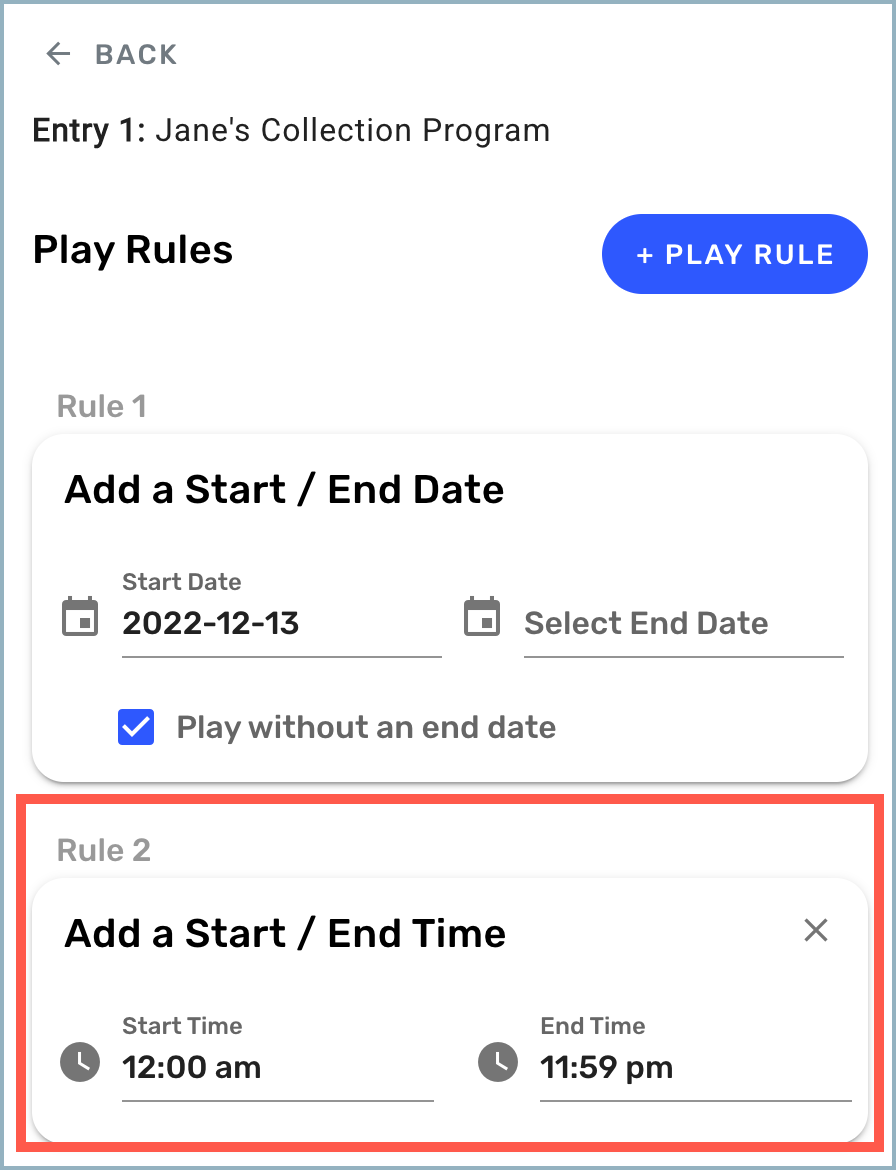
Click in the Start Time field and choose a new start time, then select Save. Do the same in the End Time field. - To set the entry to play only on specific days, months, days of the month, or a combination of recurrence options, select +Play Rule > Add Custom Recurrence. Another new play rule section is added to the drawer.
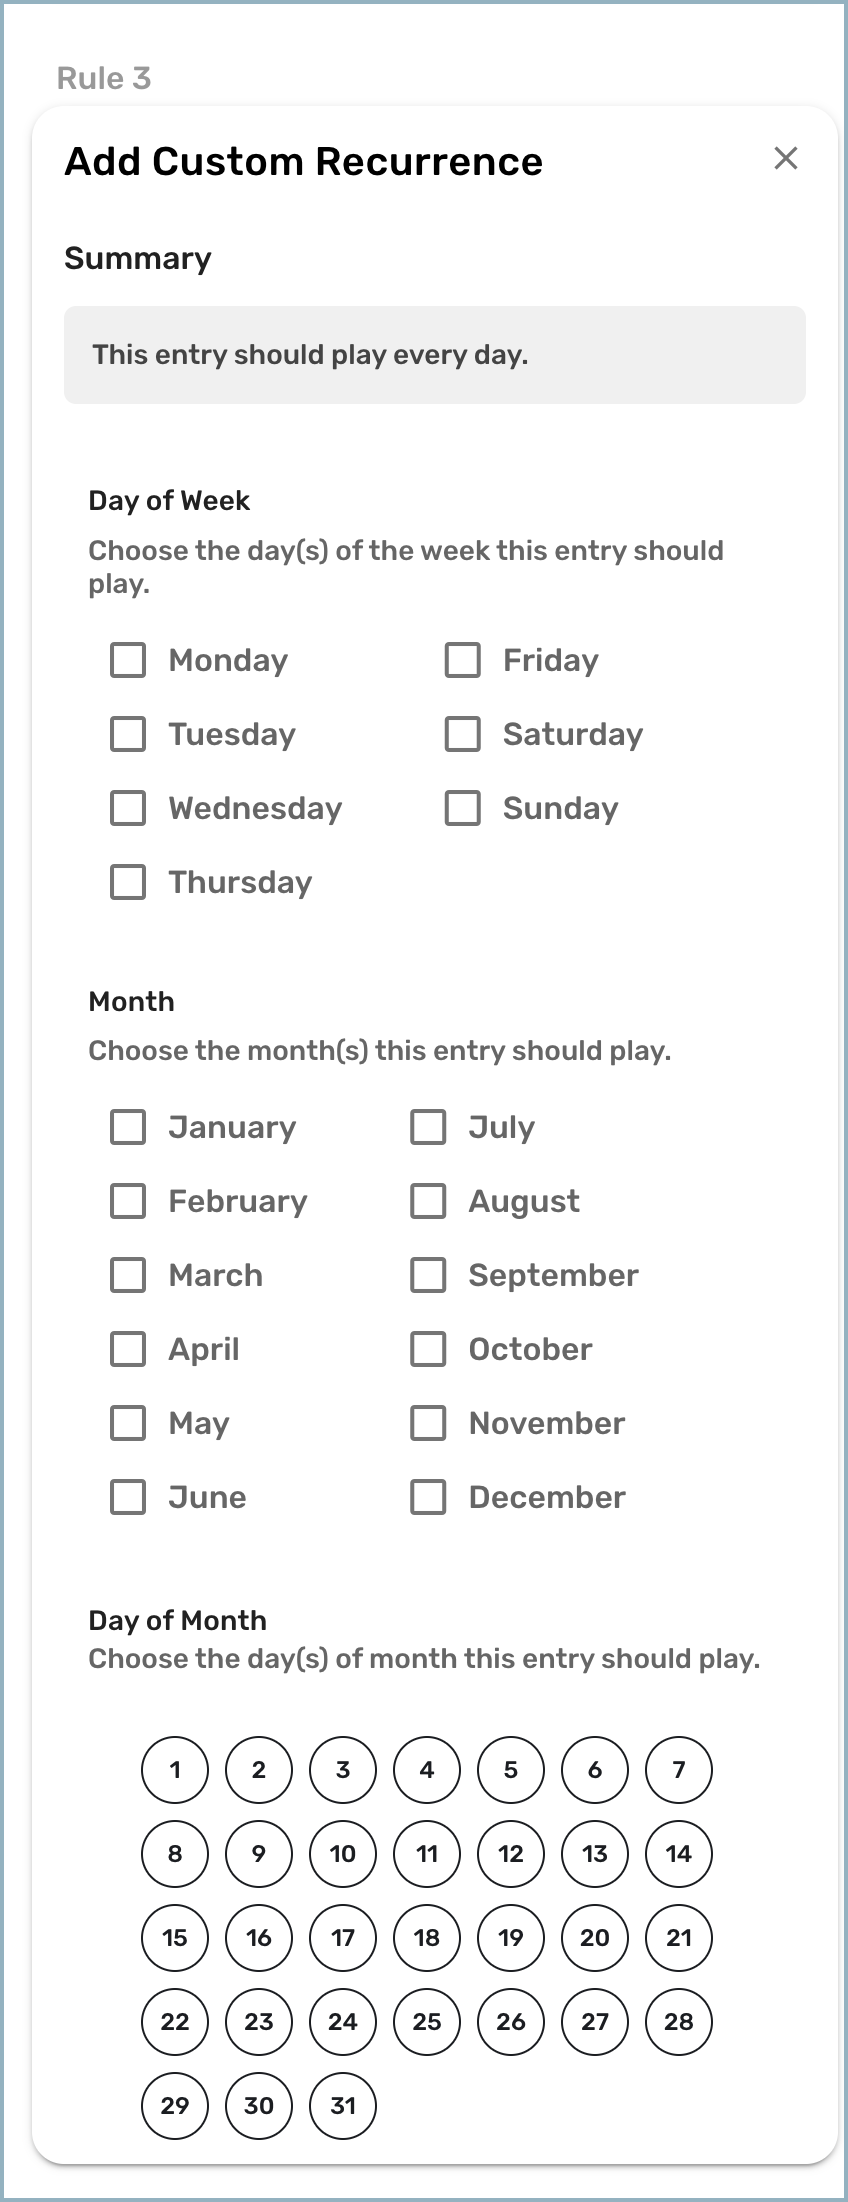
If you want the entry to play only on certain days of the week, check those days under Day of Week. If you want it to play only during certain months, select those months under Month. If you want the entry to play on specific dates in a month, select those dates under Day of Month.Note: You can combine the different recurrence options. For example, you can set the entry to play only on Mondays and Tuesdays in January, or only on the 1st and 15th of the month during March and September. - Finally, if you are a Pro or Enterprise customer, you can choose to have the entry play only on displays that have been assigned certain labels. (This play rule is not available to Base customers.)
- Select +Play Rule > Play on Specific Displays. Another play rule section is added to the drawer. This section lists all the label categories and labels assigned to displays in your tenant.
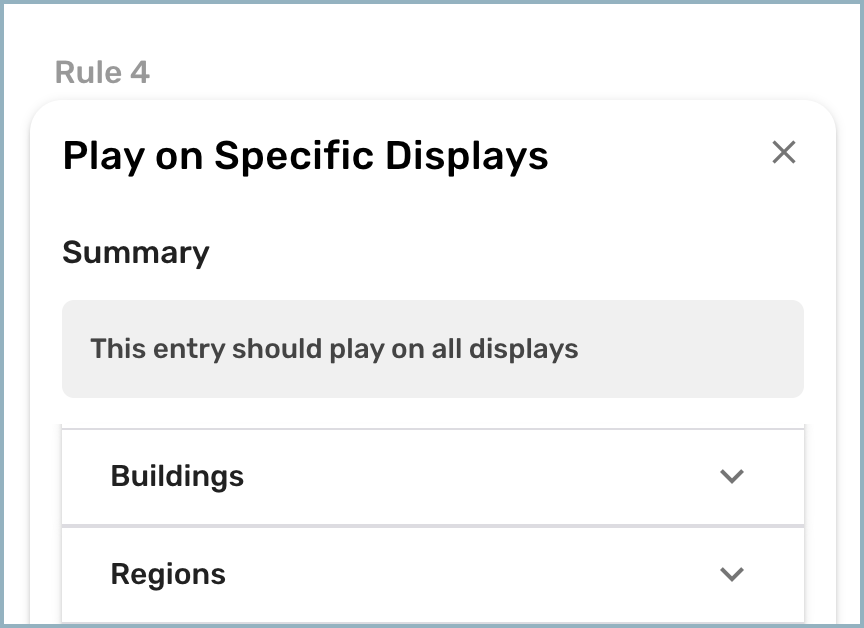
- Select a label category to see a list of the labels in that category.
- Check the labels assigned to the displays you want your entry to play on. You can select multiple labels from different categories.
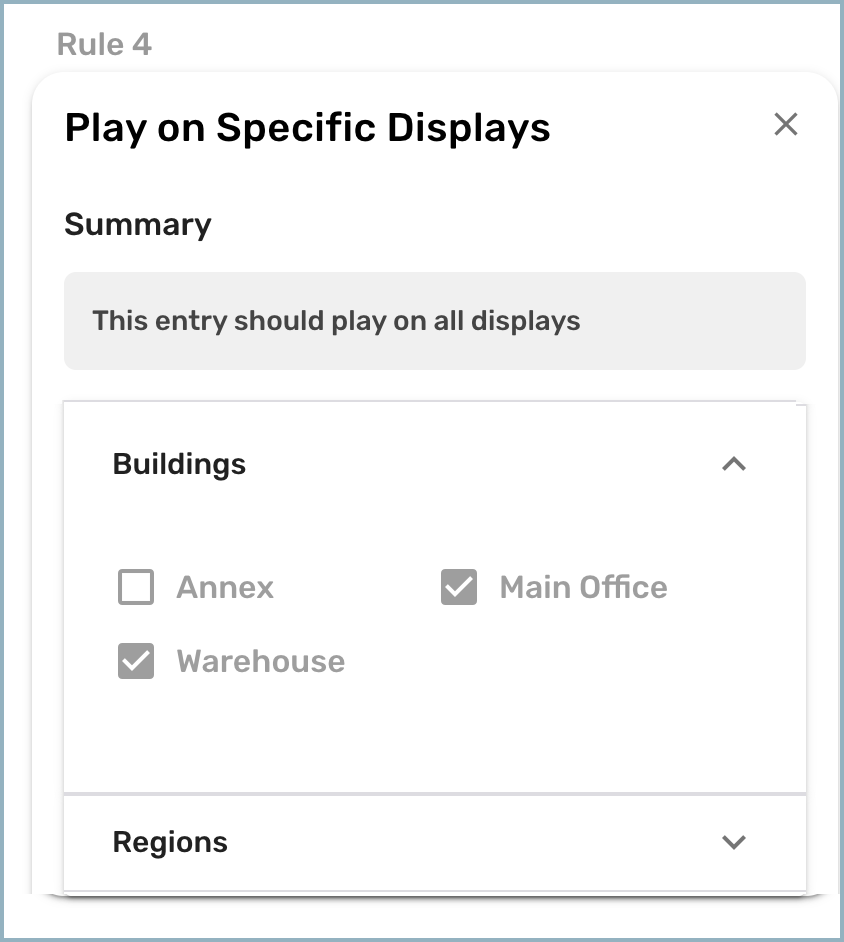
When the play rules are saved, the entry will only play on displays that have been assigned the labels you selected.
- Select +Play Rule > Play on Specific Displays. Another play rule section is added to the drawer. This section lists all the label categories and labels assigned to displays in your tenant.
- When you have finished setting up play rules for the entry, select the ←Back button to save the rules and return to the Collections detail window. The entry now shows the play rules you set up.
.png)
- Repeat steps 3 through 8 as needed for the remaining collection entries.
- When you've finished setting play rules for your collection entries, select Publish to make the collection available to publish to your displays.
Adding Entries to an Existing Collection
To add entries to an existing collection:
- Select Collections from the navigation bar to open the Collections menu.
- Select the collection you want to update. The Collections detail window opens.
- Select +Collection Entry. The Select Content window opens.
- Select the Content, Programs, or Playlists tab to see a list of available content.
- Check the content you want to add to your collection and select Add [#] Entries to save the changes and return to the Collections detail window. The new content is now listed in the window.
- Create play rules for the new entries as needed.
- Reorder the entries as needed.
- Select Publish to publish the updates. If the collection is playing on any displays, the new entries will play when the collection finishes its current rotation and starts over.
Removing Entries from a Collection
To remove an entry from a collection:
In the Collections detail window, check the box next to the entry and select Remove Entry.
.png)
The entry is removed from the playlist.
If the collection is currently playing on a display, the deleted item will be removed from the collection when it has finished its rotation and starts again. If you later re-upload the deleted content item and want it to be in your collection again, you will need to re-add it. This also applies to playlists and programs.
If you delete a content item from the Content menu and that content is part of a collection, the item still appears in the Collections detail window but it is struck through and displays a red warning flag.

Deleting a Collection
To delete an entire collection:
- Select Collections from the navigation bar to open the Collections menu.
- Check the box next to the collection you want to delete and select the trash can icon in the upper right corner of the window.
.png)
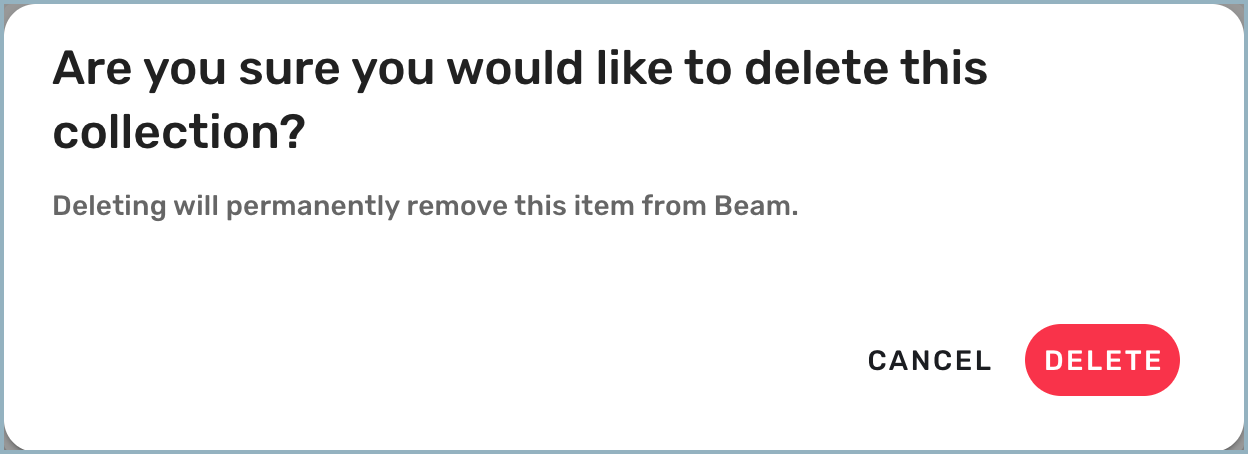
- When you're prompted to confirm that you want to delete the collection, select Delete.
