Managing a Slideshow
- From the Content menu, select the slideshow you want to manage. Depending on the type of presentation file you selected, the Slides, PowerPoint, or Keynote content manager window opens.
In the following example, we'll manage a Google slideshow..png)
With the exception of the Auto-Publish feature, which is only available for Google slideshows, the settings are the same for all three types of slideshows. - Skykit automatically adds the title of your uploaded slideshow into the Name field. If you'd like to change it, enter a new title in the field.
- Use the slide previews or the navigation arrows to select the slide you want to manage.
.png)
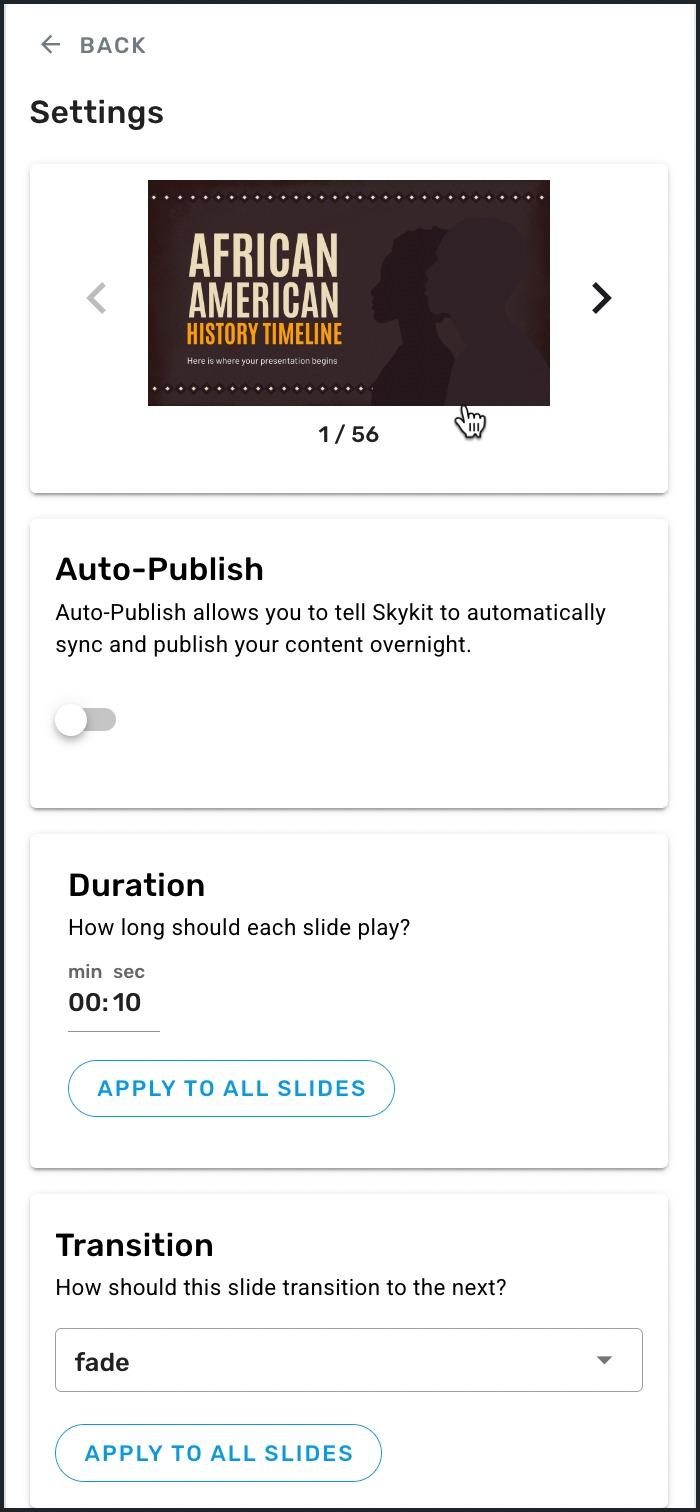
- After you've selected the slide, select the gear icon in the upper right corner of the window to open the slide's Settings drawer.

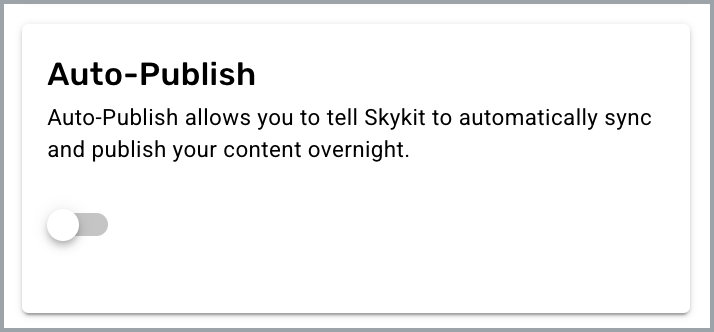
- If you would like Beam to automatically sync and publish your Google slideshow overnight, turn on the Auto-Publish toggle. This is a good option if you make changes to your slideshow that you want to show up the next day.

- In the Duration field, enter the length of time you want the slide to be displayed. The default duration is 10 seconds. To apply this setting to all slides in the slideshow, select Apply to All Slides.
- From the Transition drop-down list, select how you would like the slide to transition to the next one. When you select a transition, you'll see a preview of the effect in the content manager window. To apply this transition type to all slides in the slideshow, select Apply to All Slides.
- Select the ←Back button to save your changes and close the Settings drawer.
- To change the settings for your remaining slides, repeat Steps 3 through 8 for each one.
- When you have finished updating the settings for your slideshow, select Publish to make your slideshow available to publish directly to your displays or to insert into a playlist or program.
.png)
Editing an Existing Google Slideshow
You can edit a Google slideshow from the Slides content manager window in Beam. See Editing an Existing Google Slideshow to learn more.
Re-Uploading a Microsoft PowerPoint or Apple Keynote Slideshow
If you need to edit a Microsoft PowerPoint or Apple Keynote slideshow that's already been uploaded into Beam but you want to retain the settings you've already configured, you can edit the file and then re-upload it right from the content manager window.
- Update your Microsoft PowerPoint or Apple Keynote file and save it to your local folder or shared drive. You cannot re-upload PowerPoint or Keynote files via Google Drive.
- From the Content menu, select the content item you just updated. The content manager window opens.
- In the content manager window, select Re-upload from Local Storage (available for PowerPoint and Keynote files) or Re-upload from OneDrive (available for PowerPoint files only).
.png)
If you re-upload from OneDrive, the document will simply upload into Beam after you select it. If you re-upload from local storage, a window opens with options to drag and drop your file into the window or browse to select it. After you choose the file, it appears in the File Re-upload window. You just need to select Upload to upload the file into Beam.
If the document is currently playing on any displays, the changes will appear automatically.
Next Steps
Now that you've successfully uploaded and managed your slideshow, it's time to publish your content directly to your displays or insert them into a playlist or program.
Publish directly to a display: Publishing Content to a Display
Insert into a playlist: Playlists Overview
Insert into a program: Programs Overview