This feature is available in the following plans: | ||
| ✖ Base | ✖ Pro | ✔ Enterprise |
Overview
Set up Single Sign-On (SSO) between Okta and Skykit using SAML 2.0. The steps below cover adding the Skykit app in Okta, collecting IdP metadata, and sending required details to Skykit Support to complete the connection.
Prerequisites
- Okta role: Admin with permissions to manage applications and SSO.
- Access: Ability to assign users/groups to applications in Okta.
- Scope agreement: Confirm with your Skykit admin which users/tenants/products will use SSO.
Supported Authentication Flows
The Okta SAML 2.0 integration for Skykit currently supports the following authentication flows:
- Direct or SP-initiated SSO - This authentication flow occurs when the user logs in to the application from Skykit.
- Okta My Apps Dashboard or IdP-initiated SSO - This authentication flow occurs when the user logs in to their Okta dashboard to access Skykit.
Step 1: Add and Configure the Skykit App in Okta
- Log in to your Okta portal as an Administrator.
- Go to Applications > Browse App Catalog, search for Skykit, and add the application.
- Assign the users or groups that need access to Skykit.
- Open the Skykit application and navigate to the Sign On tab.
- In the Settings section, locate the Advanced Sign-on Settings and enter your company's domain
- The company domain must be prefixed with “okta.” For example, if the company domain is xyz.com, you would enter “okta.xyz.com.”
6. To find your App Embed Link, go to the General tab of the Skykit app. Scroll down to the App Embed Link section and copy the full URL. This link is used for Okta-initiated logins.
Note (internal to Skykit): The App Embed Link is required when customers use a custom Okta domain so our UI routes correctly.
Step 2: Provide Skykit with Metadata Details
Provide the following to Skykit Support to complete the connection. You can find these on the app’s Sign On tab under SAML 2.0:
- Identity Provider Single Sign-On URL: This is the URL used for initiating the single sign-on process.
- Identity Provider Issuer: A unique identifier for your Okta instance. (Example: Okta.yahoo.com)
- Okta IDP metadata (XML)/ X.509 Certificate: A file or text containing all the necessary configuration data for your Okta identity provider.
- Company Domain: The company domain you entered in the Okta app settings.
- App Embed Link: The App Embed Link URL you copied from the General tab. You can also provide the IDP metadata (XML document), which contains all the required information in a single file.
How to find the Okta Metadata?
- Go to the Sign On tab of your Skykit SAML 2.0 App in your Okta portal.
- Under Sign-On Methods, select SAML 2.0.
- Locate the section with the metadata details.
- From there, you can copy the XML document and paste it into a text file.
Step 3: Send Details to Skykit Support
Email the details from Step 2 to support@skykit.com. Skykit will configure the SAML connection on our side and confirm when it’s ready for testing. After gathering this information, please send it to Skykit Support, who will complete the integration.
Heads-up: Do not enable/force SSO for all users in your org until after you’ve completed testing with a small pilot group.
Logging in to Skykit with Okta
After Okta is configured, you can log in directly to Skykit from the login window or through your Okta My Apps dashboard.
Direct Login
This is also referred to as SP-initiated SSO.
- Go to https://login.skykit.com.
- Select Continue with Okta. A text field becomes available.
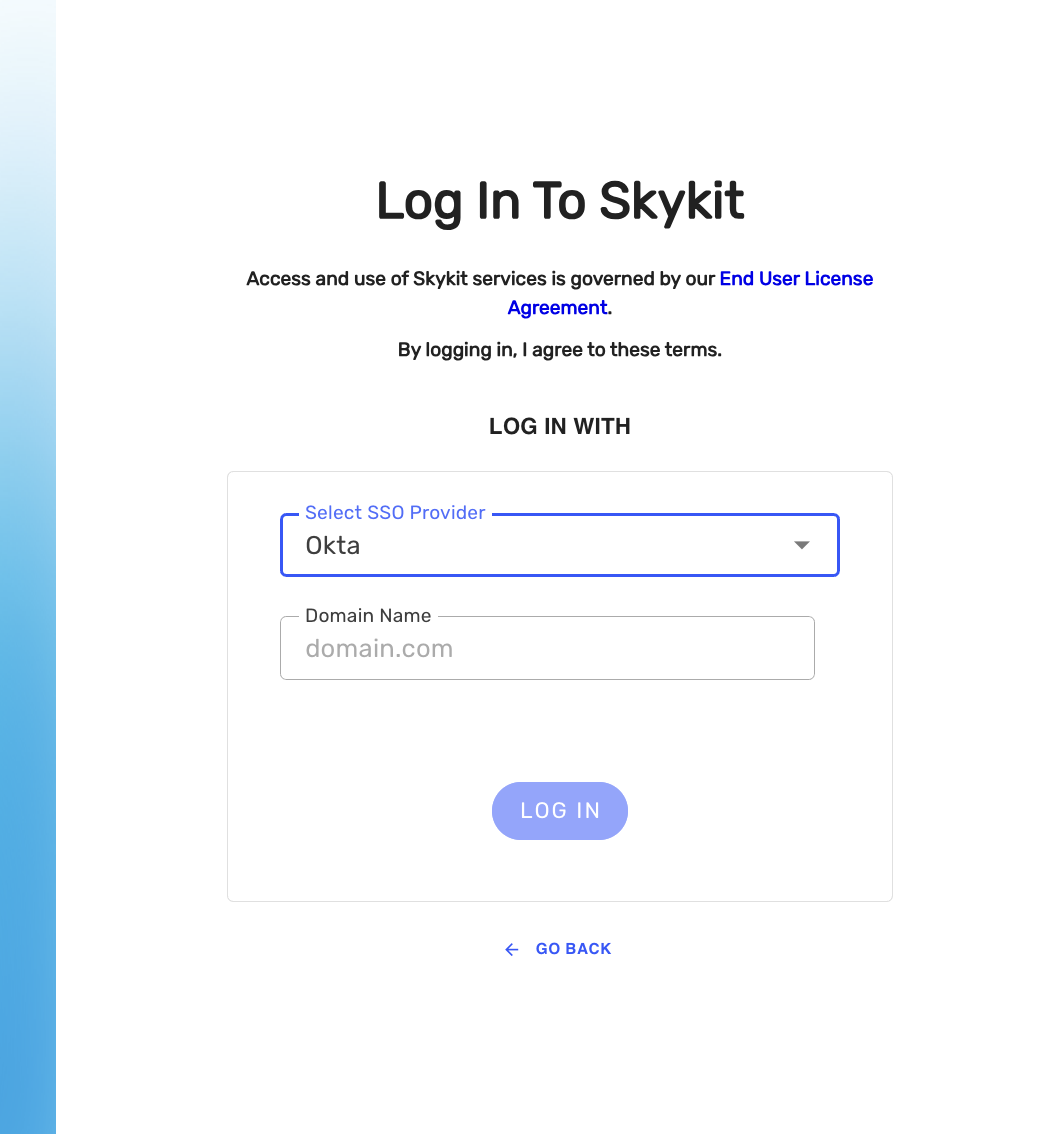
In the text field, replace the text between the brackets with your company's domain. This is the domain you entered for the Company Domain. (Info from Step 2 Subset)
- Select Log In and choose a tenant and product at the prompts.
Okta My Apps Dashboard
- Go to your Okta My Apps dashboard.
- Select the Skykit application tile. Okta redirects you to Skykit and logs you in.
Troubleshooting
Error after clicking “Continue with Okta”
Verify the Company Domain in Skykit matches the Advanced Sign-On Settings in Okta.
Confirm the user is assigned to the Skykit app in Okta.
Loops back to Okta/access denied
Ensure the user has access to the correct tenant/product in Skykit.
Check the Okta group assignment sync strategy if you’re using groups.
IdP-initiated works, SP-initiated fails
Re-check the App Embed Link was provided (required for custom Okta domains).
Confirm Skykit has the correct Issuer and SSO URL from your IdP metadata.
MFA prompts differ from policy
MFA and session behavior follow your Okta policies. Confirm the user’s policy applicability.
If issues persist, send timestamp, user email, tenant/product, flow type (SP or IdP), and relevant error screenshots to support@skykit.com.
FAQs
Do I need to send an ACS URL or Audience URI to Okta?
No changes are needed if you added the official Skykit app from the Okta Catalog. If you’re using a custom-built SAML app, contact support@skykit.com for the correct ACS/Audience values.
Can we restrict SSO to a subset of users?
Yes. Control access via Assignments in the Okta app.
Can we force all users to use Okta?
Yes, after testing. Coordinate with Skykit to avoid locking out local admins.
If you encounter any issues or have any questions, please reach out to support@skykit.com.