Skykit Control users are able to remotely monitor the content playing on a Display in two ways: Live View and Screenshots. Both features are available in the Live Monitoring tab.
Live View
CAUTION
Using a Live View on mobile network may incur high data costs.
Using Live View
The Live View feature provides a real-time view to your displays, allowing you to see exactly what’s playing on your screen up to 3 minutes. You can manage and initiate Live View sessions from Control.
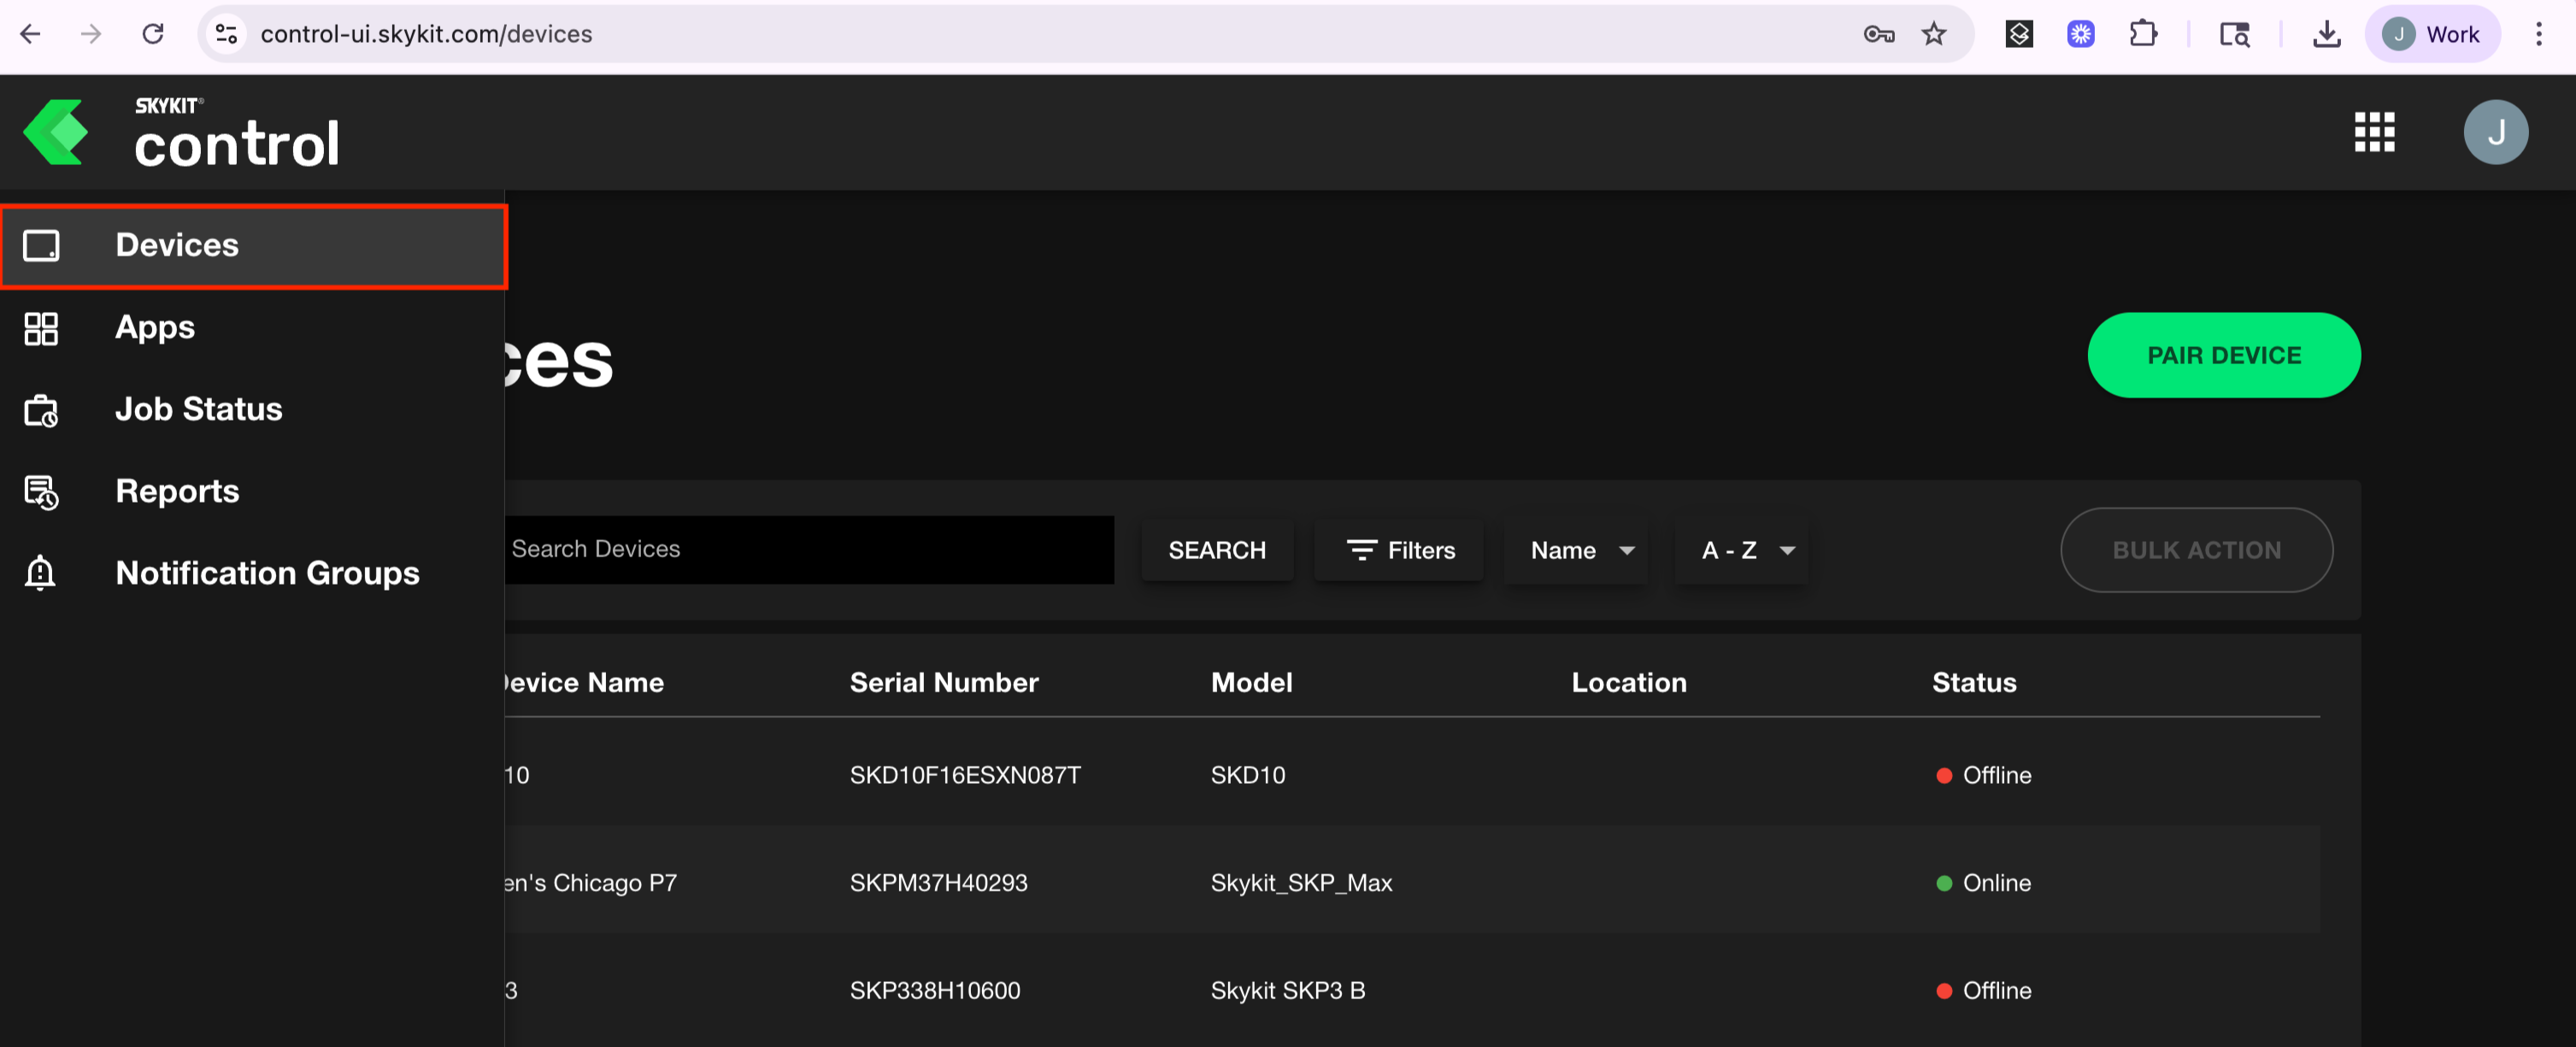
1. Click on Devices.
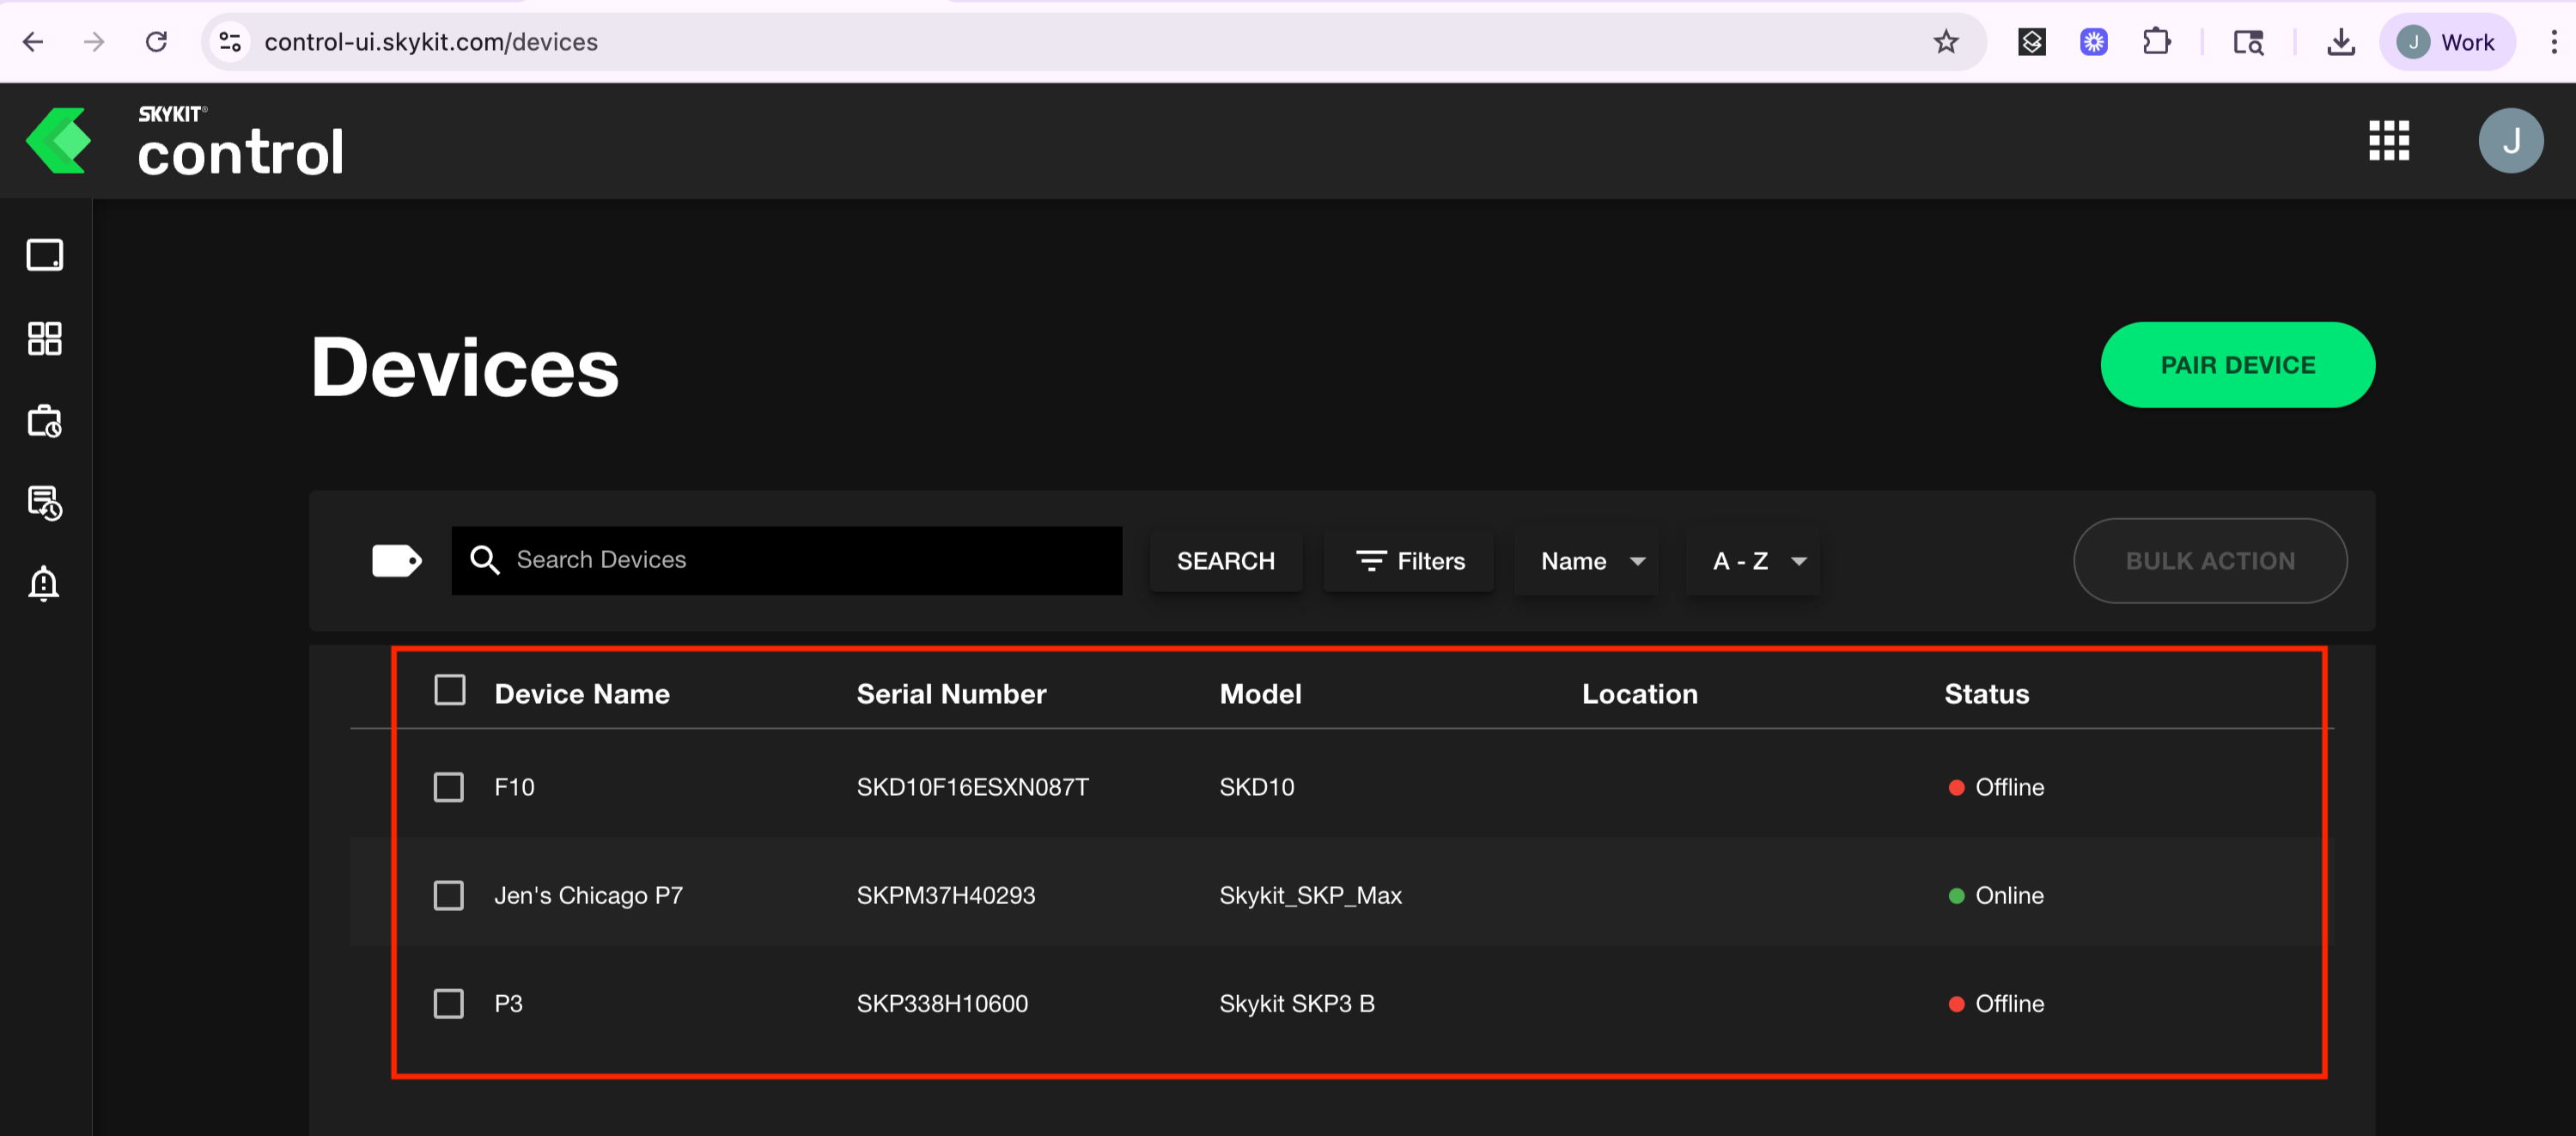
Select the device you wish to view Live View on.
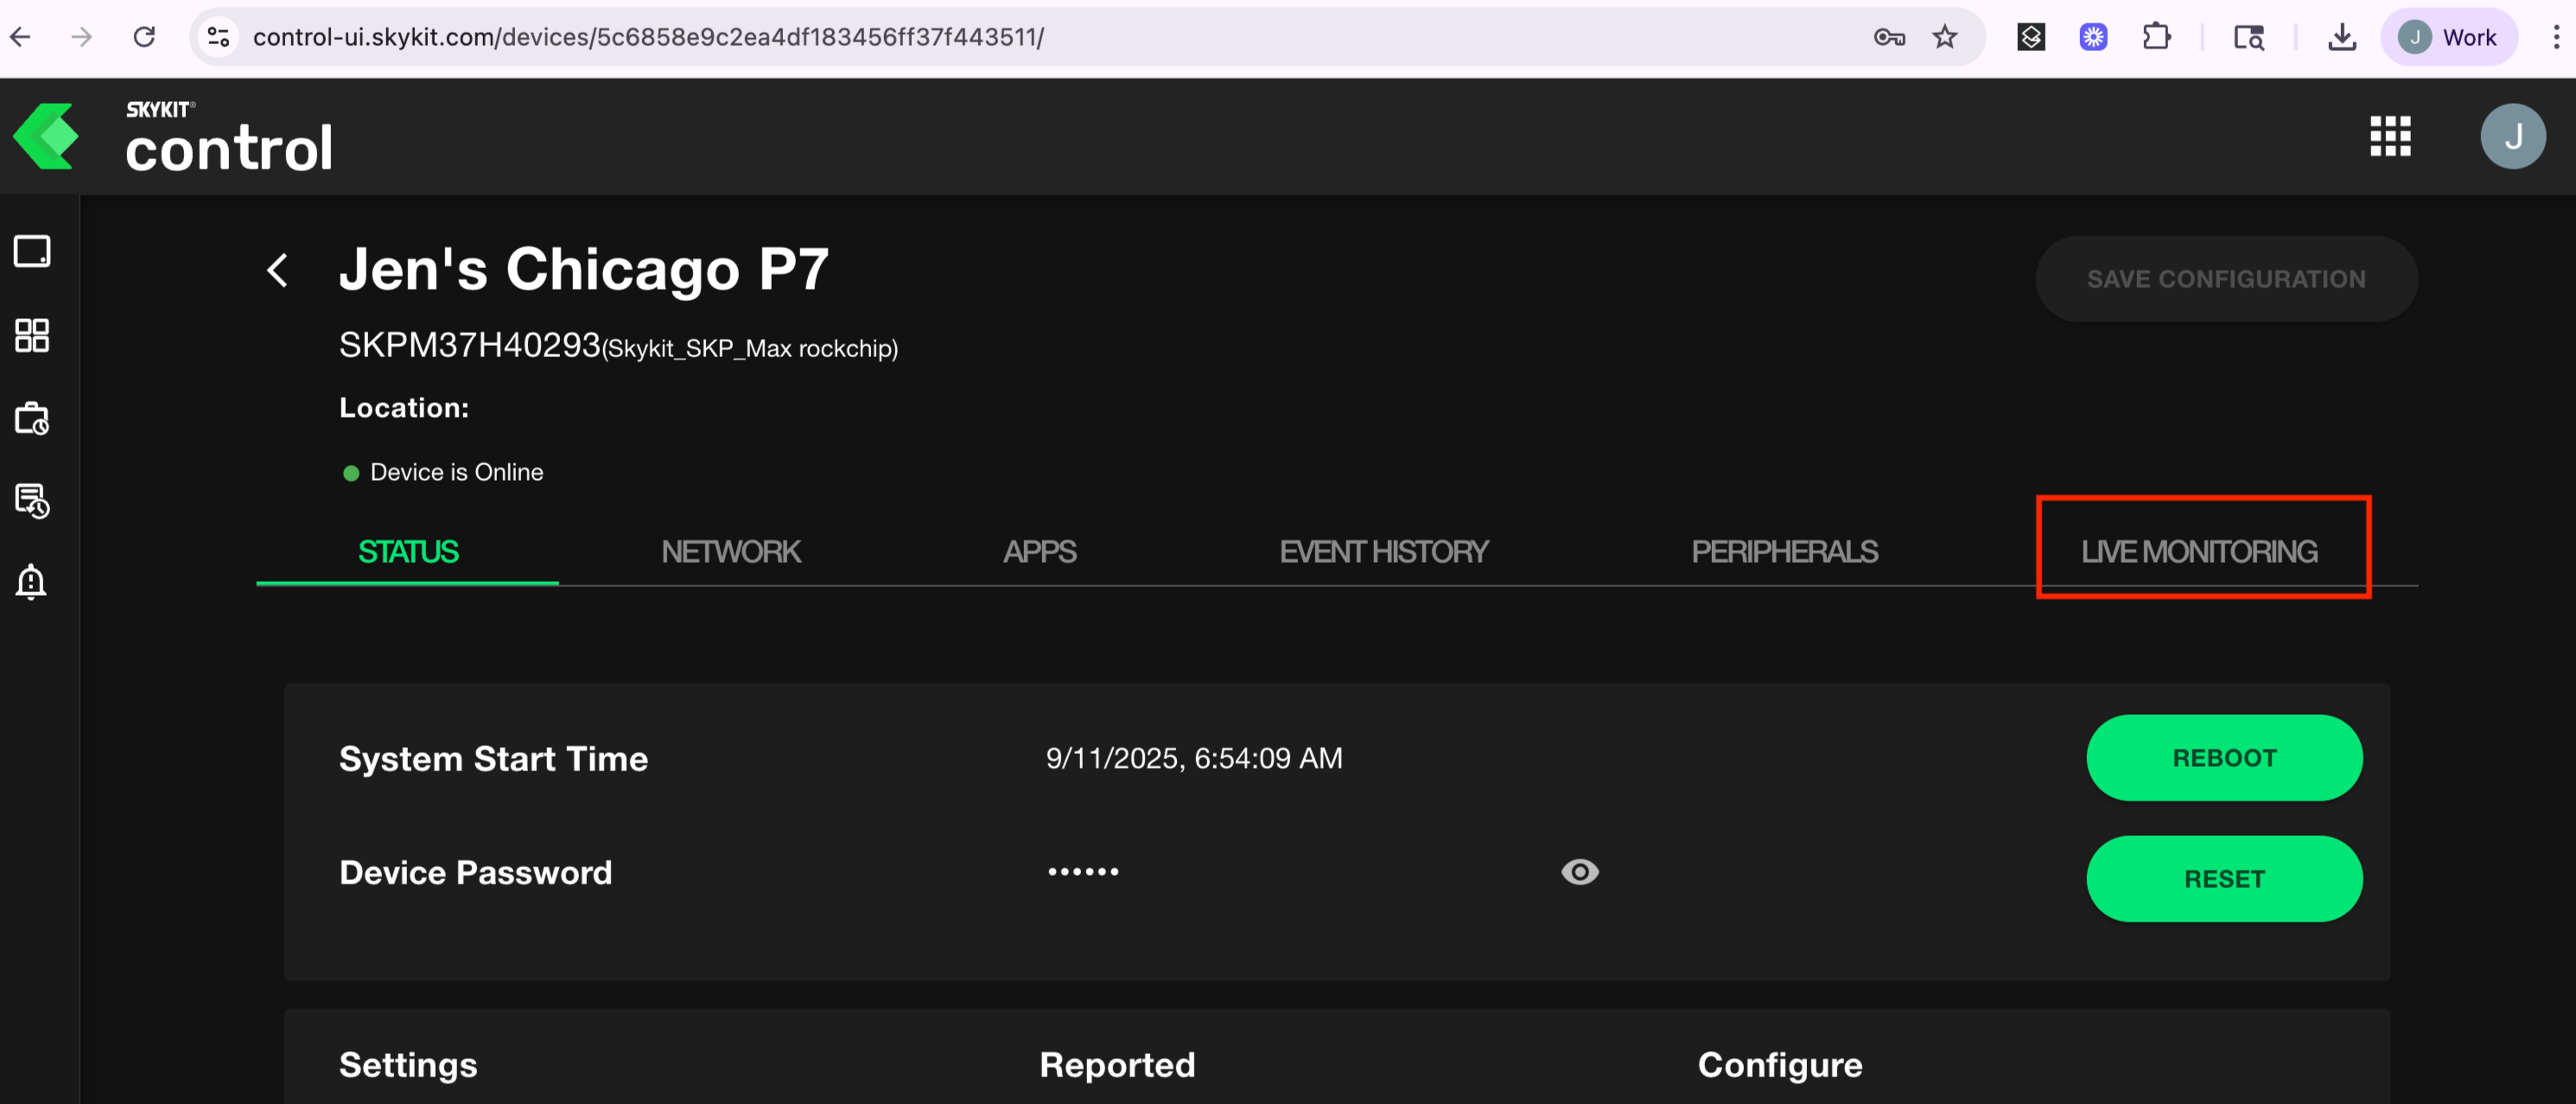
Click Live Monitoring on the device page
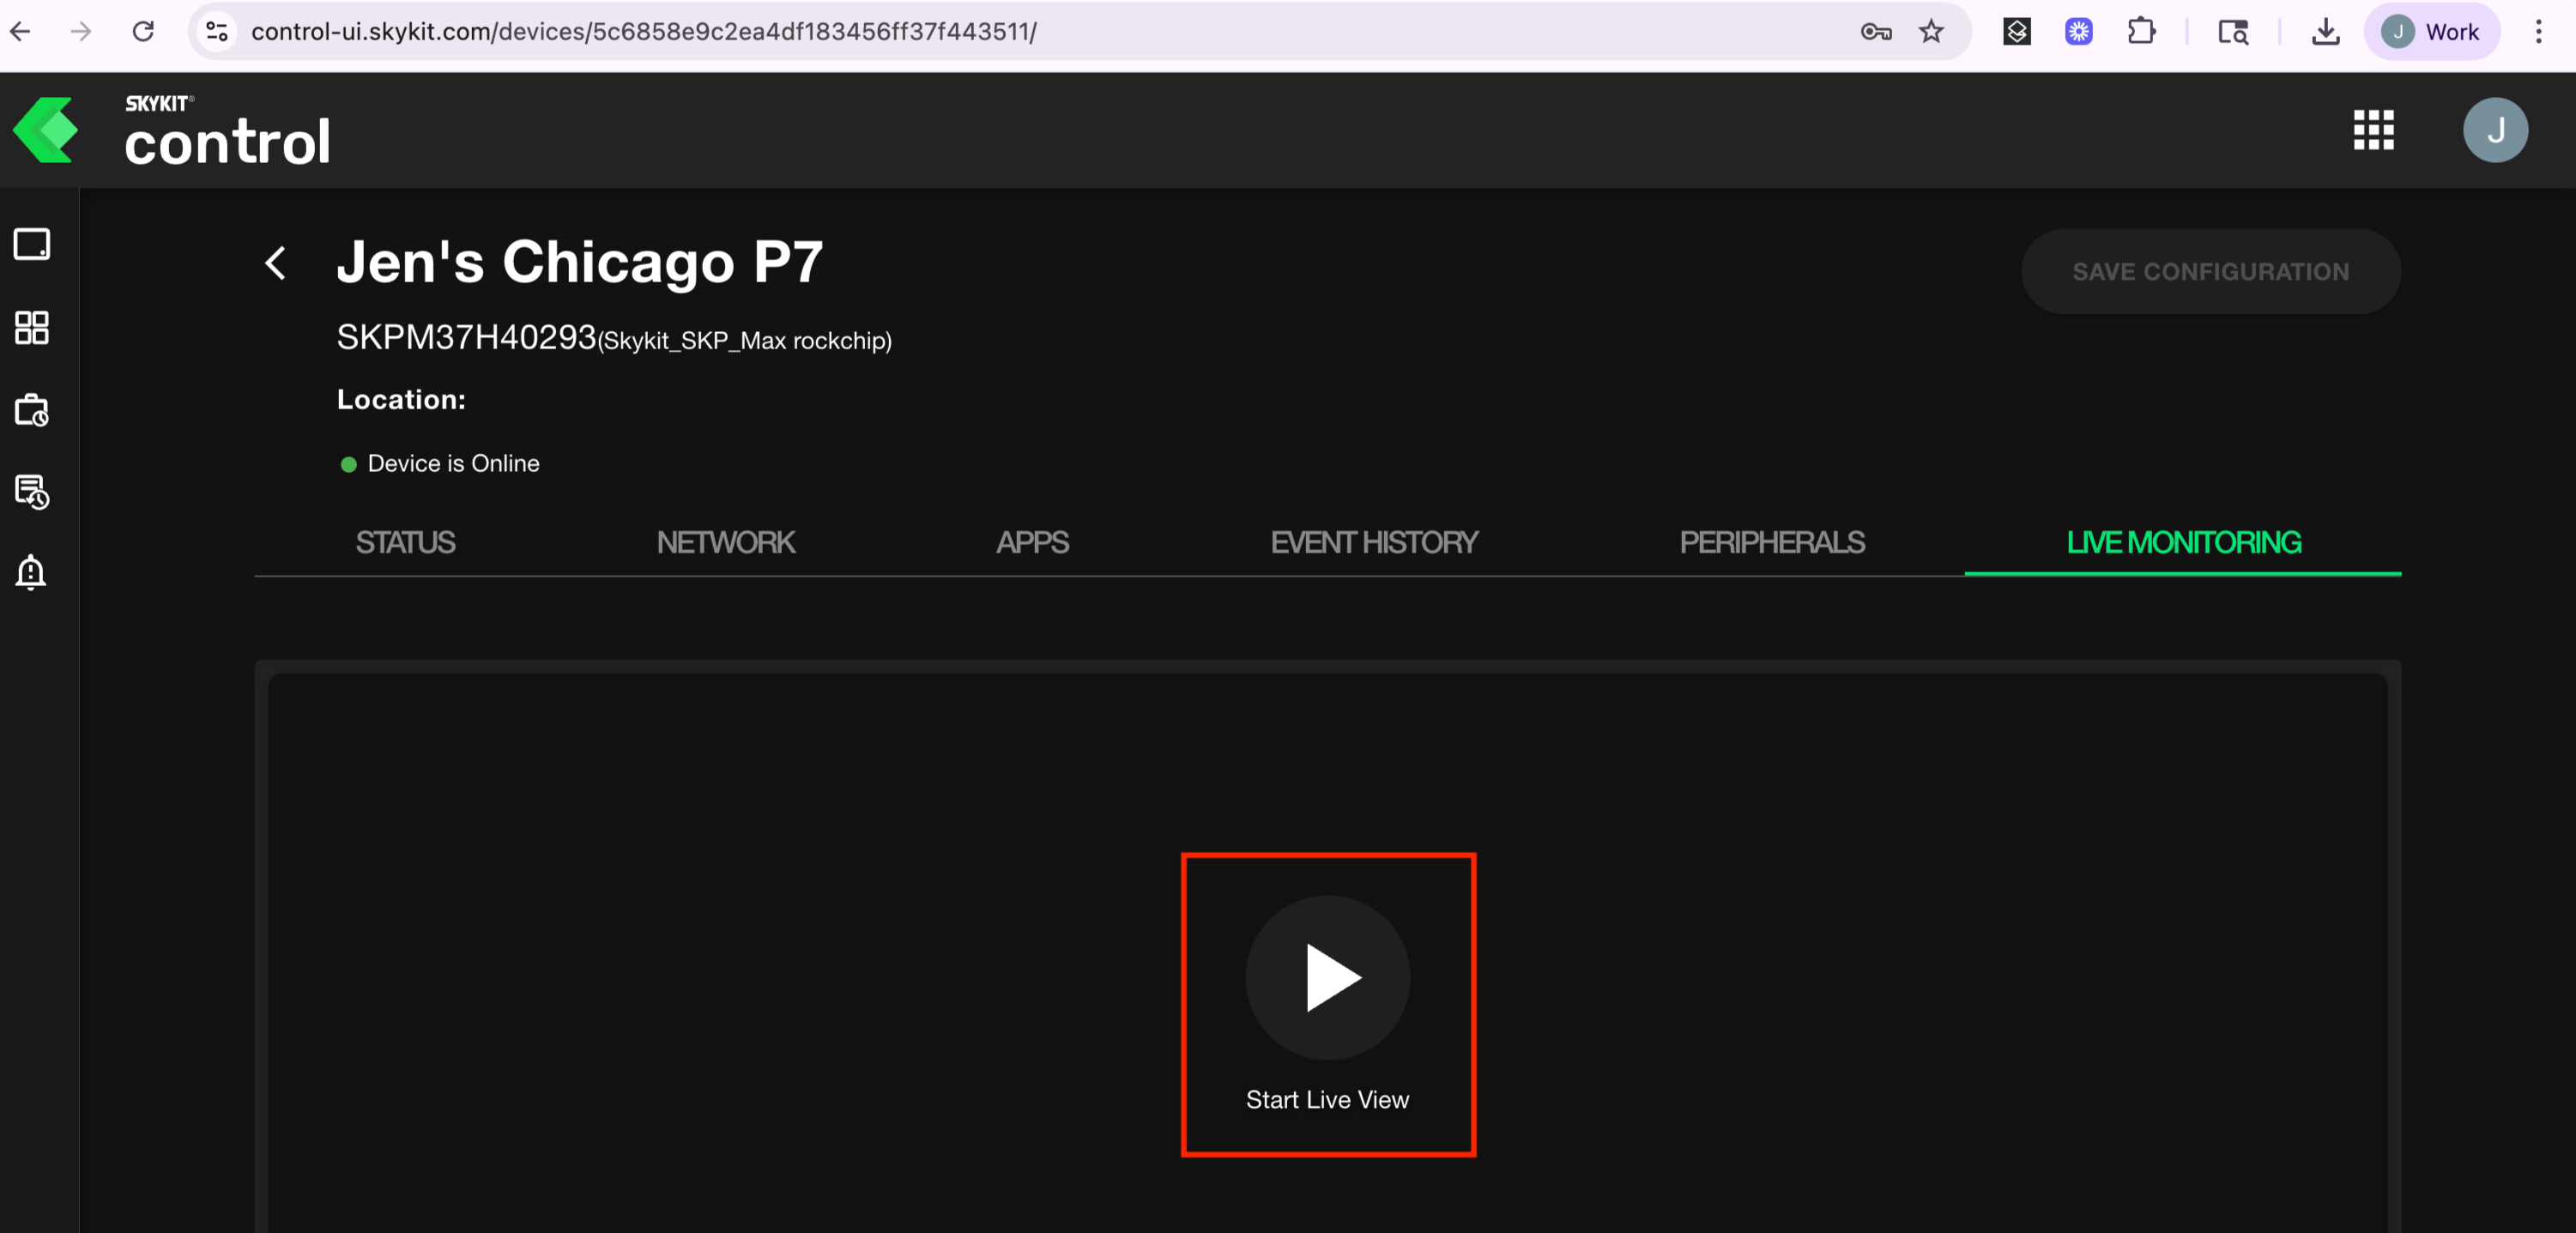
4. Click the Start Live View play button.
Note on Stream Quality
Because Live View streams in real time, its resolution depends heavily on the strength of the device’s network connection. A poor connection may result in a blurry stream, but this does not affect the actual display quality of your device. For a highly accurate picture of what is playing, we recommend taking a Screenshot or viewing the screen in person.
Extending a Live View Session
By default, Live View sessions are 3 minutes long. During an active session, an “Extend” button appears that allows you to extend the session by a minute, up to a maximum of 3 minutes.
Live View Requirements
To run Live View, the Skykit Media Player connected to your display must have the latest version of Skykit apps. For instructions on updating your player, scroll down to Troubleshooting Tips.
Currently, Live View will work on all Skykit Media Players with our firmware.
Live View Troubleshooting Tips
Common Cases You May Run Into
Live View cannot run multiple instances simultaneously. For example, if Live View is active on a display and a coworker attempts to launch it on the same display, they will encounter an error.
Depending on your network connection, this may affect the quality of the live view
Your network firewall configuration must allow the domain
global.relay.metered.ca
Making Sure Your Skykit Player is Up to Date
There are two ways you can update the Skykit Apps on your player:
Update on the Skykit Media Player itself. To do this, follow the instructions below:
Restart your device
If app updates are available, a gear icon will appear at the bottom left
Click the gear icon using the device remote or a USB connected keyboard or mouse
Update the apps via Skykit Control. To do this, follow the instructions below:
Log in to Skykit Control
Click on a device
Click on the Apps tab
Click Update All Apps button
If you don’t have access to Skykit Control or having trouble updating, please contact your Skykit admin or email support@skykit.com for assistance.
Important Note: If you are using a device that does not use Skykit firmware—such as an older SKP3, an SKD10, or a device from partners such as Philips, Sony, or Hisense— Live view is not available.
Screenshots
Screenshots allow you to capture an image of what is currently playing on a Display and download it.
To take a screenshot of the content currently playing on the device:
From the Devices window, select the device you want to capture a screenshot for. The device's detail window opens.
Select the Screenshots tab.
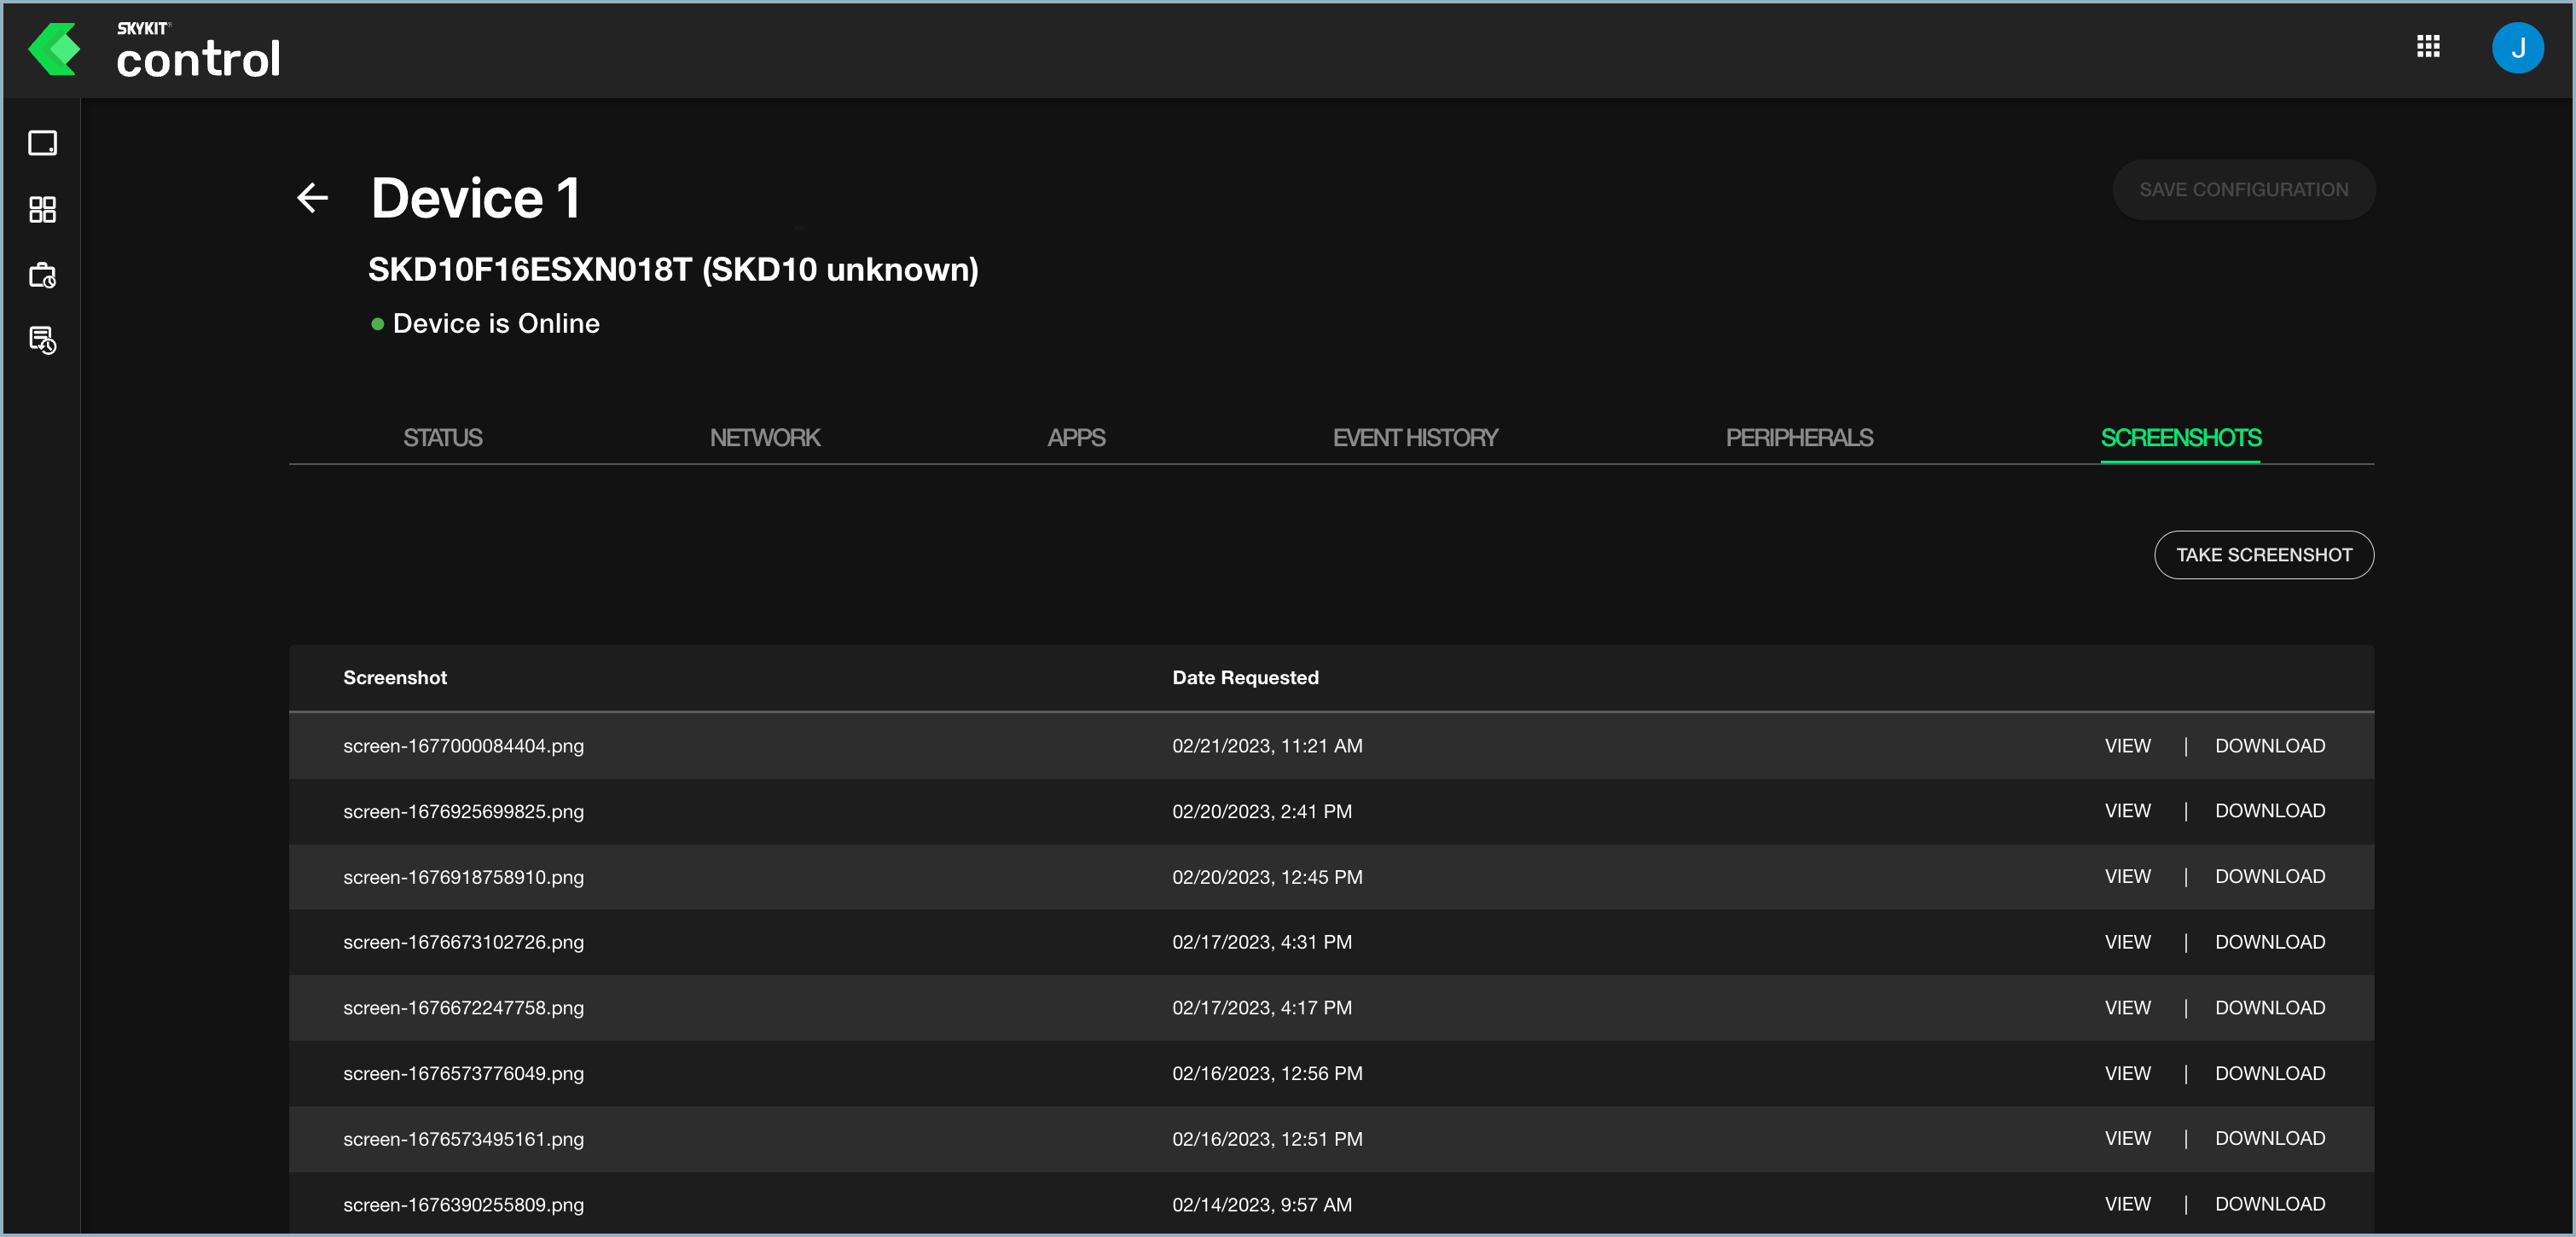
Select Take Screenshot. A progress message in the lower left corner of the window tells you the screenshot is being retrieved. The Take Screenshot button is unavailable until the image has been processed.
When the screenshot has been processed, it appears at the top of the list. The Date Requested column reflects the date and time you took the screenshot.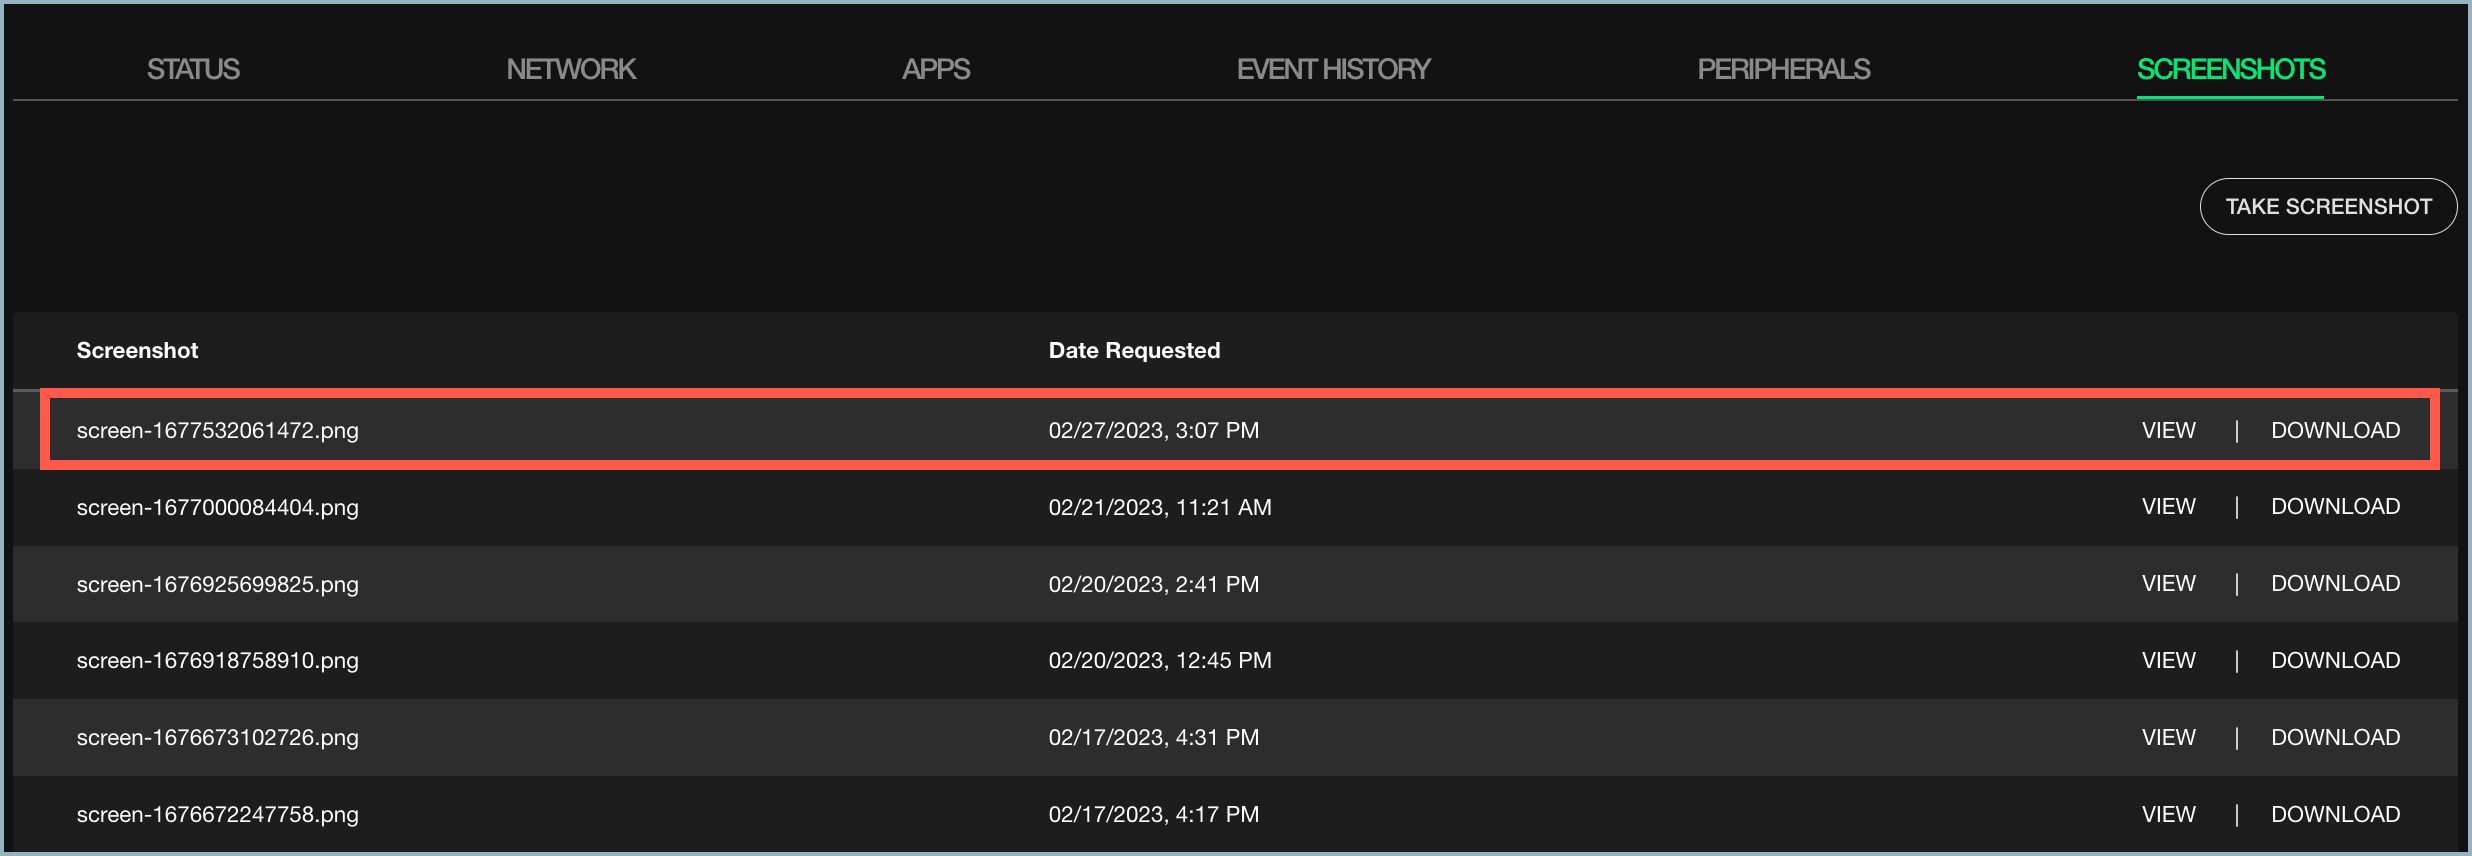
The list displays the last 20 screenshots taken.To view a screenshot, select the View link next to the screenshot you want to see.
To download a screenshot as a .png file and save the image to a shared or local drive, select Download.
Important Note: If you are using a device that does not use Skykit firmware—such as an older SKP3, an SKD10, or a device from partners such as Philips, Sony, or Hisense—the first time you take a screenshot you will see a message telling you that "Skykit Control will start capturing everything that's displayed on your screen." This does not mean Skykit is monitoring your content; screenshots are always and only initiated by the user. Your content and data are safe. Skykit Control only captures a screenshot of the content that is playing at that moment.
Check Don't Show Again and select Start Now to accept the notification and take the screenshot. You will only see this notification the first time you take a screenshot.
If Skykit firmware is on the device (for instance, on a recently shipped SKP3 or SKP Pro), you will be able to take screenshots without having to accept the certification prompt.
You can also take screenshots of multiple devices at once using the Bulk Action option. See Sending Commands for details. A screenshot taken as part of a bulk action is added to the list of images for the relevant device.