See the instructions below for steps on how to update the wi-fi settings. There are three methods to update the Wi-Fi settings.
Note: The following methods are for either Skykit hardware or Skykit-approved devices.
Method 1: Device Setup Window
- Restart your device.
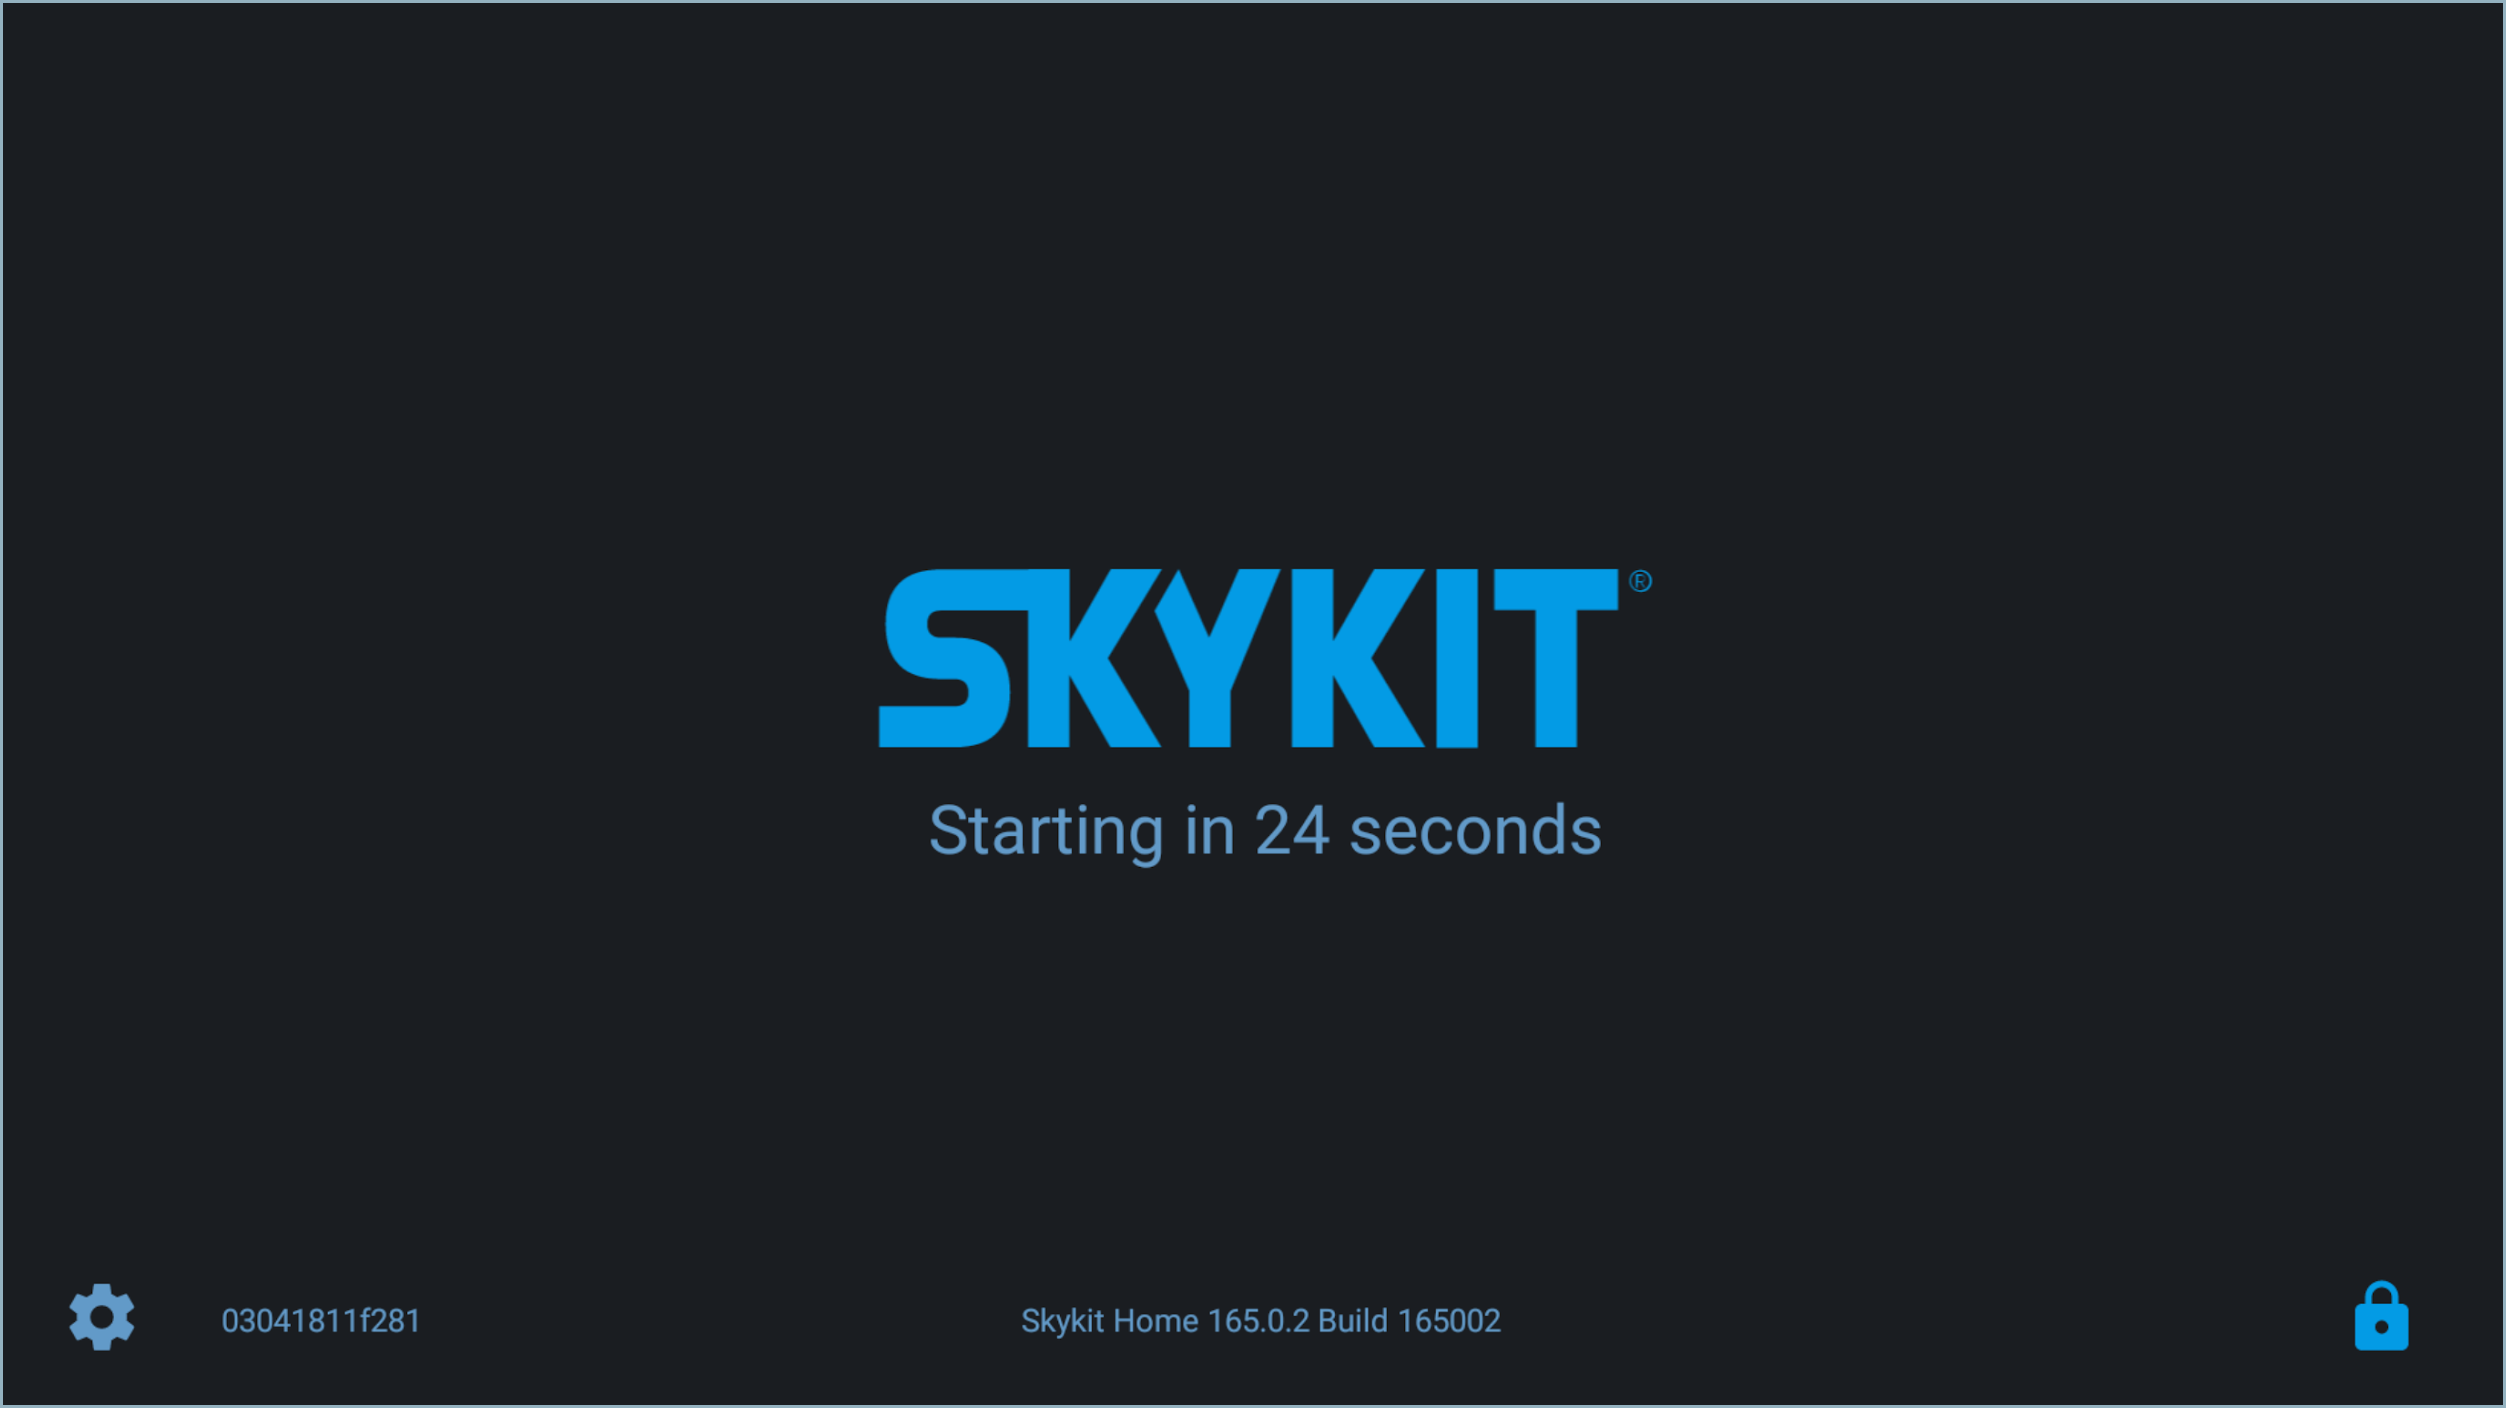
- Using the device remote, USB Keyboard, or touch, select the gear icon in the lower left corner of the Skykit loading window.
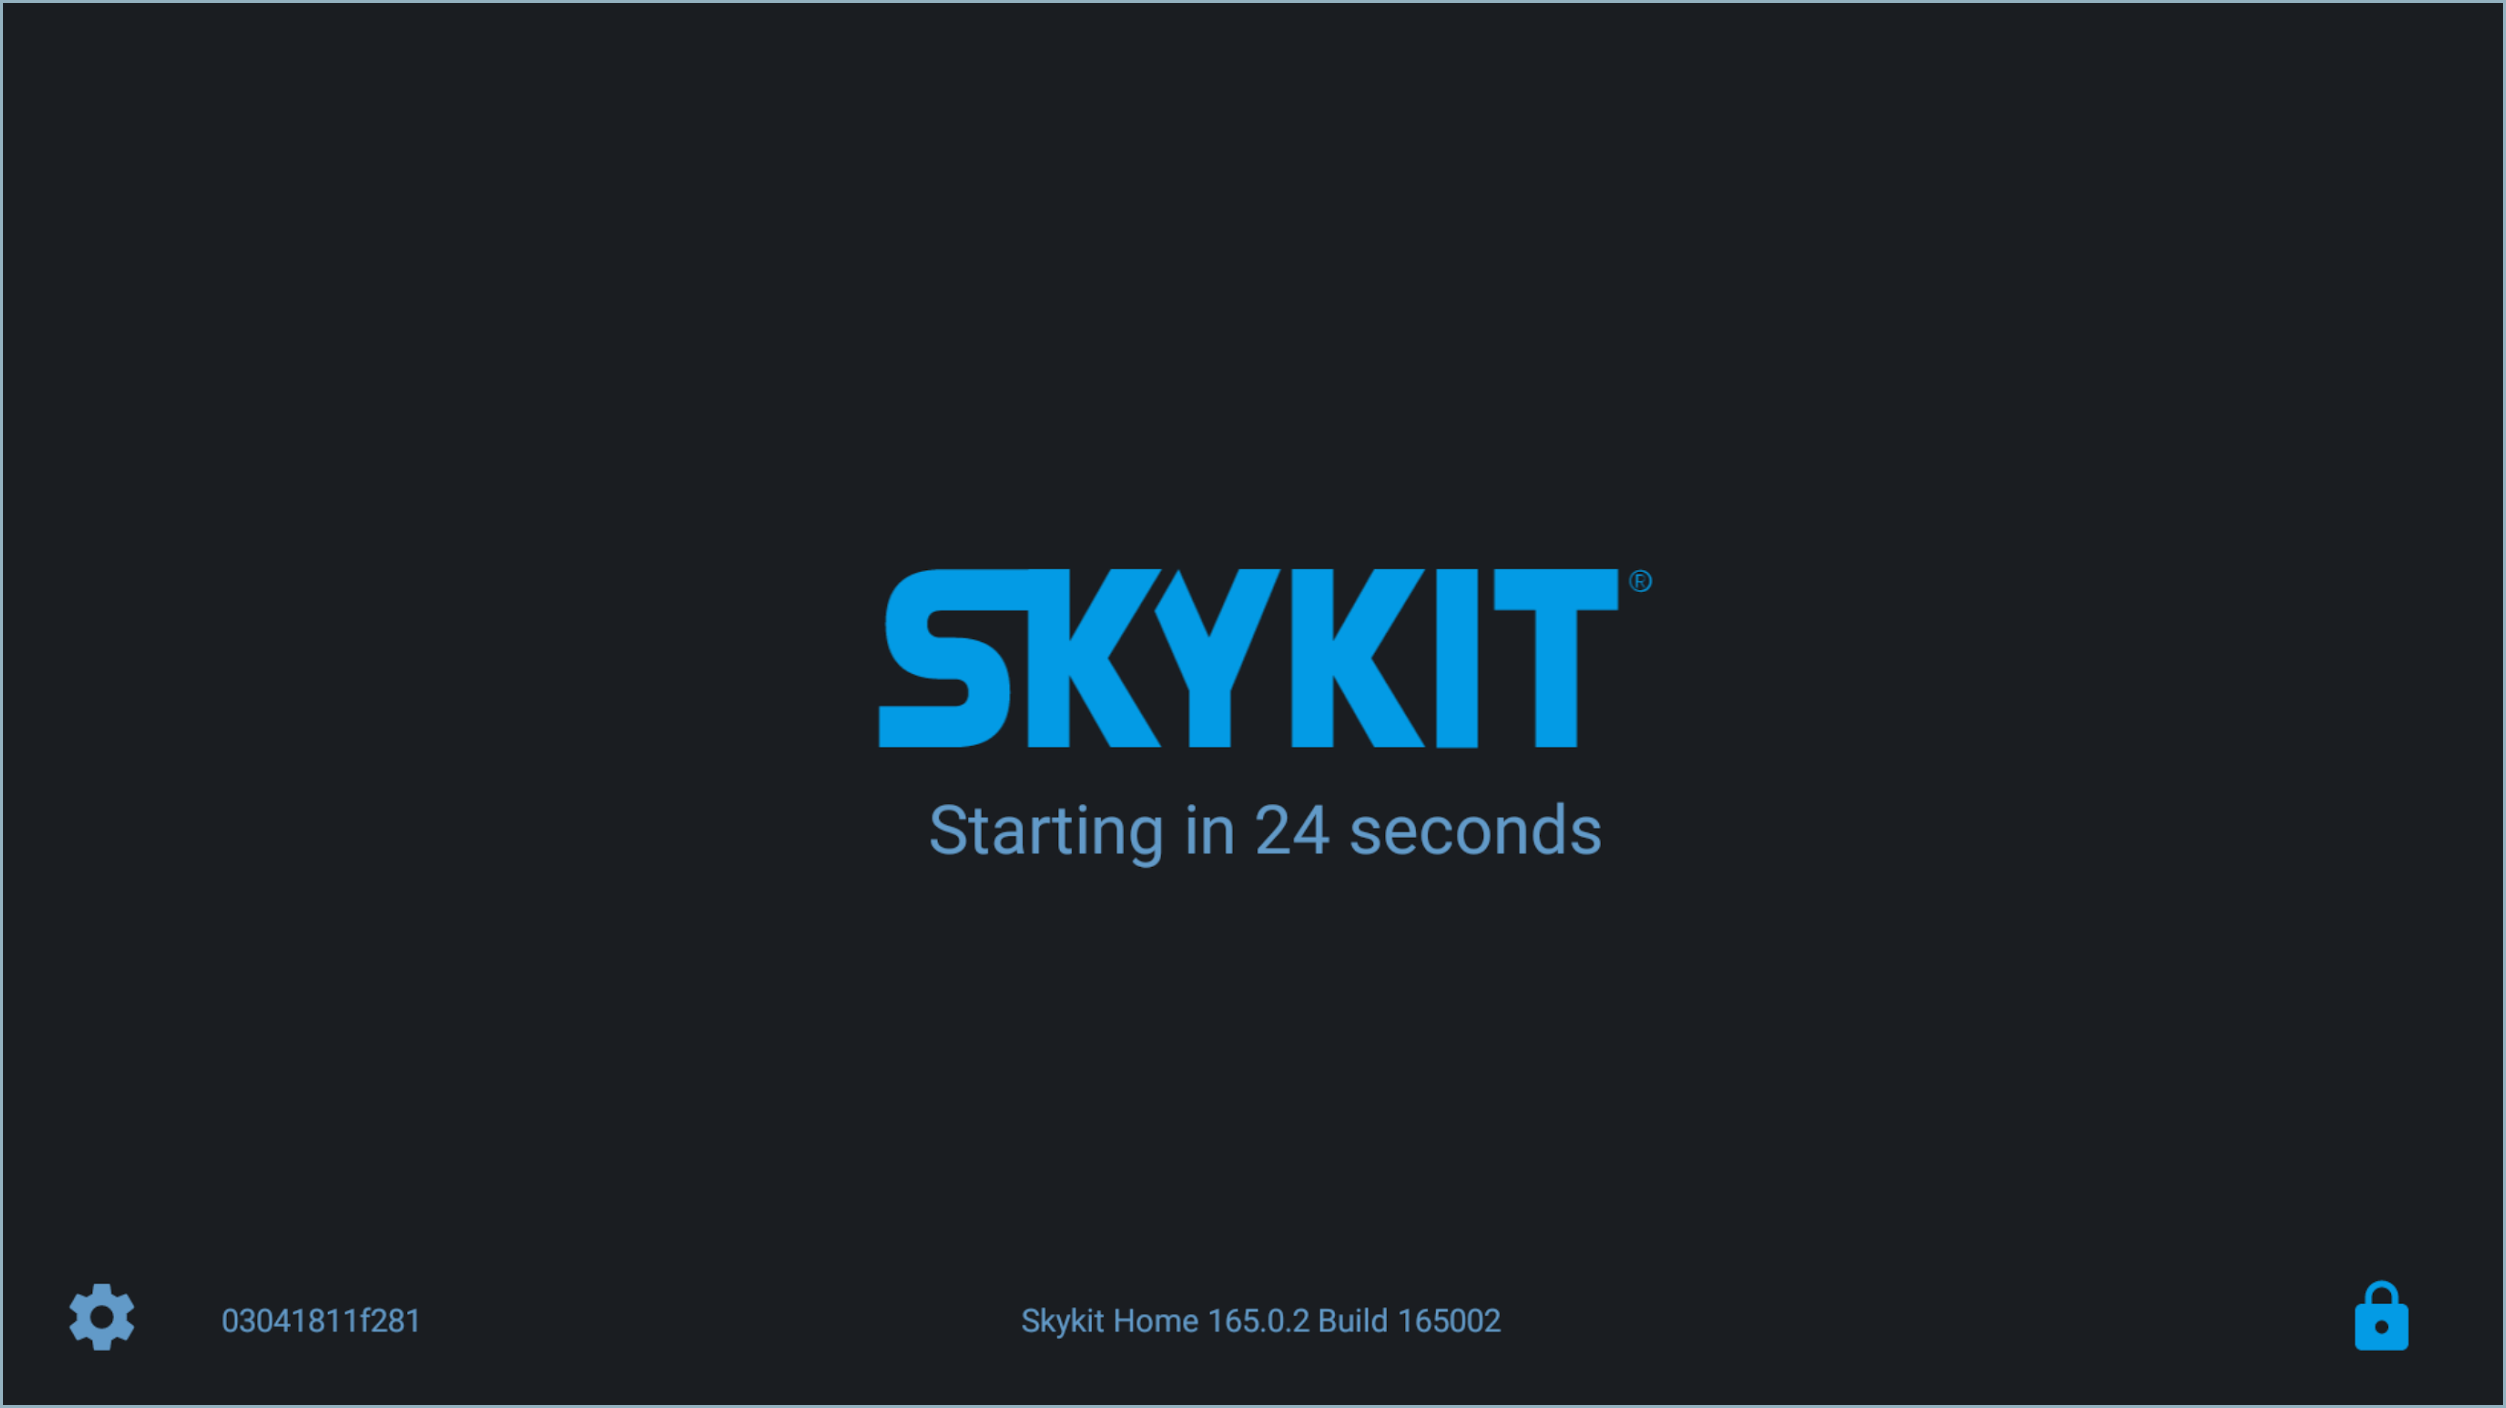
The Device Setup window opens.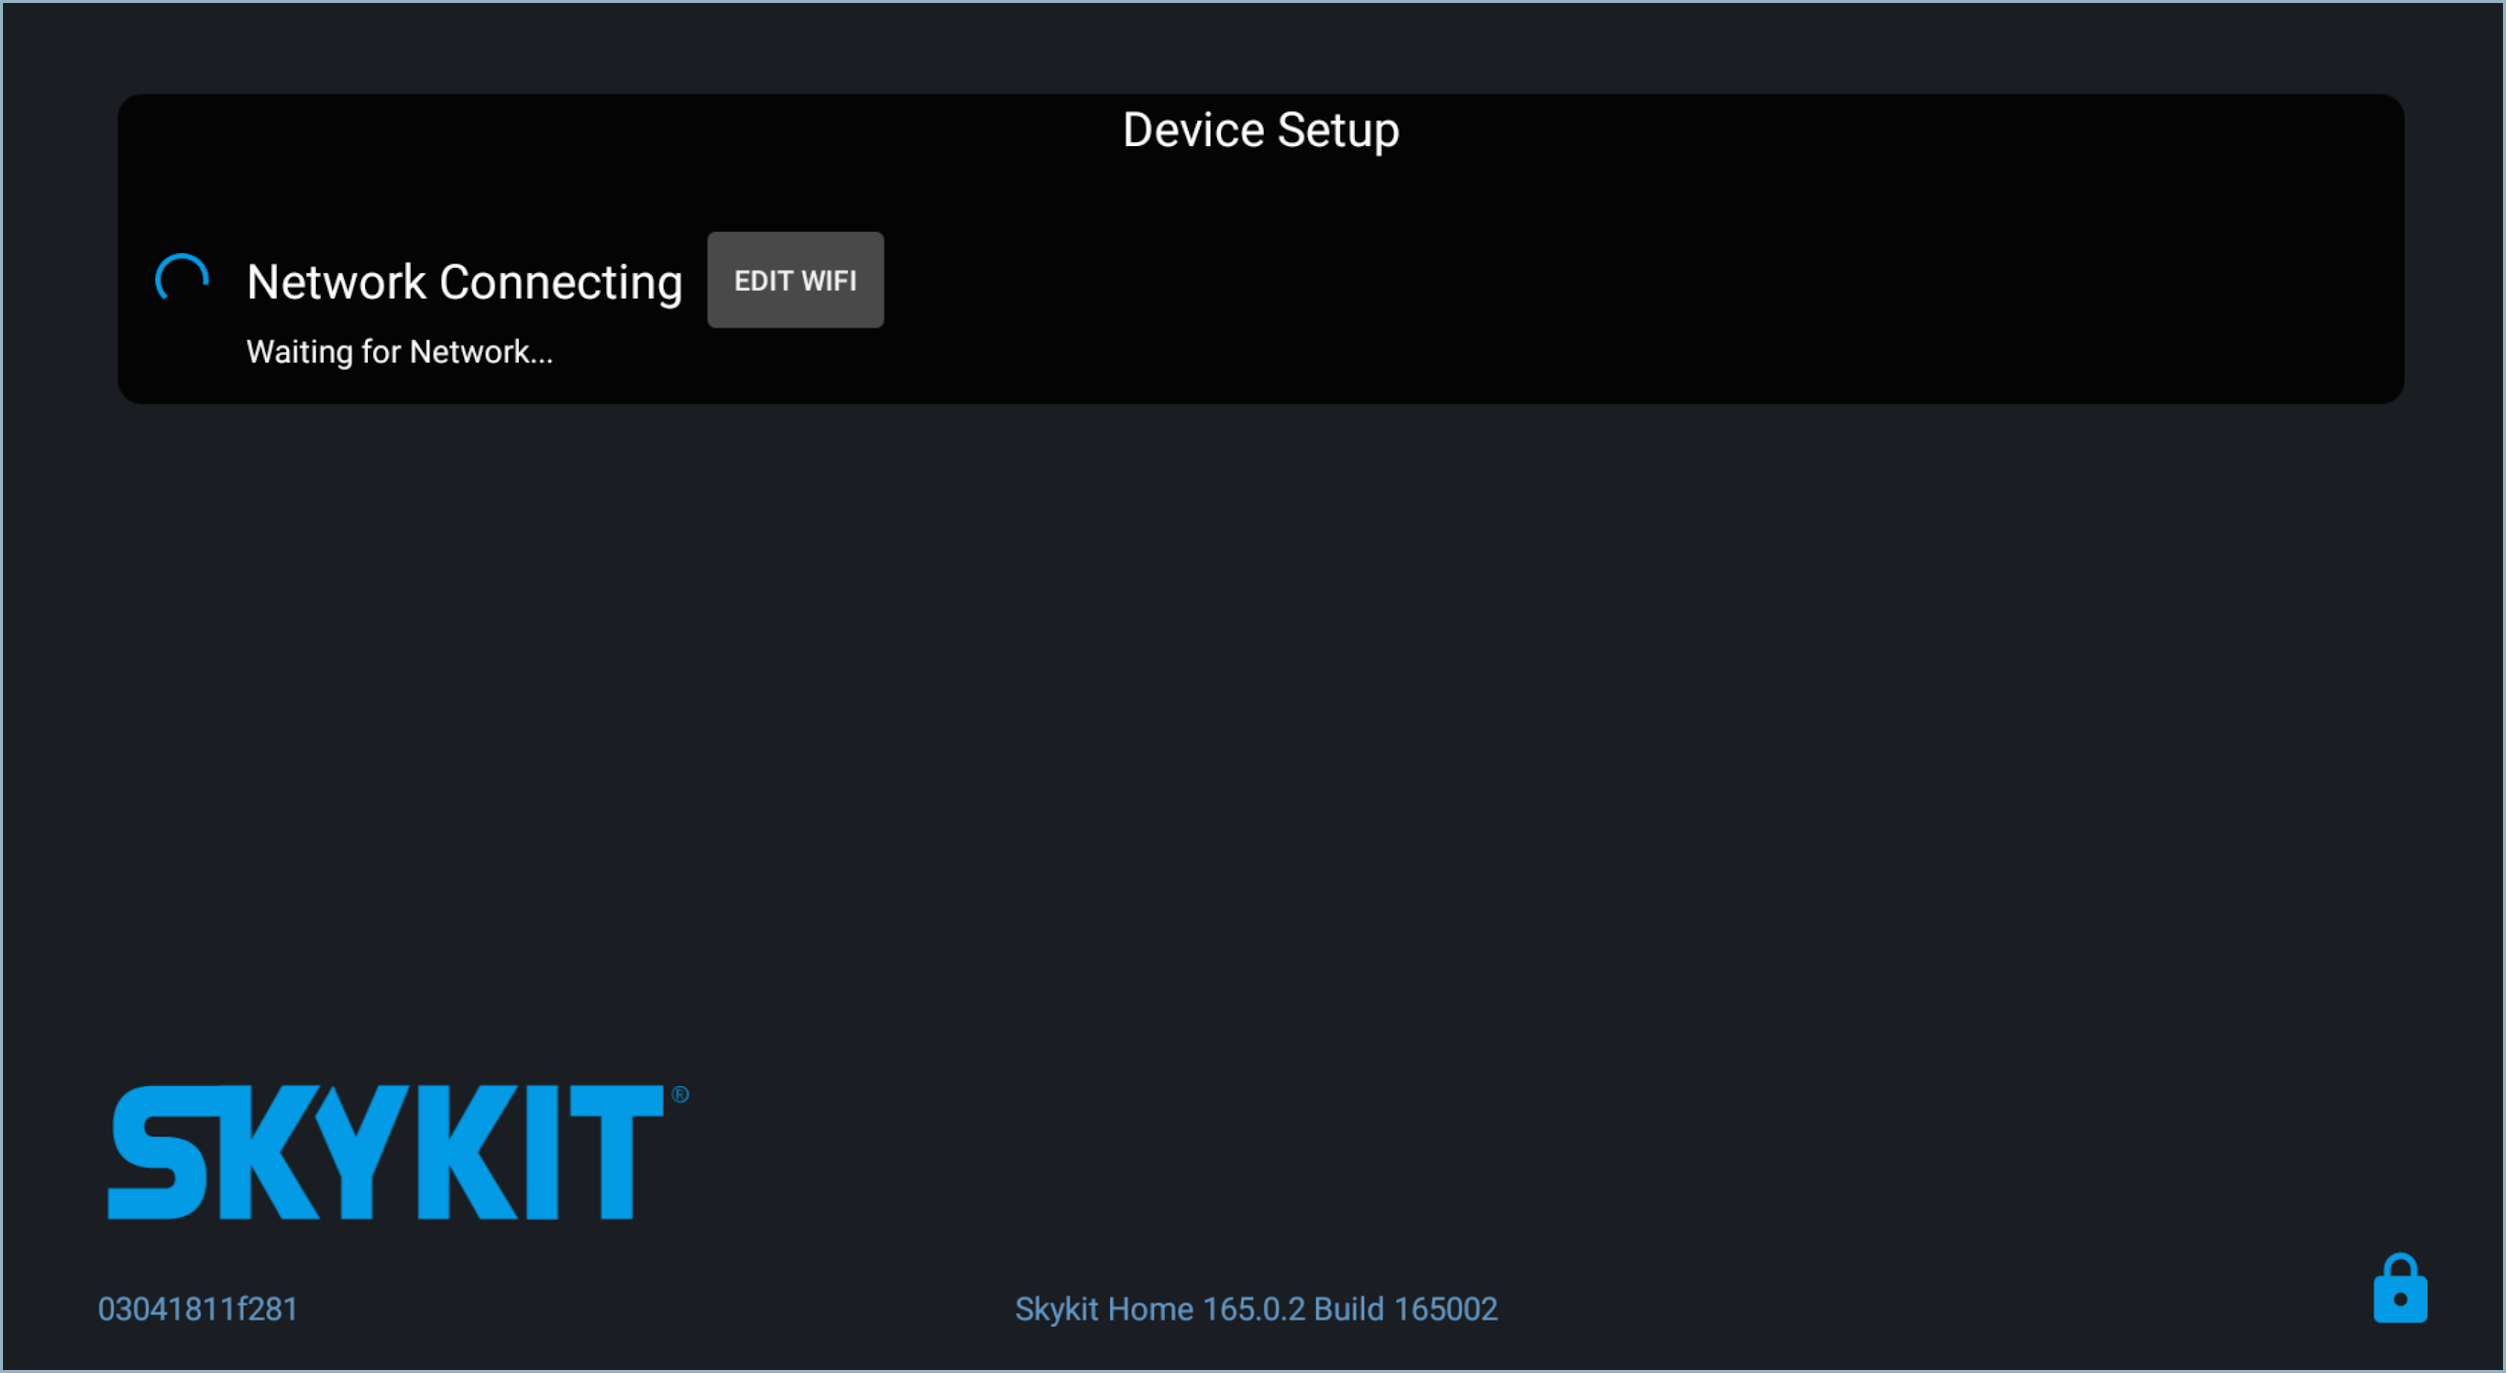
- Select Edit Wifi to open a new window that lists your available networks.
- Select your network to connect to it.
Once your device has successfully connected to the internet, it will check to make sure all apps are up to date and continue playing your content.
Method 2: Diagnostic Screen
- Ensure your device is powered on.
- Initiate the Diagnostics screen:
- If your device has a remote, press the Home button and the numbers 1 3 9 7, in that order.
- If you're using a USB keyboard, you can enter 1 3 9 7, in that order and hit enter.
- If your device is a touch-screen, tap the Top Left - Top Right - Bottom Right - Bottom Left corners of the screen.
- Select the Edit Wifi button towards the bottom of the Diagnostics screen.
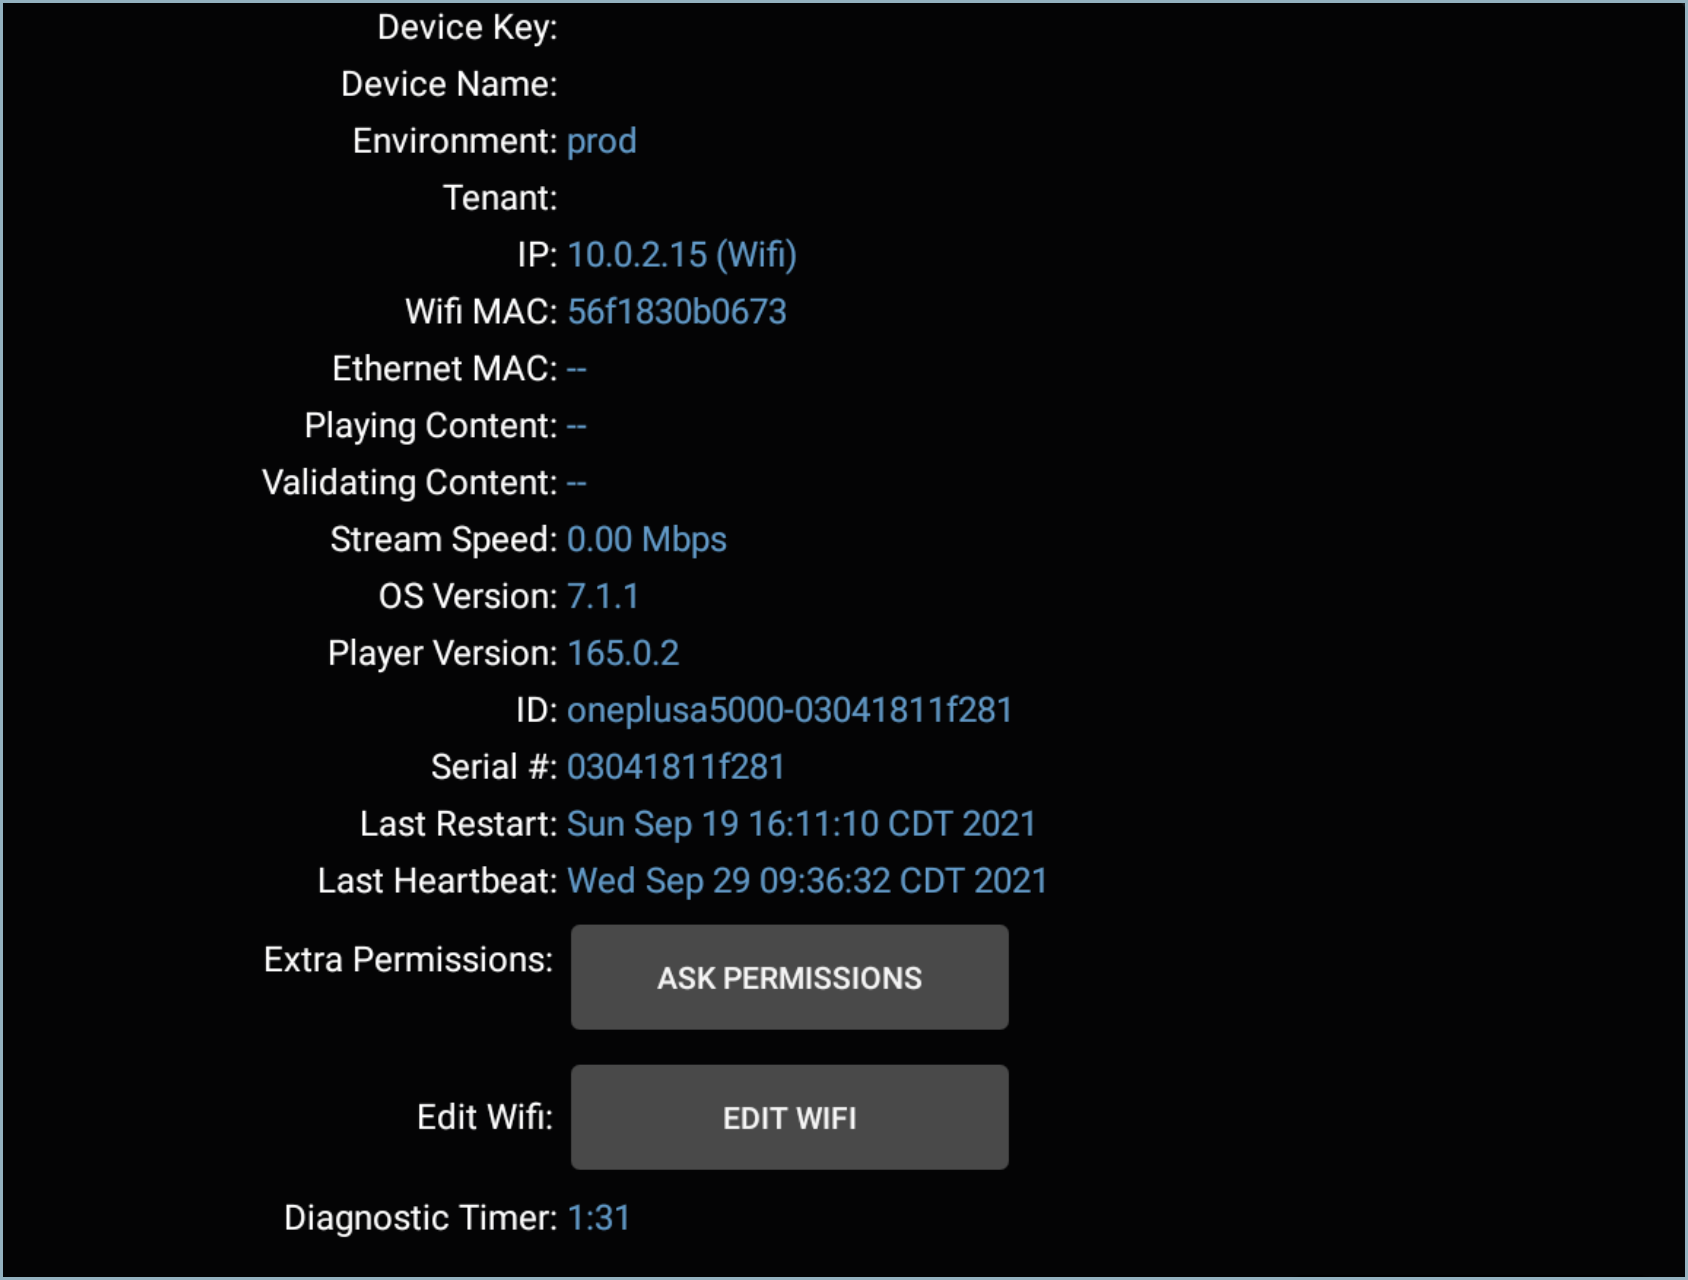
- Select Edit Wifi to open a new window that lists your available networks.
- Select your network to connect to it.
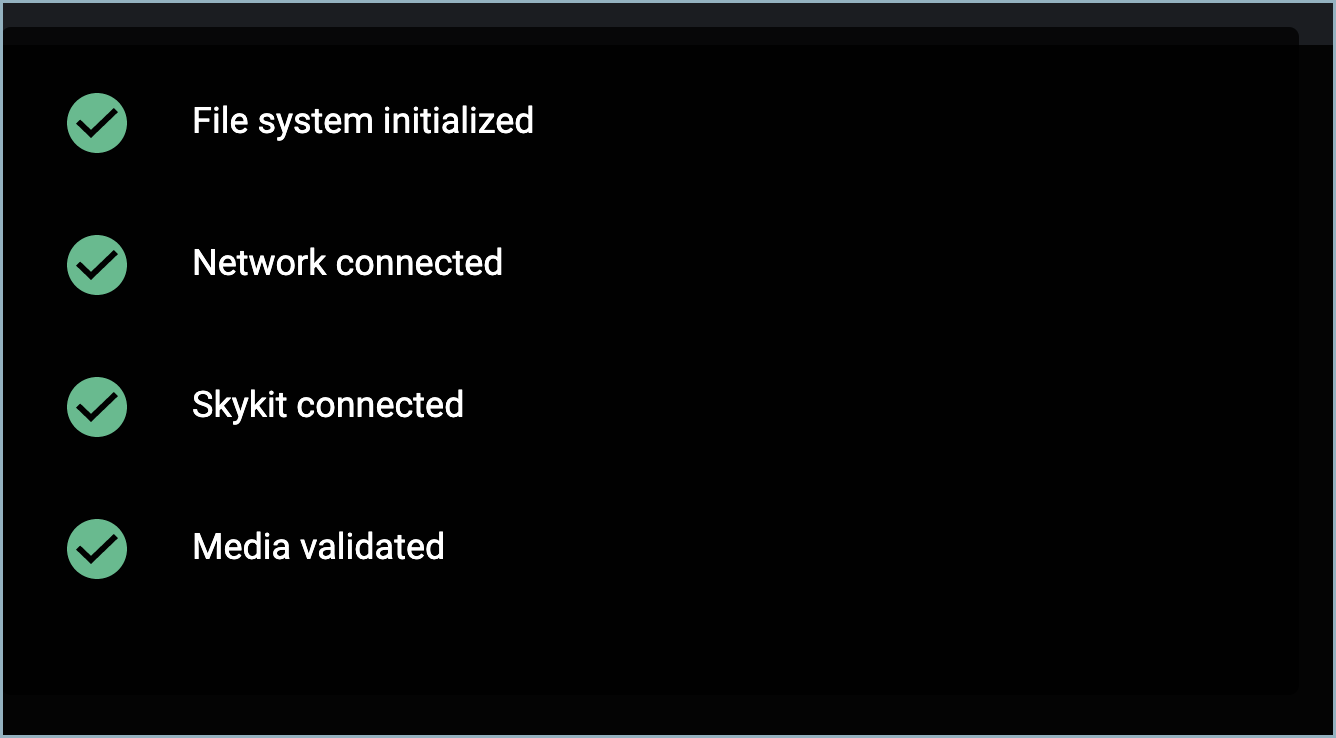
- Once you have successfully connected to the internet, you should see green check marks next to all of the connections.
Method 3: System Settings (Advanced)
This method is typically only used for troubleshooting purposes. If you are unable to connect using the above two methods, please contact Skykit Support and we will assist you with the following steps.
Skykit Support
Email: support@skykit.com
Hours of Operation: M-F 8AM to 5PM CST
- Restart your device.
- On the Skykit loading window, use the device remote or touch screen to select the Lock icon in the bottom right corner of the screen.
A prompt opens. This is where you will enter the device-specific Exit Code provided by Skykit Support.
Skykit Control now shows where you can select Manage Wifi to connect to a Wi-Fi network.