After you've set up Skykit Control, you'll want to install both managed and device apps on your devices. Managed apps are those that are already in the Skykit system. Device apps are those that are not in the Skykit repository but can be downloaded and installed.
But before you can install those apps, you need to upload them into Control.
Uploading an App to Skykit Control
From the Apps window, you can upload apps so they are available to install on your devices.
- Select Apps from the navigation bar to open the Apps window. In this window, you can see which apps are already loaded and available to install on your devices, what version of the app is available, and which release channel (Alpha, Beta, or Production) it is installed in.
.png)
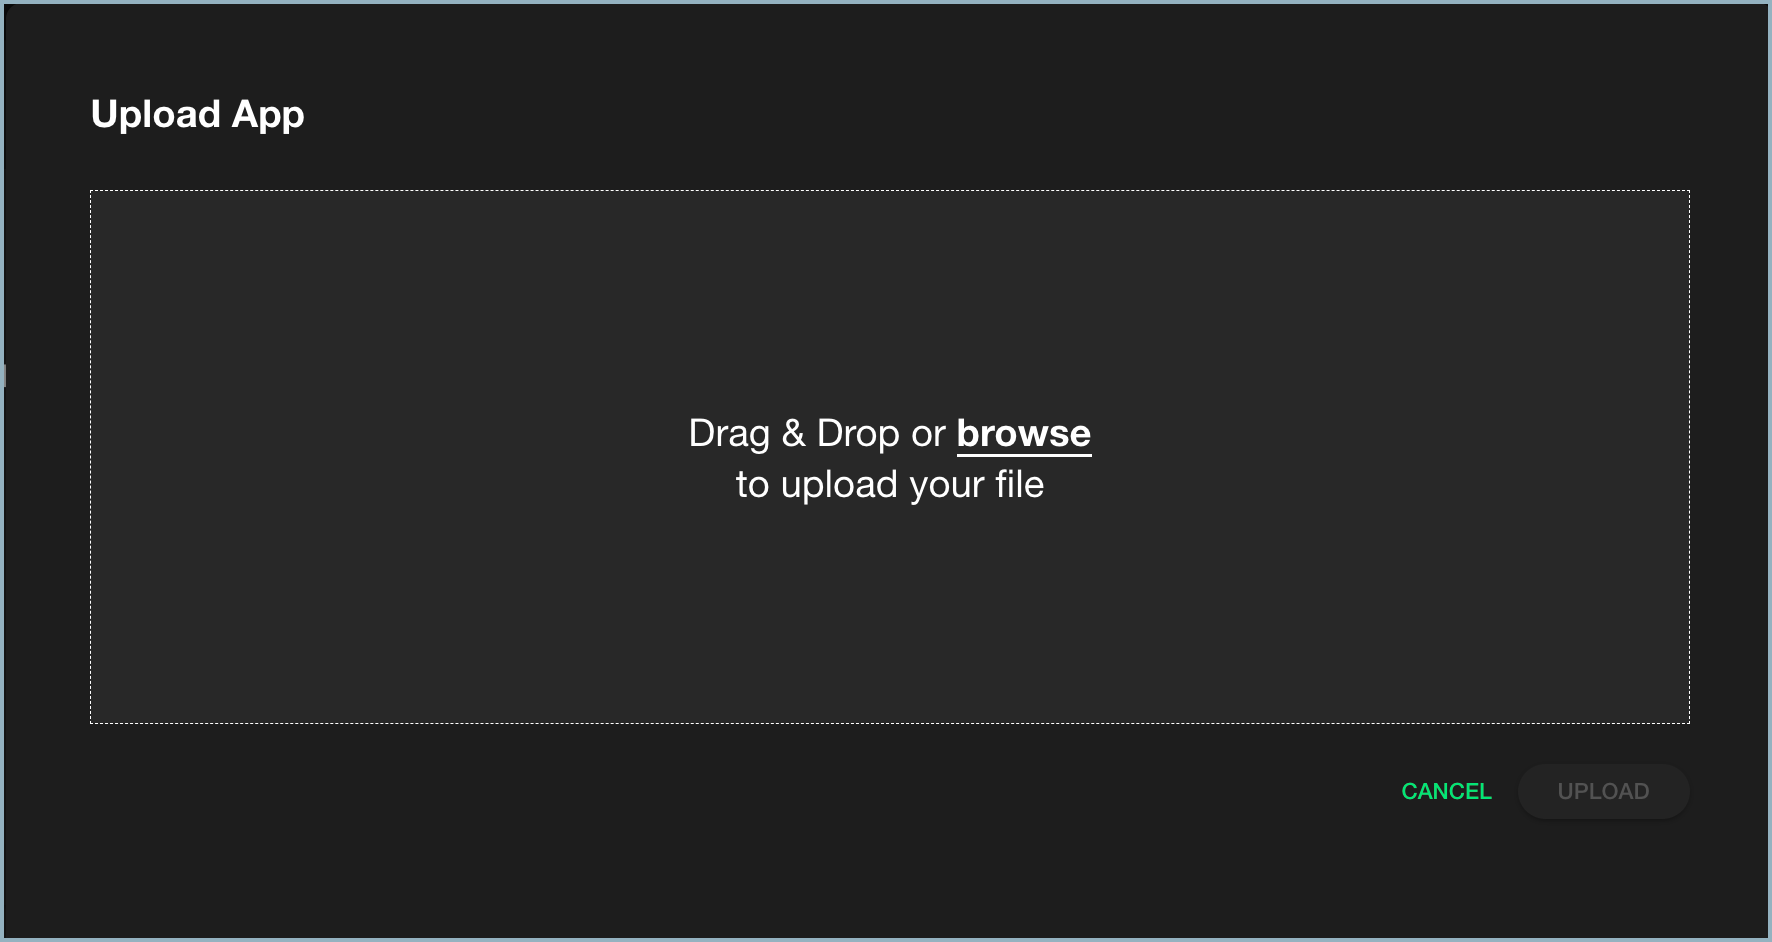
- Select Upload App. The Upload App window opens.
.png)
You can either drag and drop the app file into the window or browse to locate it in your local storage or shared drive. After you've selected the file, it appears in the window.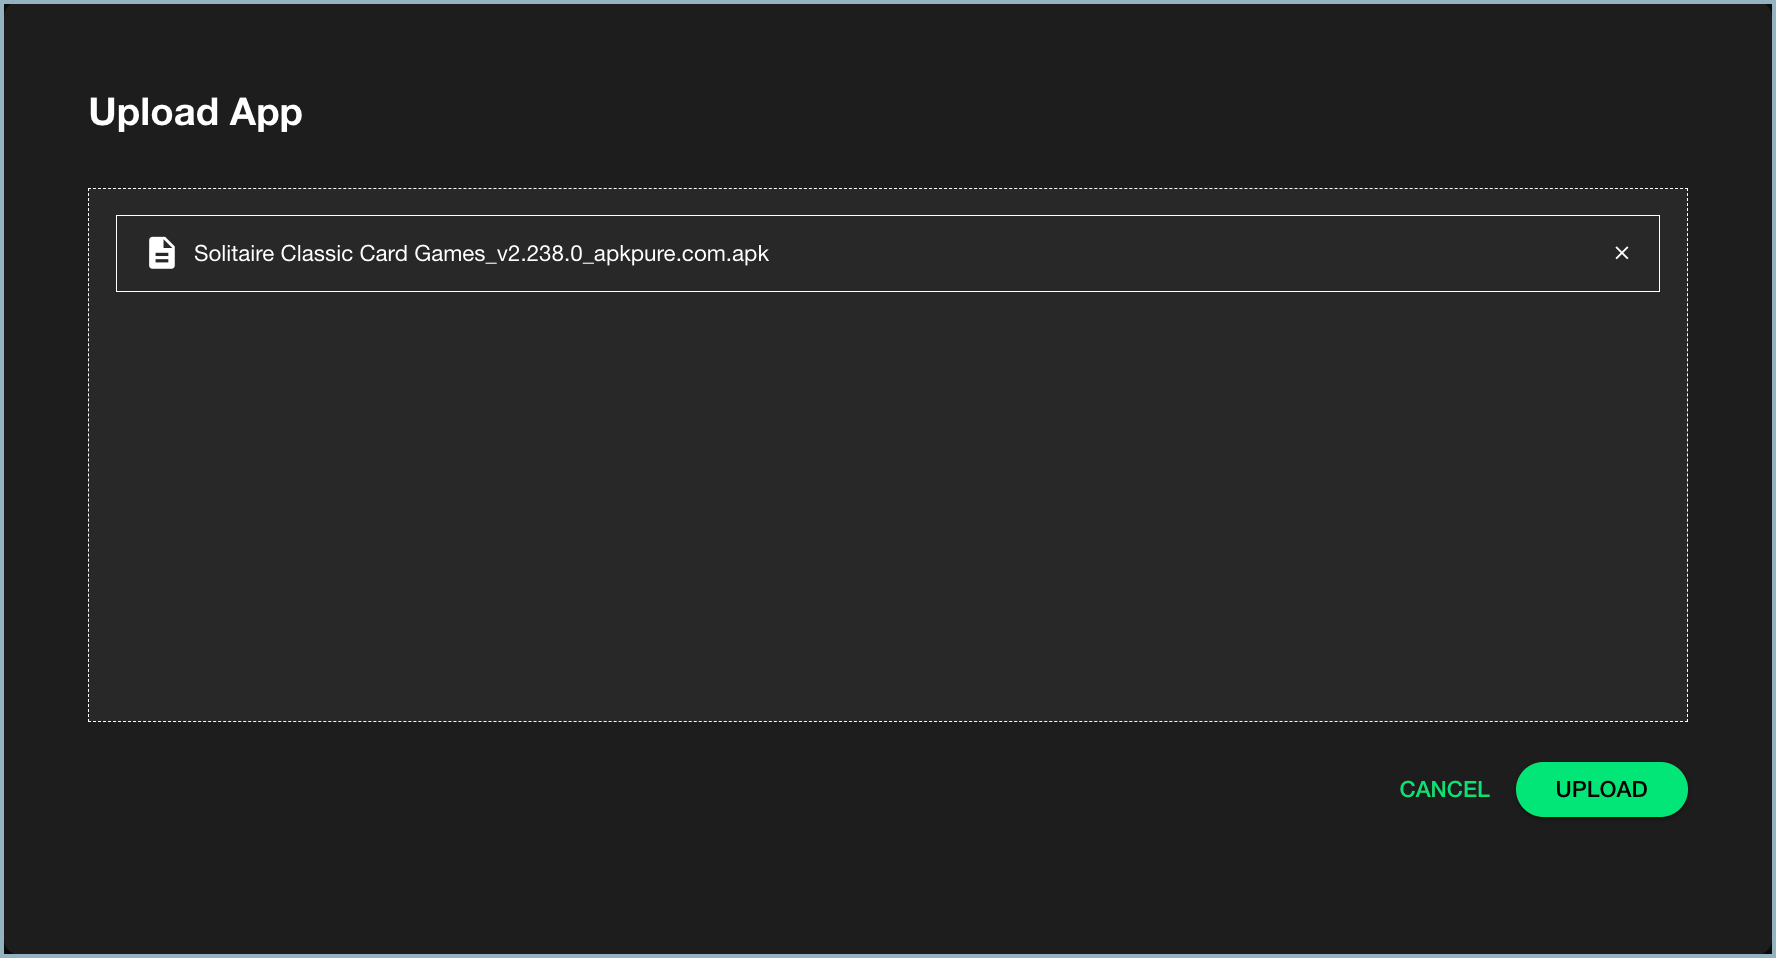
- Select Upload. When the process is complete, the app is listed in the Apps window.
.png)
The app is now available to install on your device.
Replacing an App
If a new version of the app is available, you can update it from the Apps window.
- Select Apps from the navigation bar to open the Apps window.
- Select the app you need to update. The app's detail window opens. If an updated version of the app is available, the Replace button is visible.
.png)
- Select Replace. The Upload App window opens.
- Either drag and drop your files into the upload window or select browse and choose the app files you want to upload. After you have selected the file package, it appears in the Upload App window.
.png)
- Select Upload to update the app files. The new version is now shown in the release channel.
Promoting an App to a New Release Channel
In the app detail window, you can also promote an app from one release channel to the next—from Alpha to Beta or from Beta to Production.
- Under Release Channel in the app's detail window, select Promote to Beta or Promote to Production as appropriate.
.png)
You are asked to confirm that you want to promote this app to the next release channel.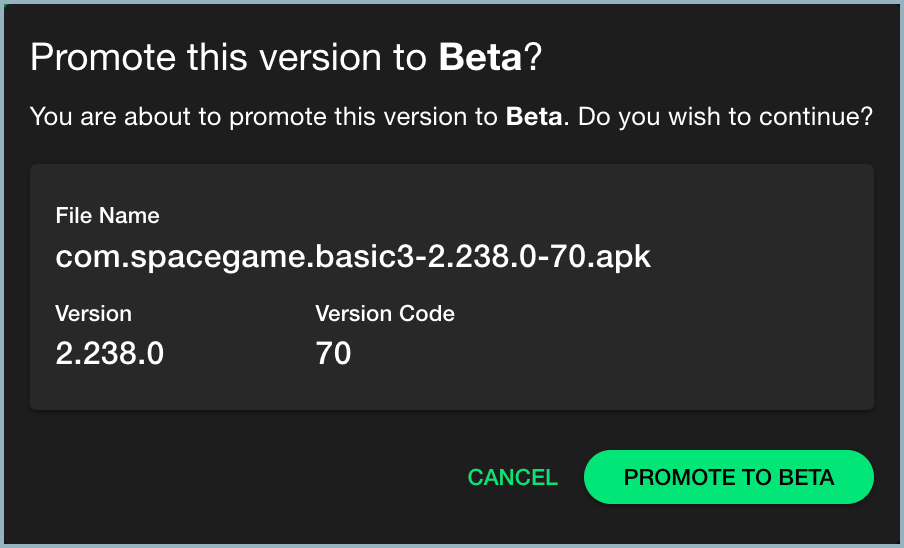
- Select Promote to Beta or Promote to Production. The app now appears under the new release channel.
.png)
Installing and Updating Apps on a Device
You can install and update both managed and device apps. Managed apps are those that are already in the Skykit system. Device apps are those that are not in the Skykit repository but can be downloaded and installed.
In the Apps tab in the device detail window, you can see which apps are already installed on the device and update, launch, reset, or uninstall them remotely.
.png)
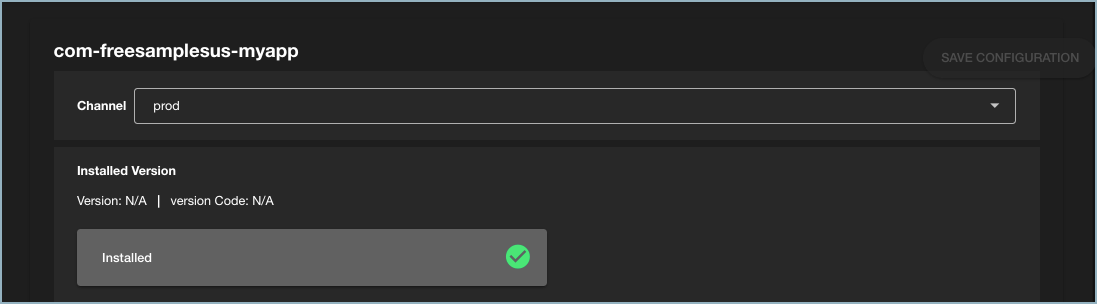
For each app currently installed, the tab shows you the name of the app, the channel, and the version number and version code. It also includes options to change the release channel, reset the app, uninstall it, or launch it.
Adding and Installing a Managed App
- In the Managed Apps section, select the Add Managed App button. The Available Managed Apps window opens, listing all the apps available to install.
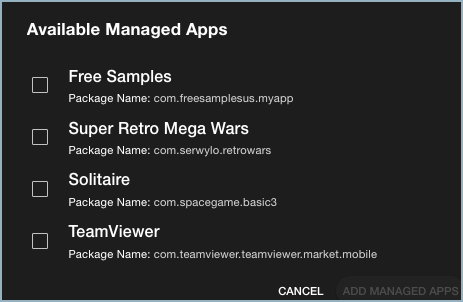
- Check the apps you want to add and then select Add Managed Apps.
.png)
The selected apps are added to the list of managed apps in the Apps tab. - When you're ready to install an app, select the release channel you want to install the app in.
- Select Install App and confirm that you want to install the app. The process might take several minutes, depending on the size of the app. You see a confirmation message when the app has been installed.
- Repeat steps 3 and 4 for each app you want to install.
Adding a Device App
Adding a device app is an "ad hoc" way of adding apps without having to go through the Skykit system.
- Scroll to the Device Apps section of the Apps tab and select Add Device App. The Add Device App window opens.
- Enter the name of the application in the relevant field.
- Enter the package name.
- Enter the URL of the APK (Android Package Kit). An APK file includes all of the software program's codes and assets.
- Enter the version number and the version code for the app.
- Select Add Device App to add the app and return to the Apps tab. The new app is now listed under Device Apps.
- Select Install App to install the new app.
Launching, Resetting, and Updating Apps
From the Apps tab in the device detail window, you can update, launch, reset, or uninstall an app. You can also update all apps currently installed on the device.
.png)
- Update App: When an update is available for an installed app, you'll see the available version number and an Update App button underneath the installed version number. Select Update App to install the update. When you are prompted to confirm that you want to update the app, select Yes.
- Update All Apps: If several apps have available updates, you can update all of them at the same time by selecting Update All Apps. When you are prompted to confirm that you want to update the apps, select Yes.
- Launch: To launch the app, select Launch. When you are prompted to confirm that you want to launch the app, select Yes.
- Reset: To reset the app, select Reset. When you are prompted to confirm that you want to reset the app, select Yes.
- Uninstall: To uninstall the app, select Uninstall. When you are prompted to confirm that you want to uninstall the app, select Yes. The app is uninstalled.