Logging In
- Using the Google Chrome browser, go to beam.skykit.com. The login window opens.
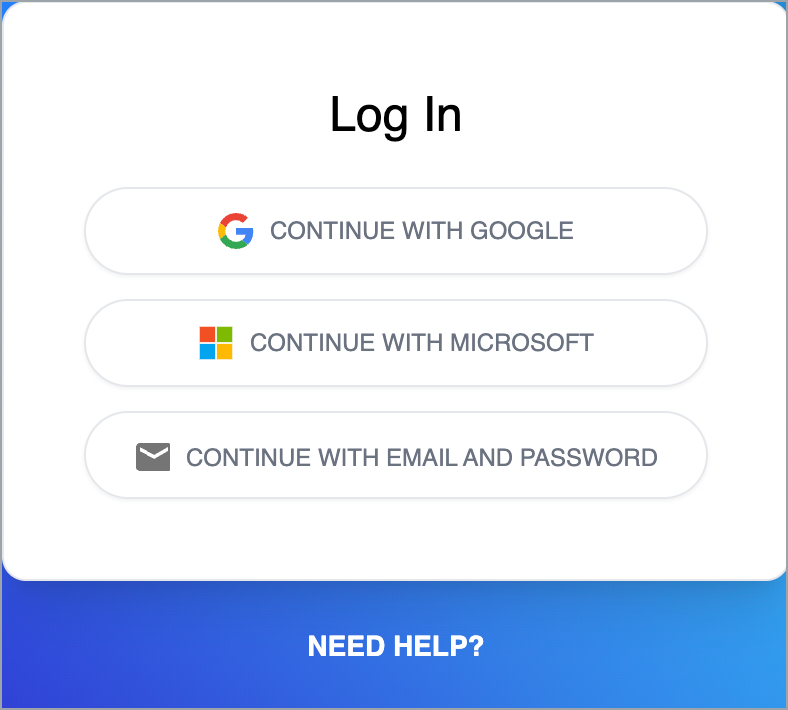
- Choose your login method:
- Continue with Google
- Continue with Microsoft
- Continue with Email and Password
If you're a first-time user, you may see a permissions window from which you will need to add Skykit as an approved app.
- Enter your login credentials. The Select a Tenant window opens.
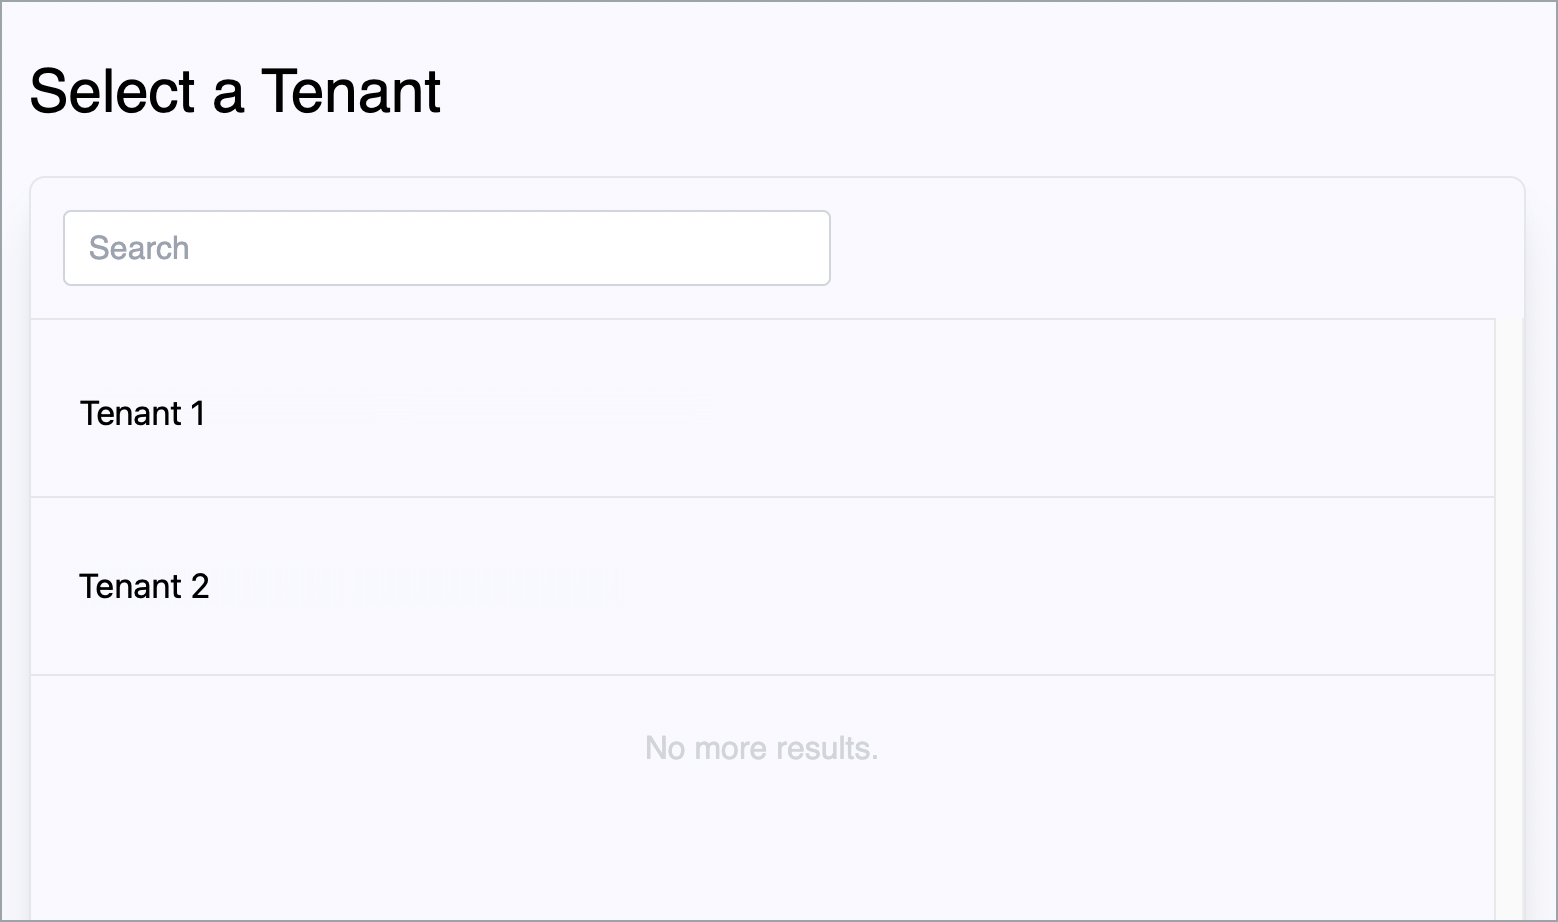 A tenant is a grouping of devices that provides a way of managing content and access to Beam. A company with offices in three different cities, for example, might have three tenants, each one representing an office. Contact support@skykit.com to set up tenants.
If you have only one tenant, you bypass the Select a Tenant window and go directly to the Content window in Beam. - Select the tenant you want to work in. Skykit Beam opens, defaulting to the Content menu for the tenant you selected.
.png)
The Content menu lists all of the content items available for the selected tenant.
Note: If you log in from the main Skykit login page (https://login.skykit.com/) rather than the Beam login URL provided in step 1, you'll see a product selection window after you choose the tenant.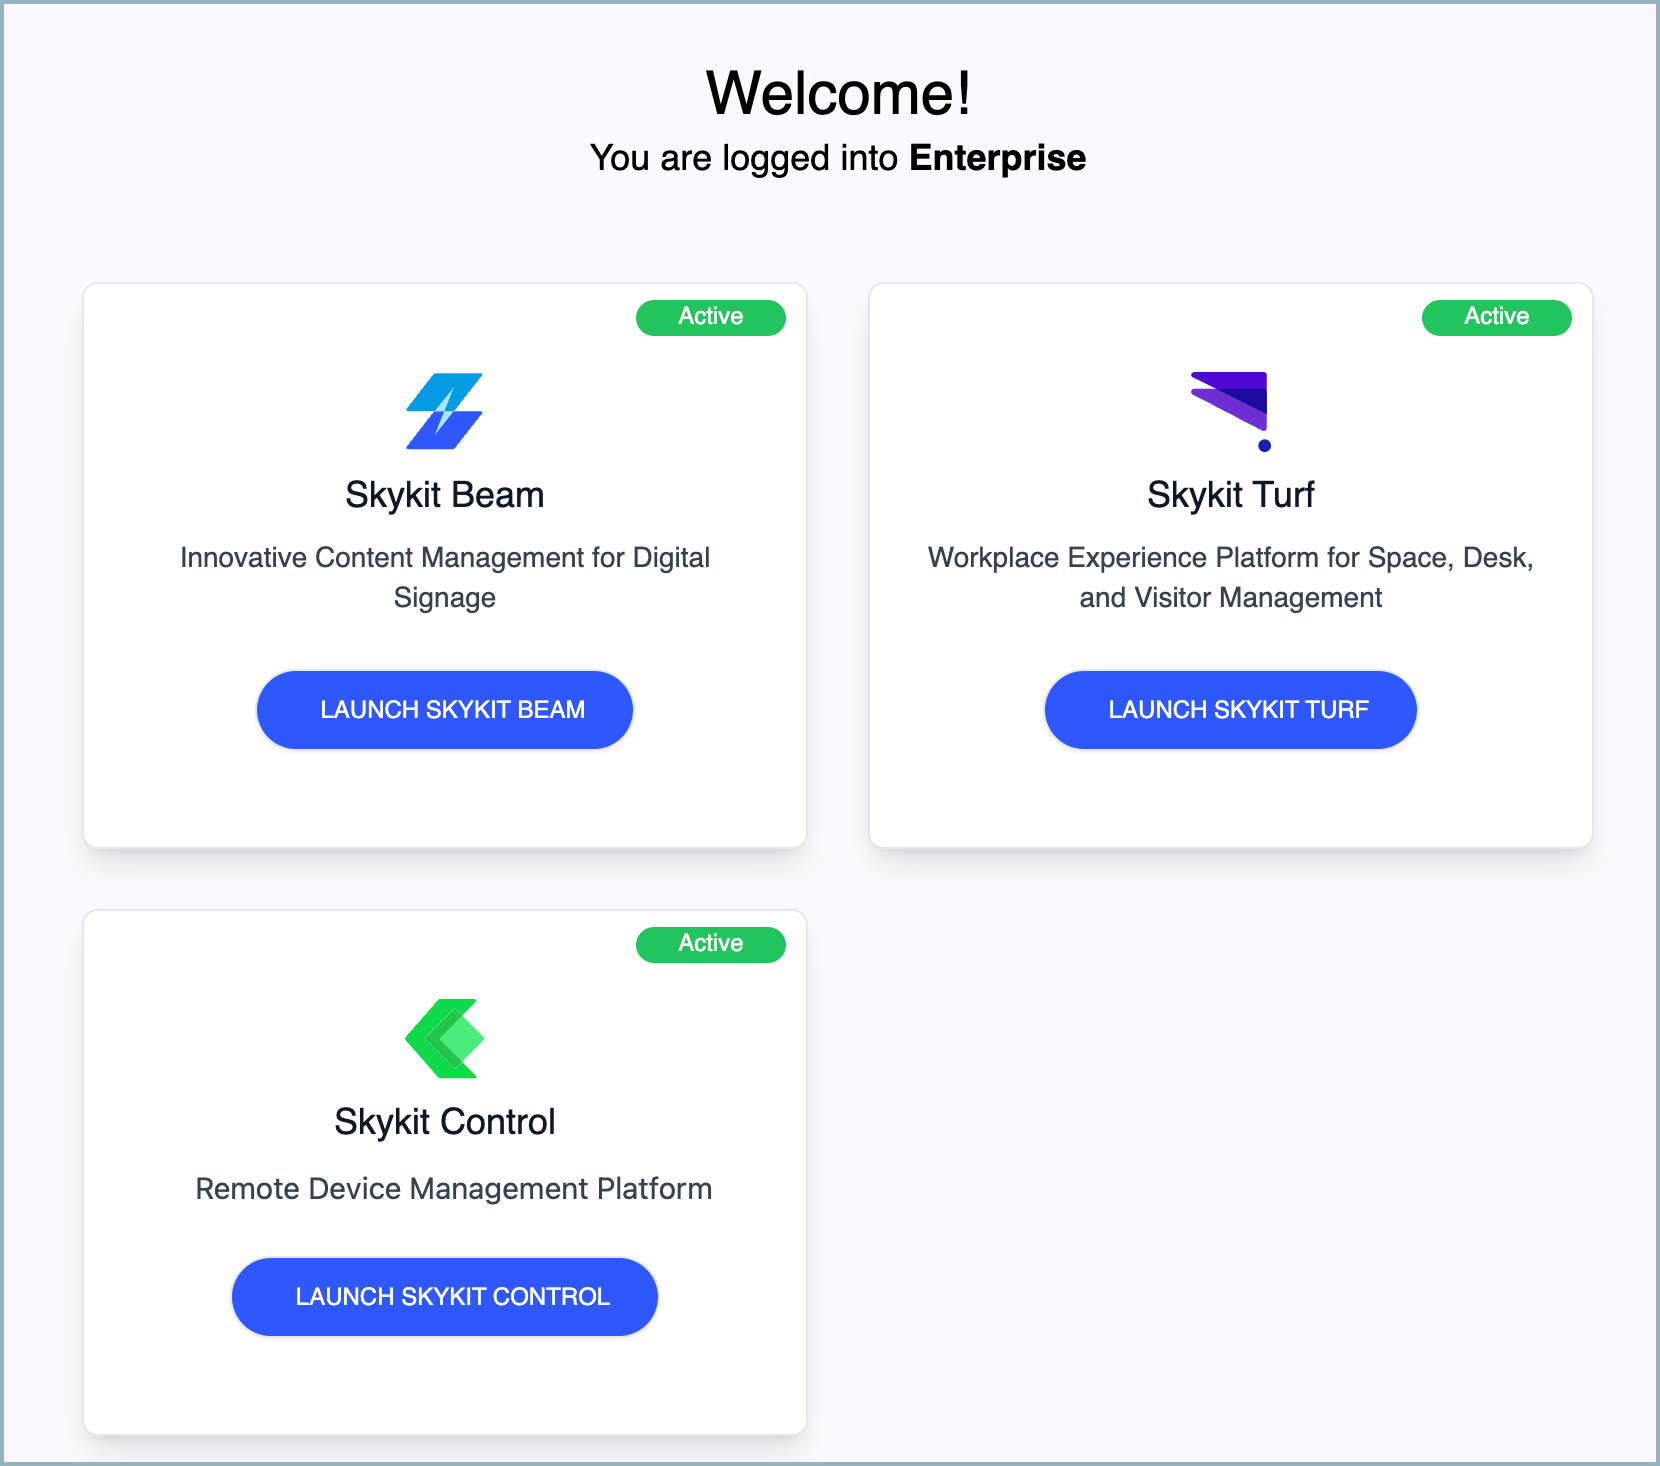
The products you have access to are indicated by a green "Active" flag. Select Launch Skykit Beam to open Beam.
Now you're logged in to Skykit Beam!
Beam Navigation
When you first log in to Beam, you go to the Content menu by default. This is where you add and manage your content in Beam. From here, you also have access to the navigation bar, from which you can open other menus (such as Programs and Playlists), as well as online help and the search function.
.png)
Navigation Menu
Navigation Bar
The navigation bar allows you to move easily among the different menus in Skykit Beam.
- Content: Add and manage content items such as Google slideshows, videos, and web feeds.
- Programs: Organize content items in different layouts to show more than one content item on your displays at the same time.
- Playlists: Create a list of content items or programs and, if needed, assign date and time constraints to them.
- Collections: Create a collection of content items, programs, and playlists and, if needed, assign date and time constraints to them.
- Displays: View a list of your displays, see what's currently playing on a display, change what's playing, and assign fallback content.
- Tasks: Immediately send commands to your displays. Currently, you can choose Change Media or Override Media.
- Label Manager: Create custom labels or "tags" to assign to your displays and playlist entries. Labels allow you to organize displays in groups and publish content to one or more displays at a time.
- Users: See all of the users who have access to your Beam tenant and set roles for each user.
- Help Site: Open the Skykit Help Center, where you can find help articles and answers to your questions.
Search
Use the Search field to search for items in the menu you're currently using.
Add Content
Select the +Content button to add new content items in Beam, such as images, web feeds, and dashboards.
Notifications
Select the bell icon in the upper right corner of the window to open the Notifications drawer. This lets you track the upload progress when you add an image, video, PDF, slideshow, or code bundle to Skykit Beam. If a content item is being uploaded or processed, the icon has a red dot next to it. Items remain in the Notifications drawer until you delete them; to do so, hover your mouse over the notification and select the X.
The Notifications drawer opens automatically when you upload a content item so you can easily track its progress.
Profile
Select the Profile icon to change tenants or log out of Skykit.
Help
Select the light bulb icon to open the Help Center drawer, which displays a help article relevant to the window that's currently open. See Using the Help Center for more information.
Adding Content
The Content menu lists all the content items you've created and uploaded into Beam.
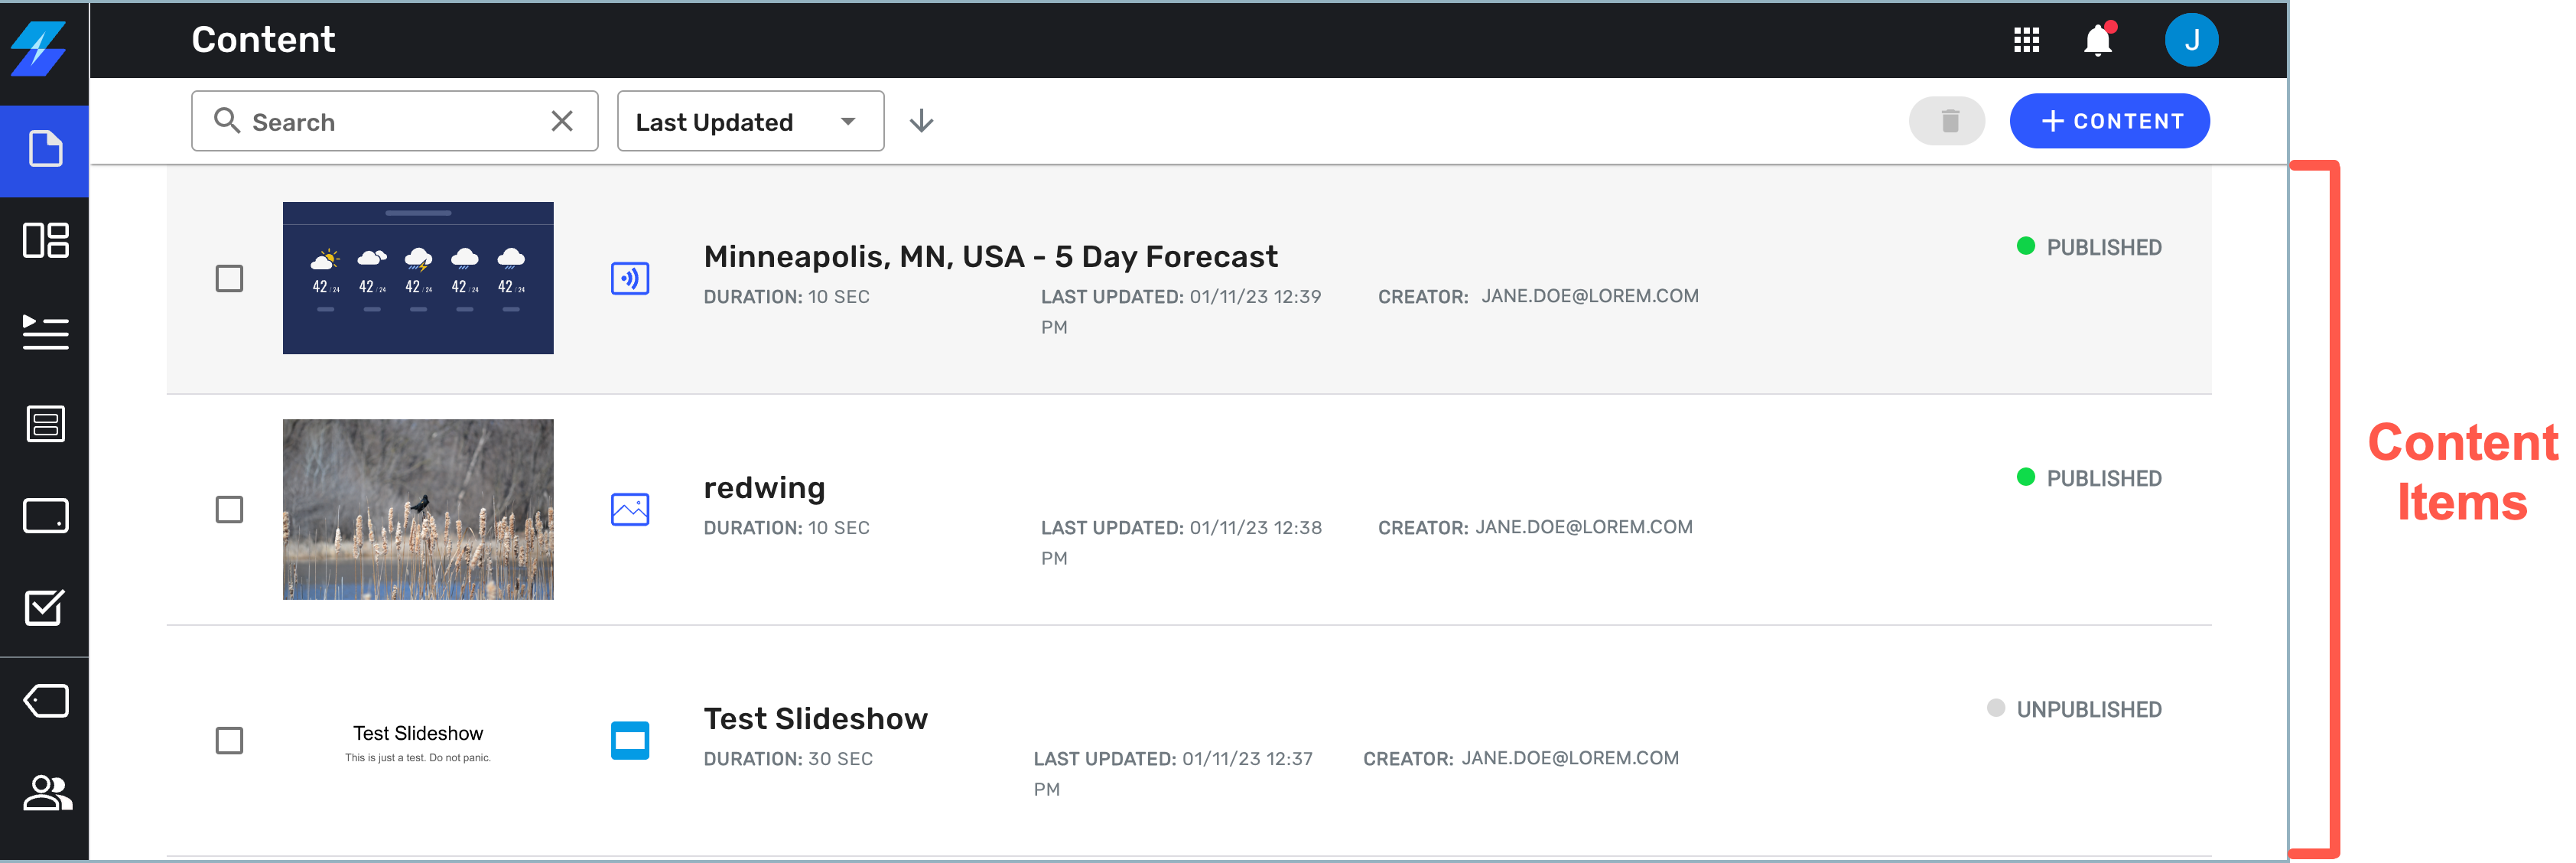
You can sort the items alphabetically by item name or by the most recently updated item. For each item, you see its name, duration, when it was last updated, who created the item, and whether it's published or has unpublished changes.
The small icon to the left of the item name indicates what type of content it is; if you hold your mouse over the icon, you'll also see a label that tells you the content type.

To add a content item:
- Select the +Content button.
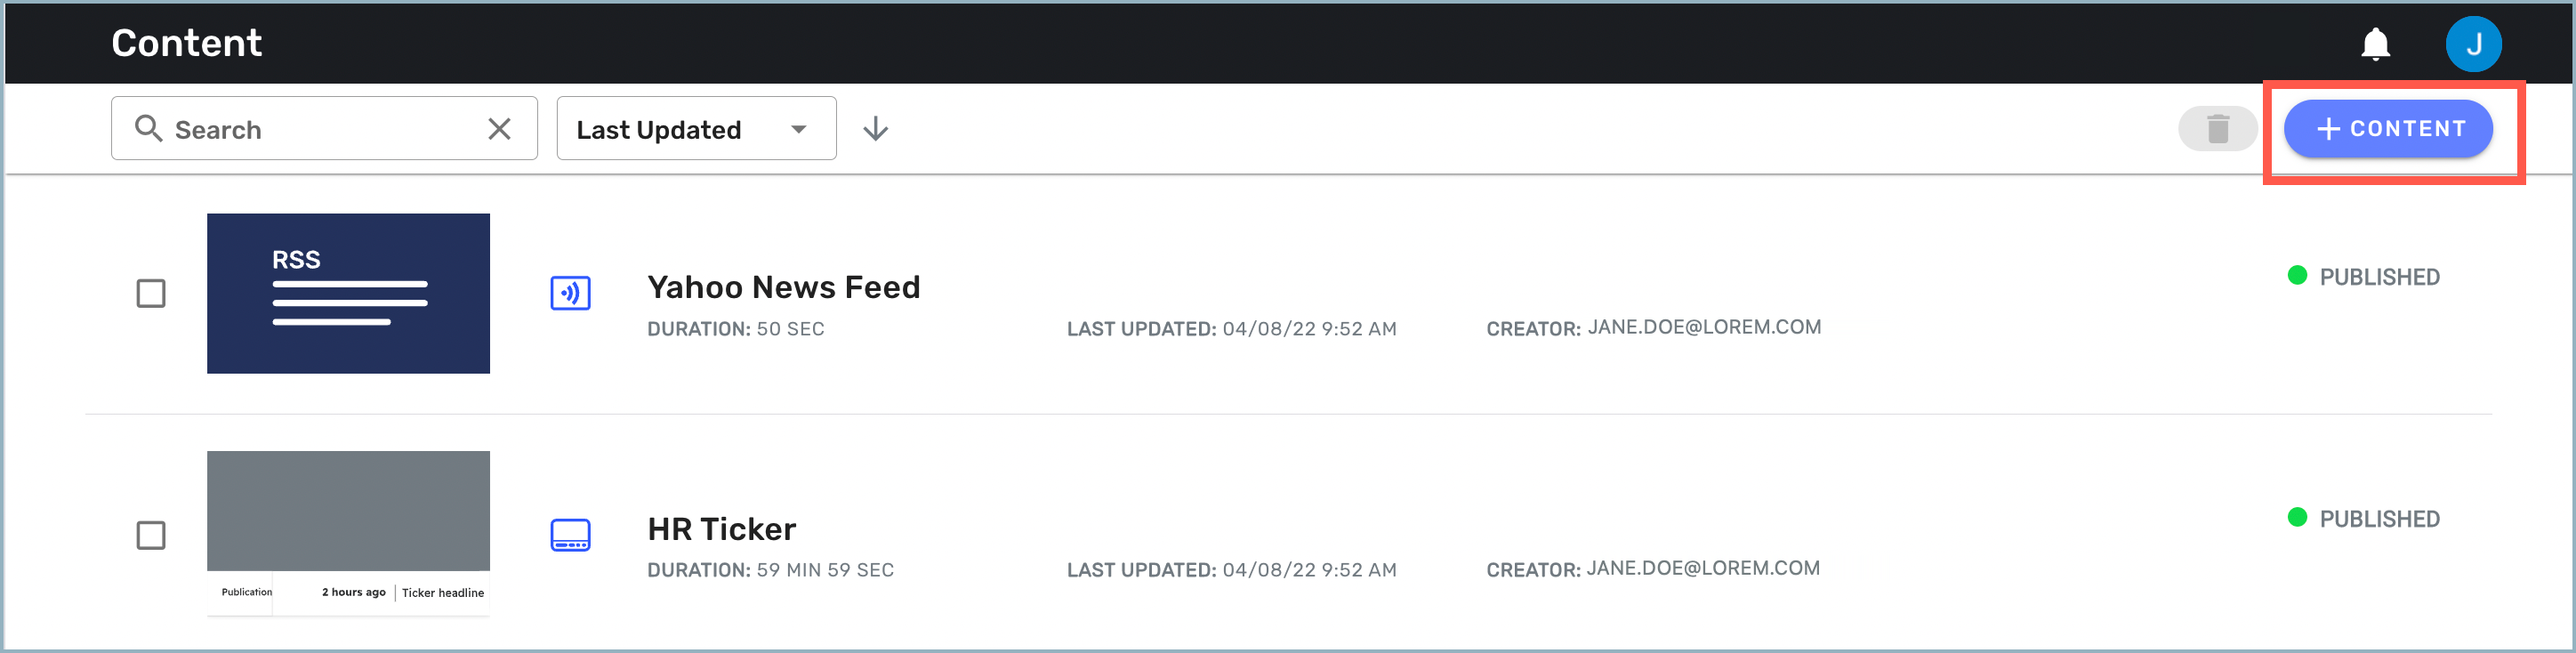
A drop-down list opens showing the content options available to you..png)
- Select Feeds from the drop-down list. The Web Feed window opens.
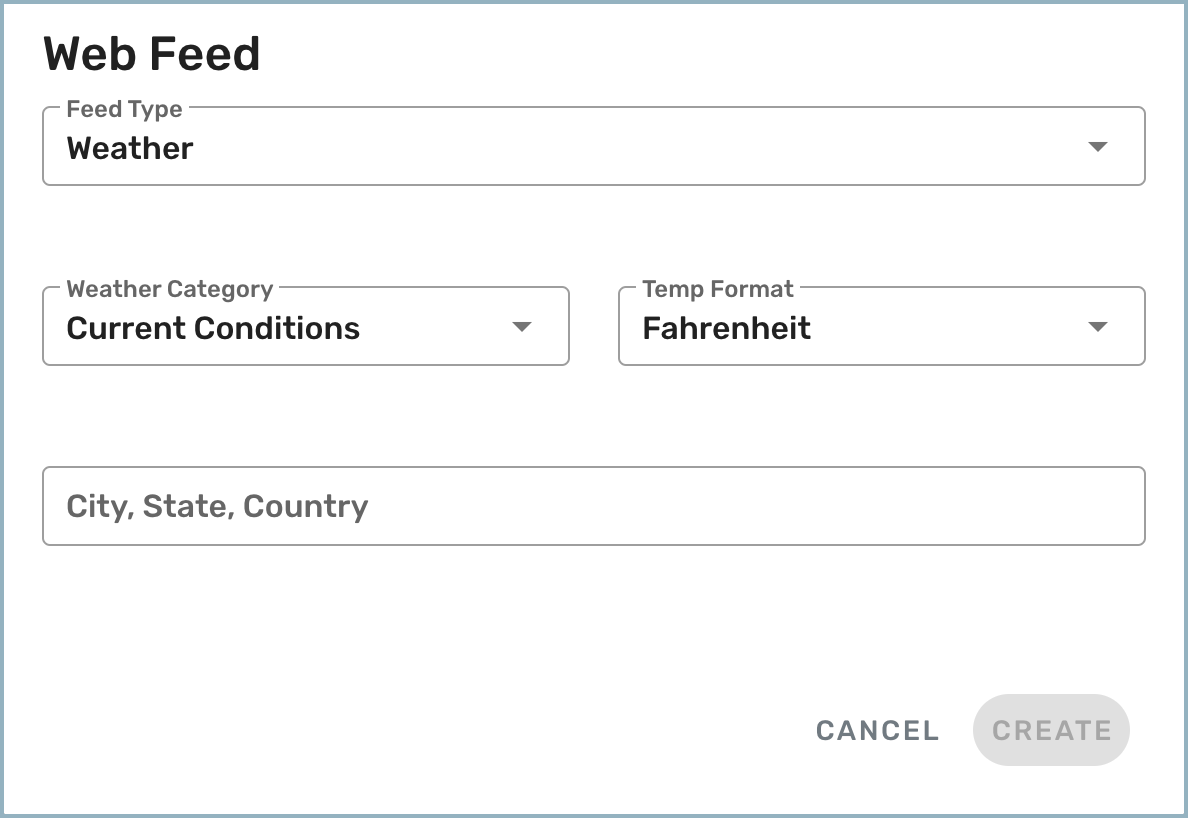
- Select Weather from the Feed Type list, choose the settings you want, and then select Create.

You return to the Content menu. The new web feed now appears at the top of the menu.
Now your feed will be available to publish directly to your displays or to insert into a playlist or program.
Publishing to a Display
To publish a content item directly to a display:
- Select Displays from the navigation bar. The Displays menu opens.
- Select the display you want to publish your content to.
.png)
The Displays detail window opens..png) If you do not see a display in the list or the status for your display is offline, please check to see if your device is online or submit a ticket to support@skykit.com. If you do not have a display, see Skykit Media Players to learn more.
If you do not see a display in the list or the status for your display is offline, please check to see if your device is online or submit a ticket to support@skykit.com. If you do not have a display, see Skykit Media Players to learn more. - Under Now Playing, select Change.
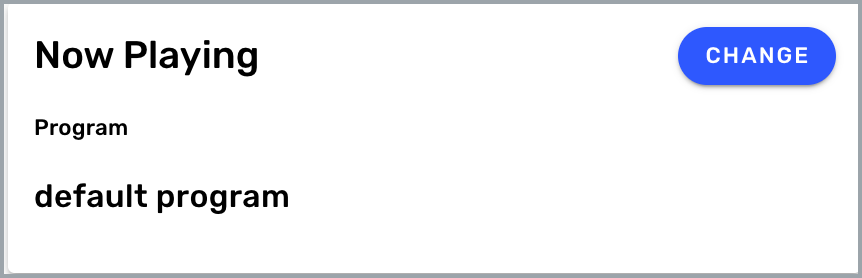
The Select Content window opens..png)
- Select the content you want to show on your display.
Your content will be sent and updated on your display.