Sizing Images
Before you upload your images into Beam, you need to set your design document's dimensions (if you're exporting graphics using design software) or resize your existing images to ensure they show correctly on your displays.
Review the layouts below to find the correct page dimensions to use (depending on which layout you're using).
Tip: To open a larger version of one of the images below (or any image), click on it; to close the image and return to this page, press the Escape key or select the X in the bottom right corner of the image.
Recommended Content Resolution for 1080p Landscape Displays
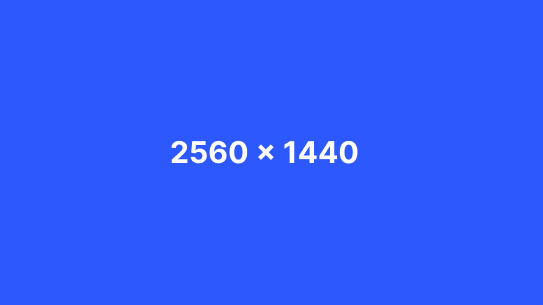
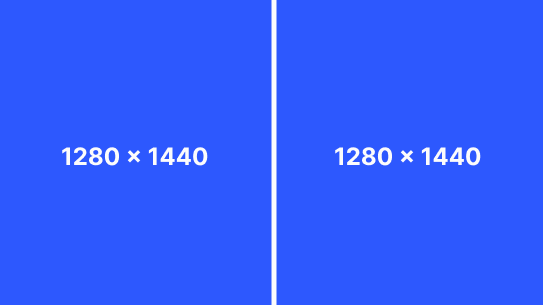
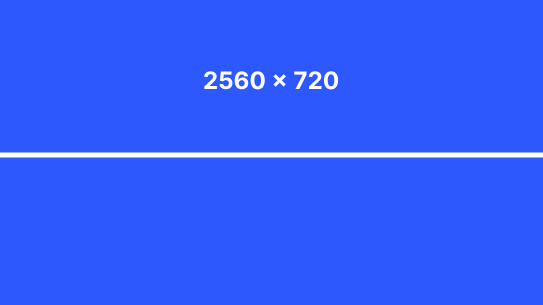
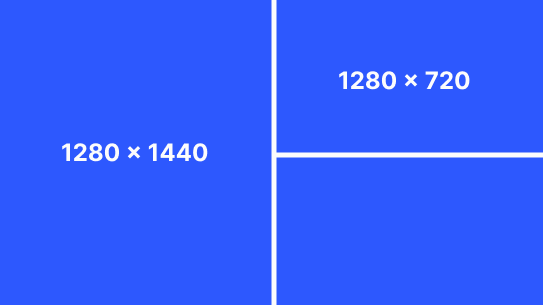
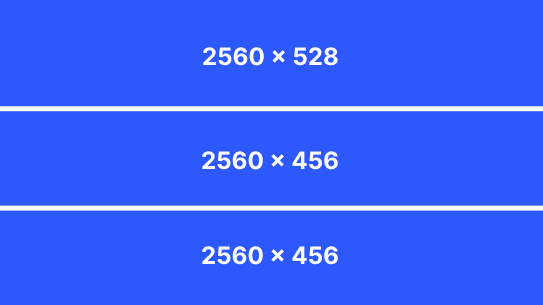
.png)
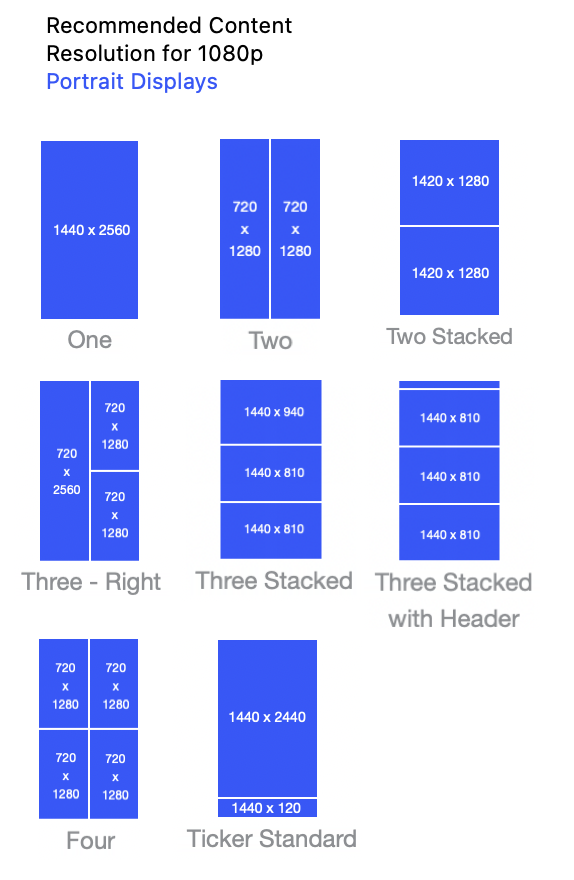
Resizing Images Using Online Tools
While design software like Adobe Photoshop, GIMP, or CoreIDRAW can be used to resize images, we provide an example using an online tool for convenience. Here’s a guide to using an online image resizer:
Select an Online Tool: Visit a reliable website such as Webresizer.com
Upload Your Image: Upload the image you want to resize from your computer to the drag-and-drop area.
(1).png)
Once you have uploaded the image, click on the resize button.
Set the Dimensions:
Input the desired width and height in pixels.
Ensure the aspect ratio is unlocked for the image to fit according to the dimensions.
Download the Resized Image: Save the resized image to your computer.
Verify Quality: Check the image quality by testing it out on the displays to ensure it meets your requirements for Skykit Beam.
Next Steps
Now that your images are sized correctly, learn how to upload them into Beam.