This content type is available in the following plans: | ||
| ✔ Base | ✔ Pro | ✔ Enterprise |
Sizing Images
Before you upload your images into Beam, you need to set your design document's dimensions (if you're exporting graphics using design software) or resize your existing images to ensure they show correctly on your displays. See Sizing Images for Skykit Beam to learn more.
Uploading Images
Skykit Beam supports the following image file types:
- JPG
- JPEG
- PNG
- GIF
- From the Content menu, select the +Content button in the upper right-hand corner of the window.
.png)
A drop-down list opens showing the content options available to you..png)
- Select Import Files to expand the menu and then select Local Storage or Microsoft OneDrive, depending on where your image files are stored (currently, images cannot be uploaded via Google Drive).
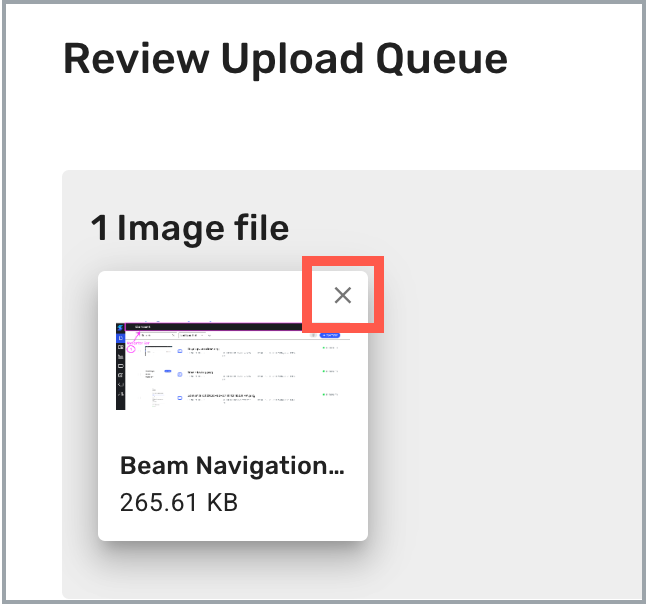
The file source you selected opens, allowing you to search for and select the files you want to upload. You can select multiple files at once, or you can add them one by one. - After you select your files, the Review Upload Queue window opens. This is where you can review the files you want to upload.
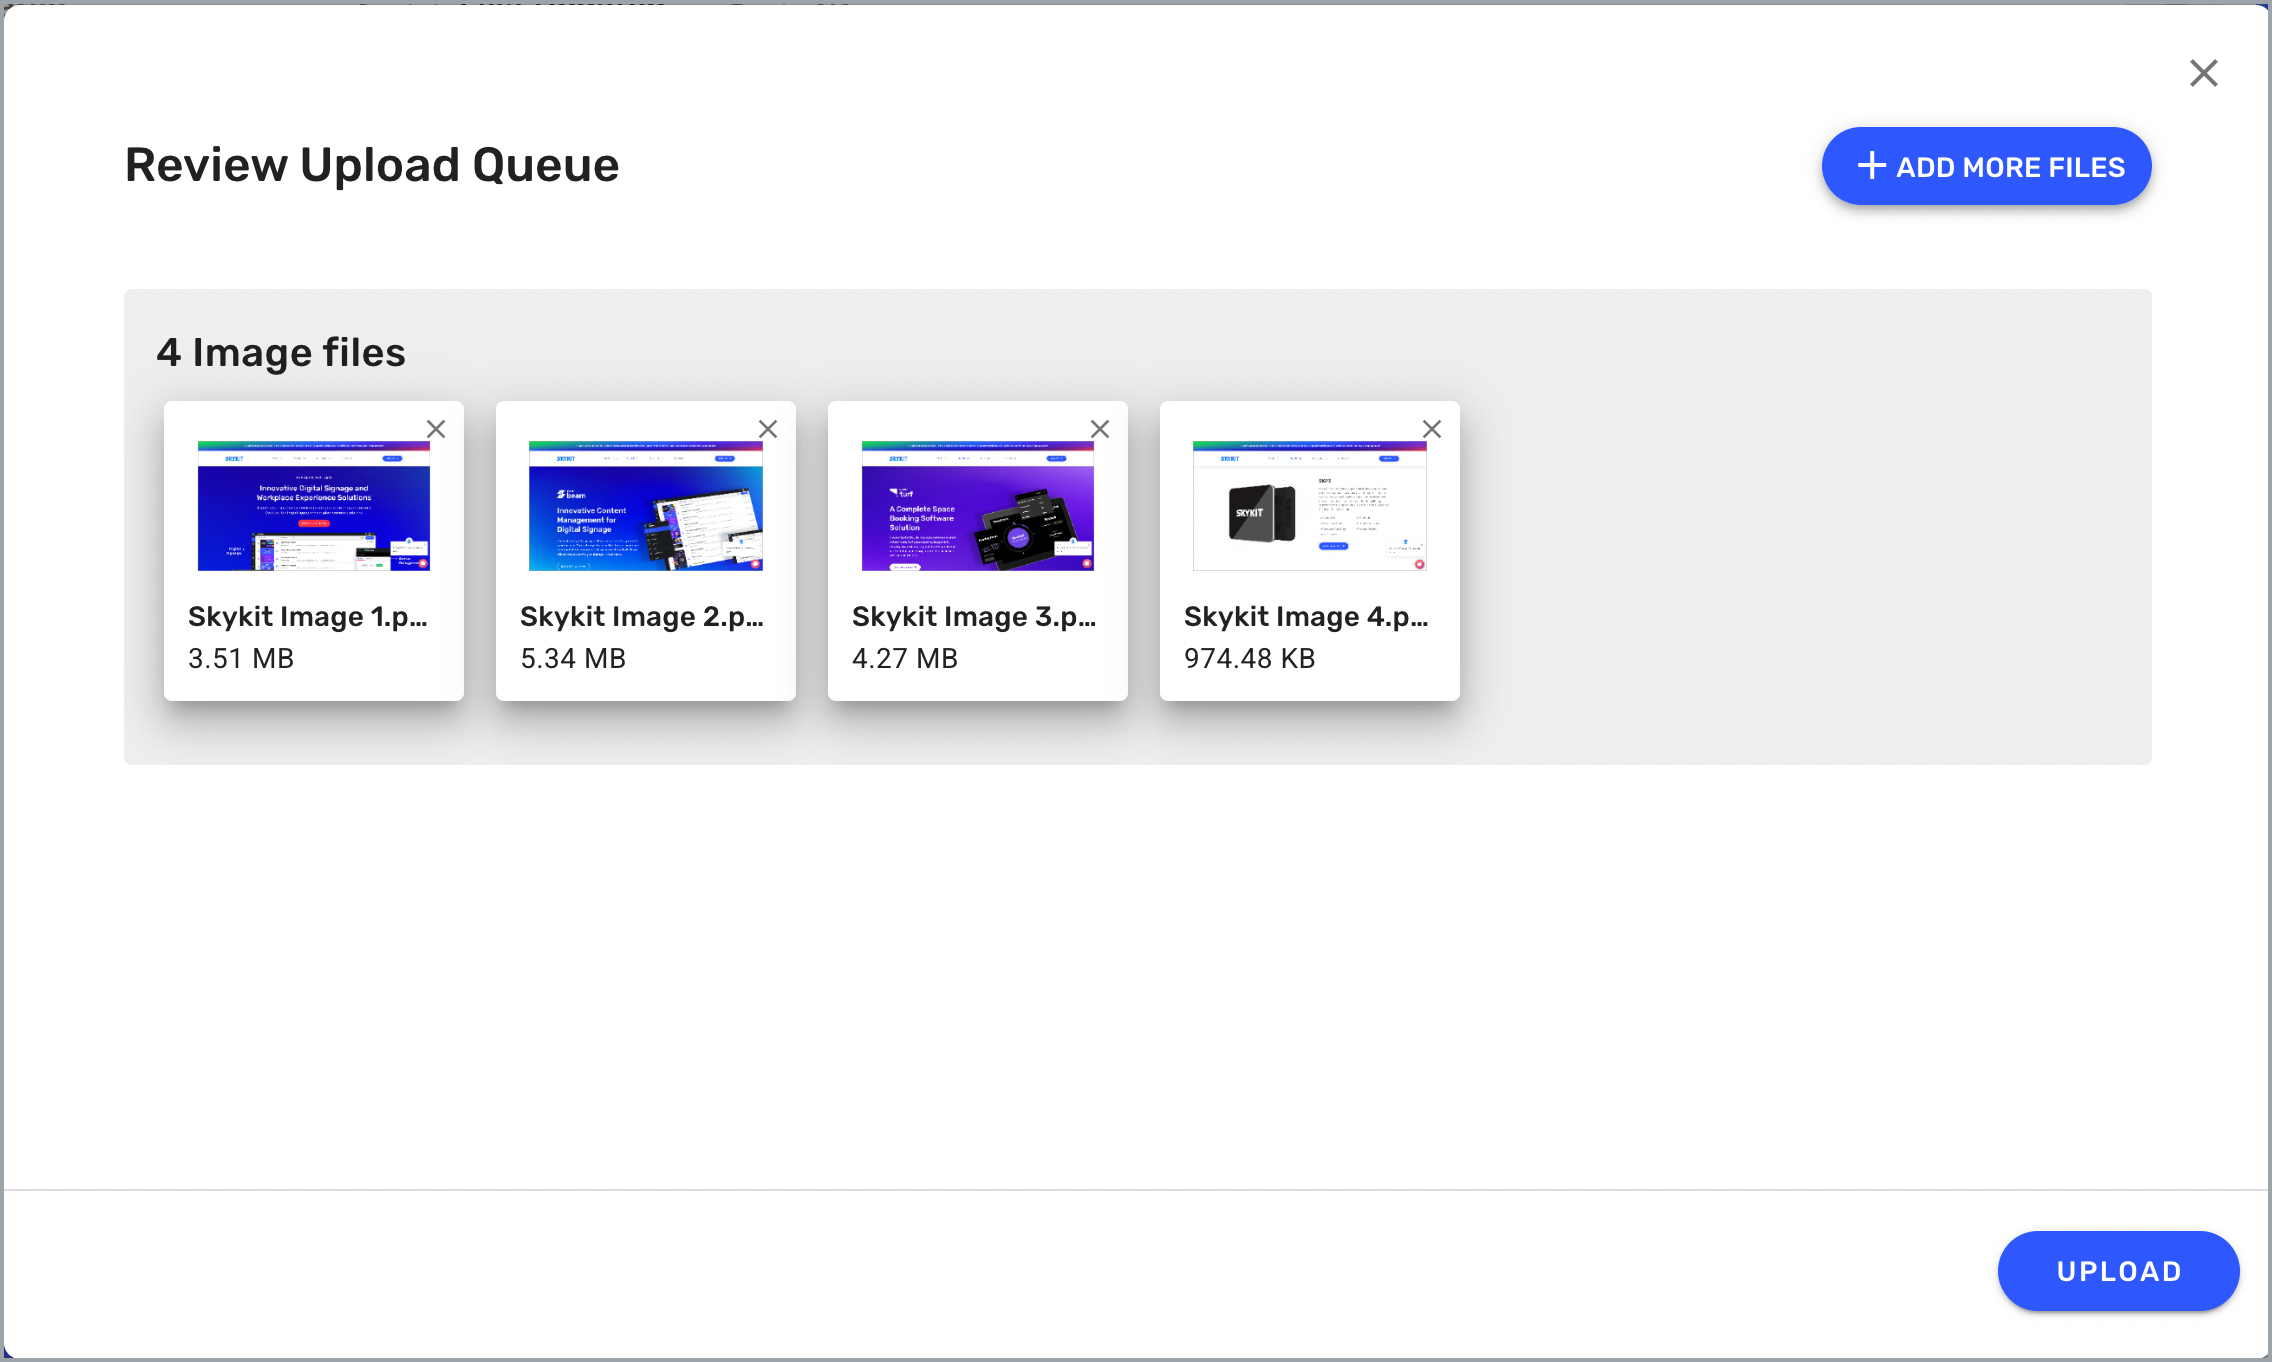
From here, you can add or remove files before uploading them to Beam.
- To add files to the queue, select +Add More Files and select additional files. The new files are added to the Review Upload Queue window.
- To remove a file from the queue, select the X in the corner of the file icon.
- After you have added your image files to the upload queue, select Upload to upload them into Skykit. The Notifications drawer opens automatically so you can track the progress of the upload.
- When your files have finished uploading, select ←Back to return to the Content menu, which now lists the images you just uploaded.
.png)
Now your images will be available to publish directly to your displays or to insert into a playlist or program.
Next Steps
Now that you've uploaded your images, learn how to manage them in Beam.