This content type is available in the following plans: | ||
| ✔ Base | ✔ Pro | ✔ Enterprise |
Before You Begin
Before you add images or text to your slides, you need to define your presentation's page dimensions to ensure your content will fit your displays. See Sizing Slides for Skykit Beam to learn more.
Uploading a Slideshow
- From the Content menu, select the +Content button in the upper right corner of the screen.
.png)
A drop-down list opens showing the content options available to you..png)
- Select Import Files to expand the menu and then select the location of your files:
- If you are uploading a Google slideshow, select Google Drive.
- If you are uploading a Microsoft PowerPoint slideshow, select Local Storage or Microsoft OneDrive.
- If you are uploading a Keynote presentation, select Local Storage.
- Find the slideshow you want to upload and select it. You can select multiple files at once.
After you choose your slideshow, you'll see it listed in the Review Upload Queue window. From here, you can add or remove files before uploading them to Beam.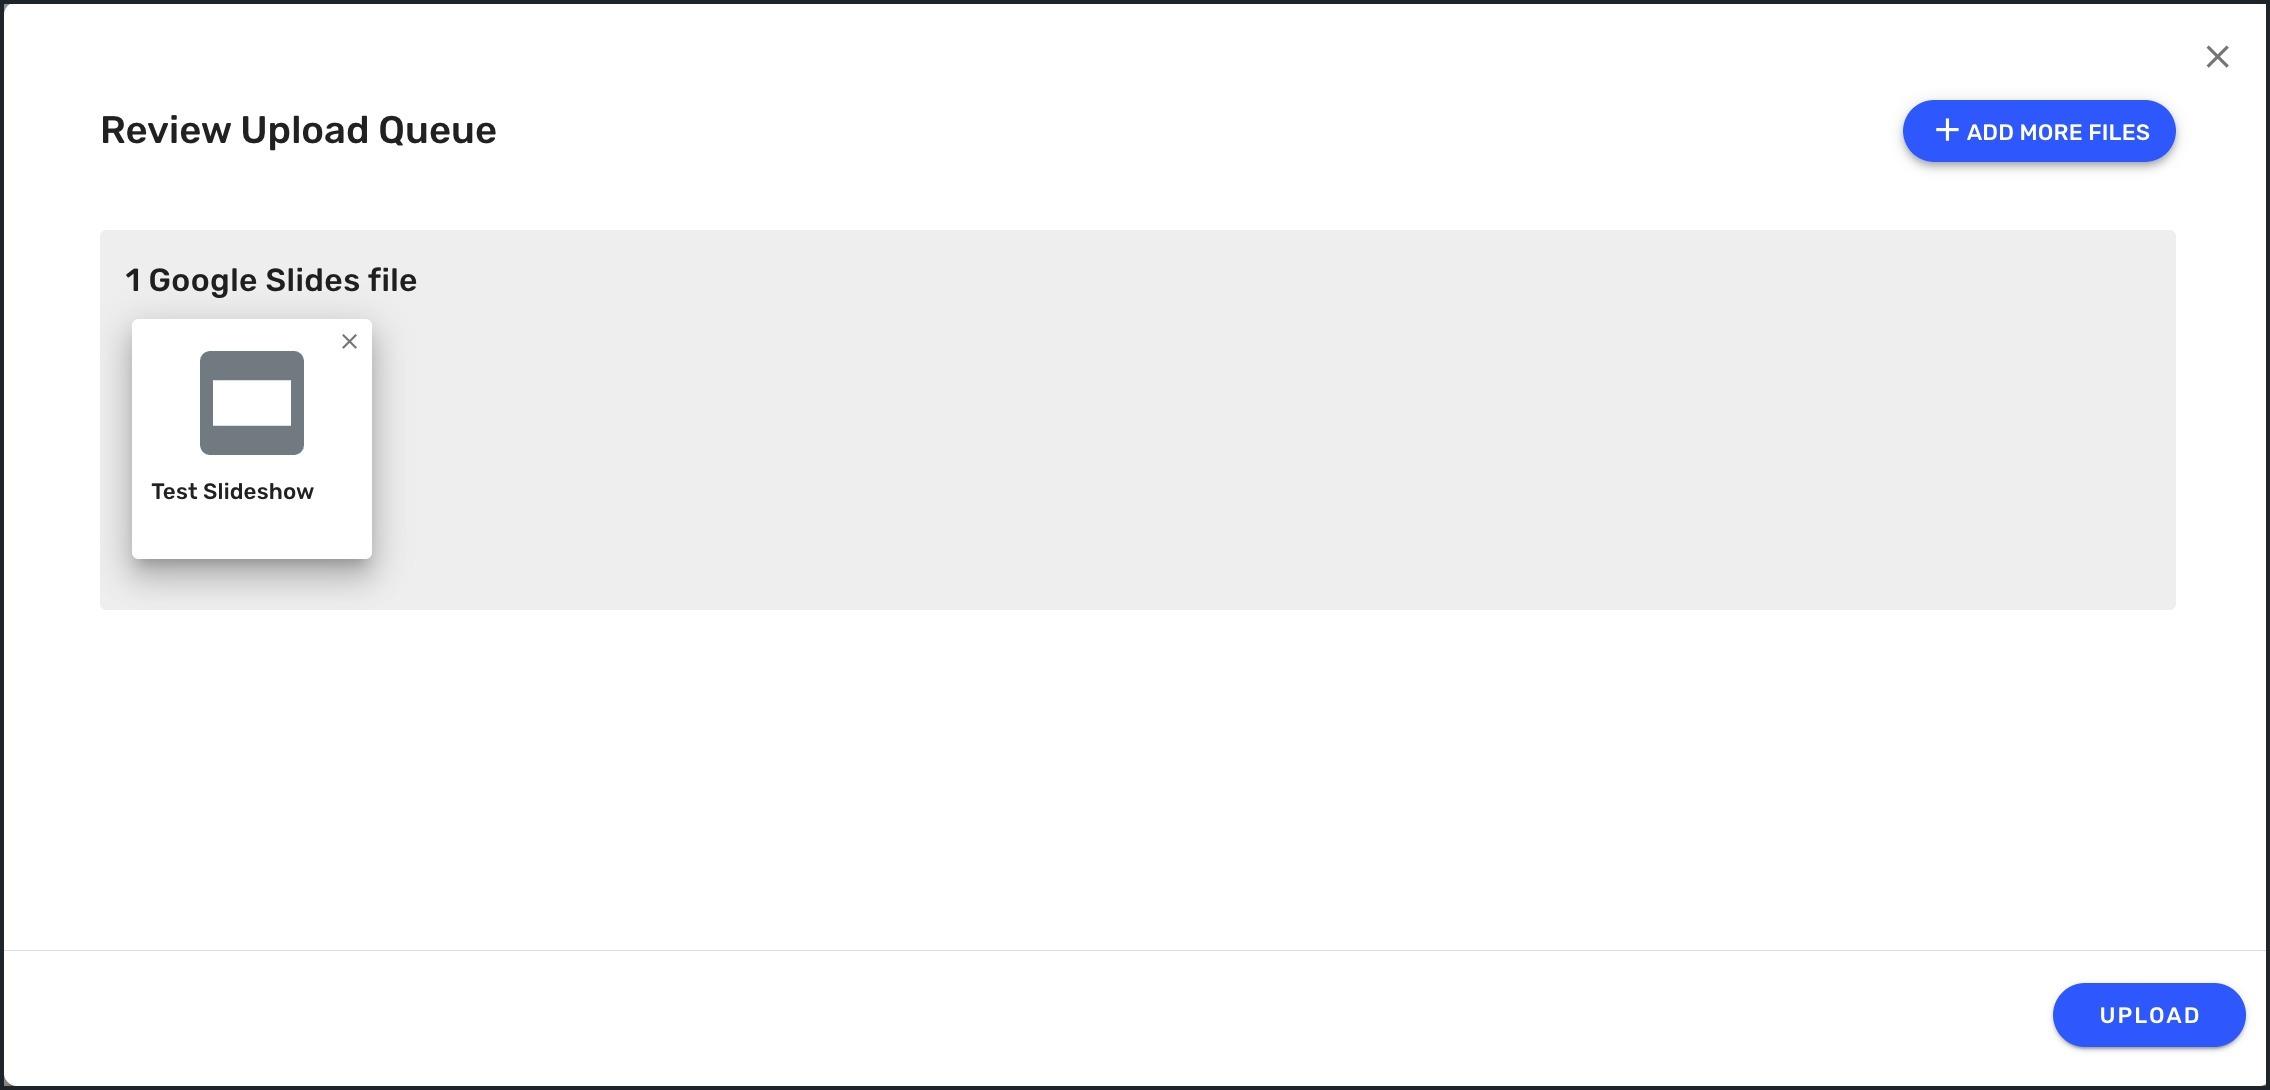
- To add more slideshows to the queue, select +Add More Files.
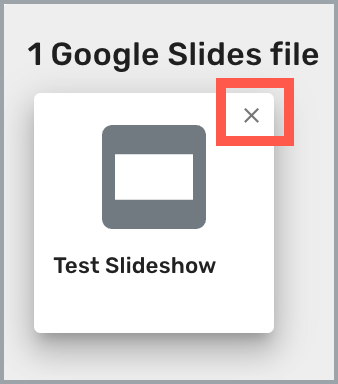
- To remove a file from the queue, select the X in the corner of the file icon.
- When you've finished adding your files to the queue, select Upload to upload the files into Beam.
After your slideshow has been uploaded, you'll see it listed in the Content menu..png)
Next Steps
Now that you've uploaded your slideshow, learn how to manage it in Beam.