This guide explains how to link your Canva account to Skykit Beam. Once connected, you can design presentations in Canva and export them to Skykit Beam as a PDF or MP4.
Before you start
The Canva App is still in testing. To register to be an early adopter please sign up here.
Your Skykit and Canva accounts must use the same email address (and that email must already have a Canva account).
You must have access to Skykit Beam and permission to link integrations.
If you have multiple Skykit accounts/tenants, know which one you want to export to.
In Skykit - Account Portal
Log in to you Skyit account.
If you’re signing in with Google or Microsoft and have multiple accounts, be sure to select the account you use to access Skykit.
.png)
If you’re associated with multiple Skykit accounts, you’ll be prompted to select which account you want to sign in to. Choose the account you’d like to continue with.
.png)
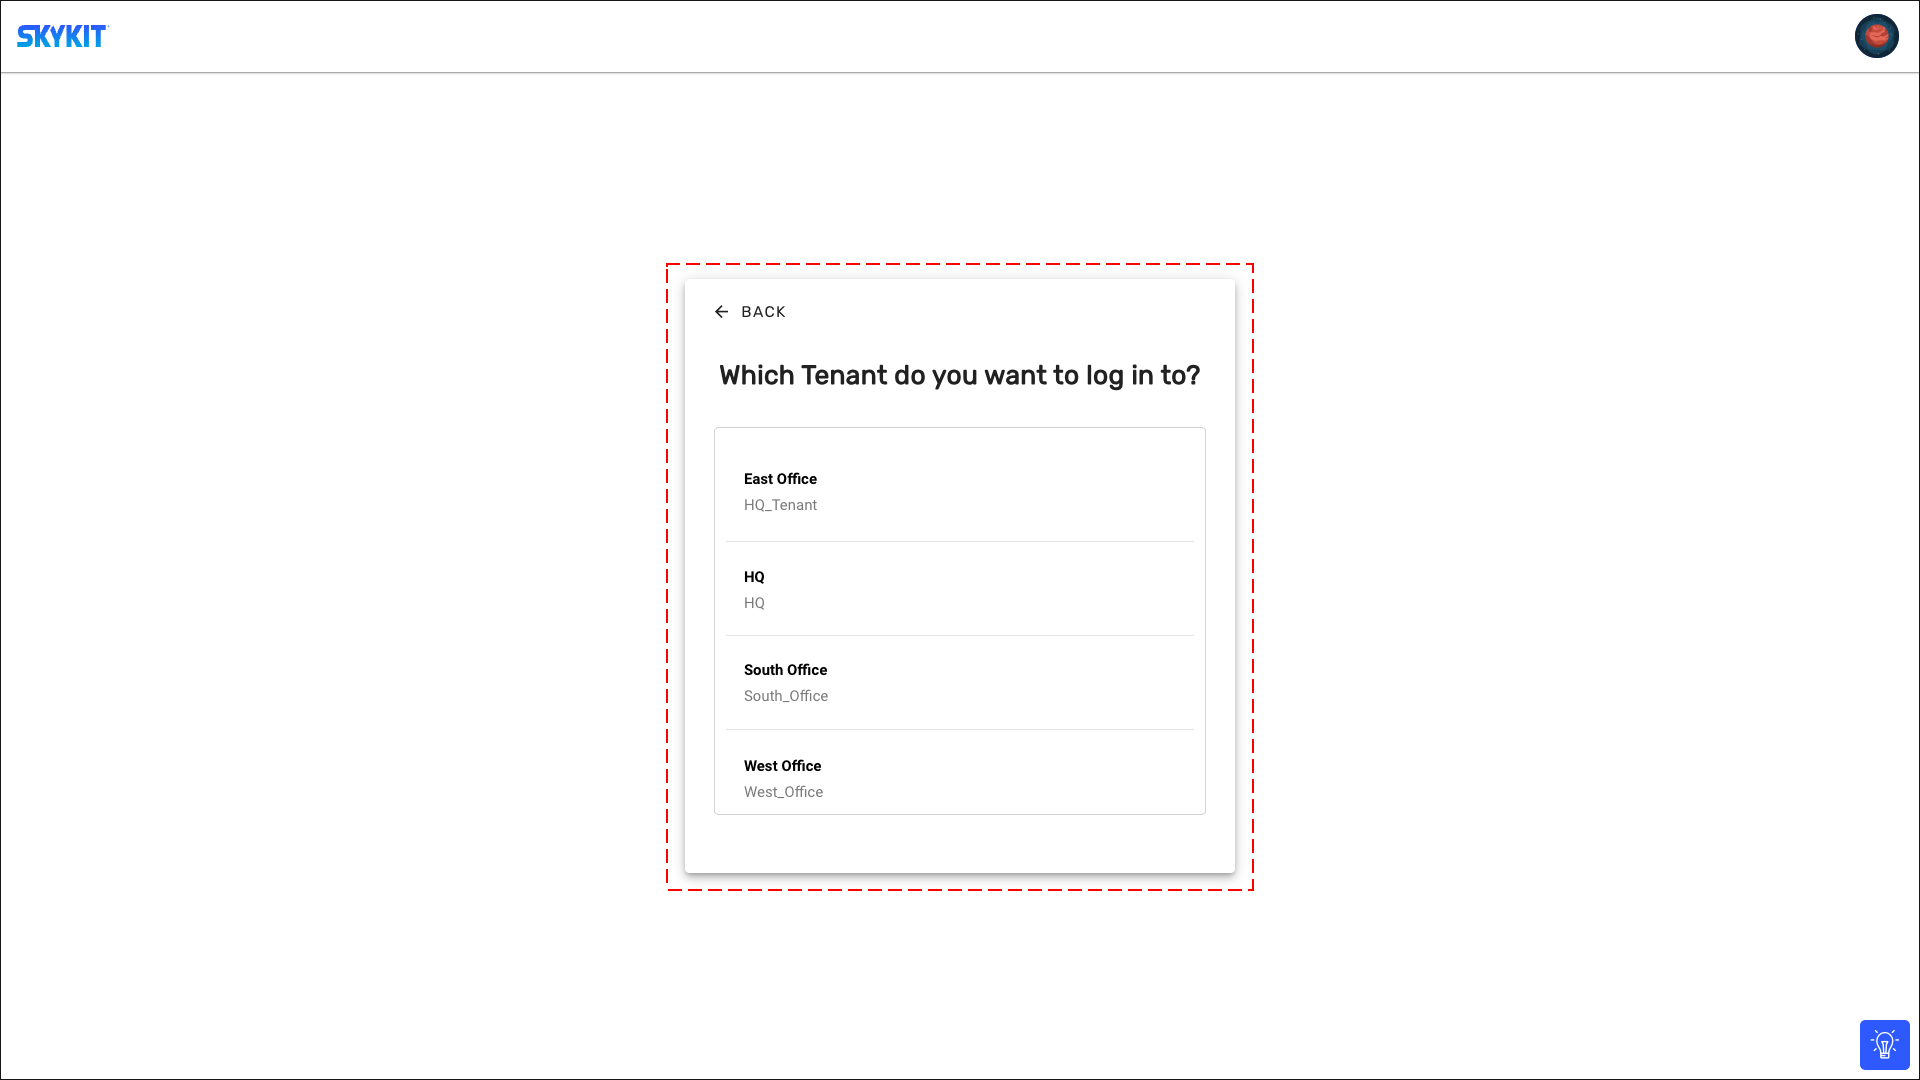
Open Skykit Beam.

If your account has access to multiple tenants, you’ll be prompted to select the tenant you want to use when signing in to Skykit Beam.
Access the Skykit app in Canva
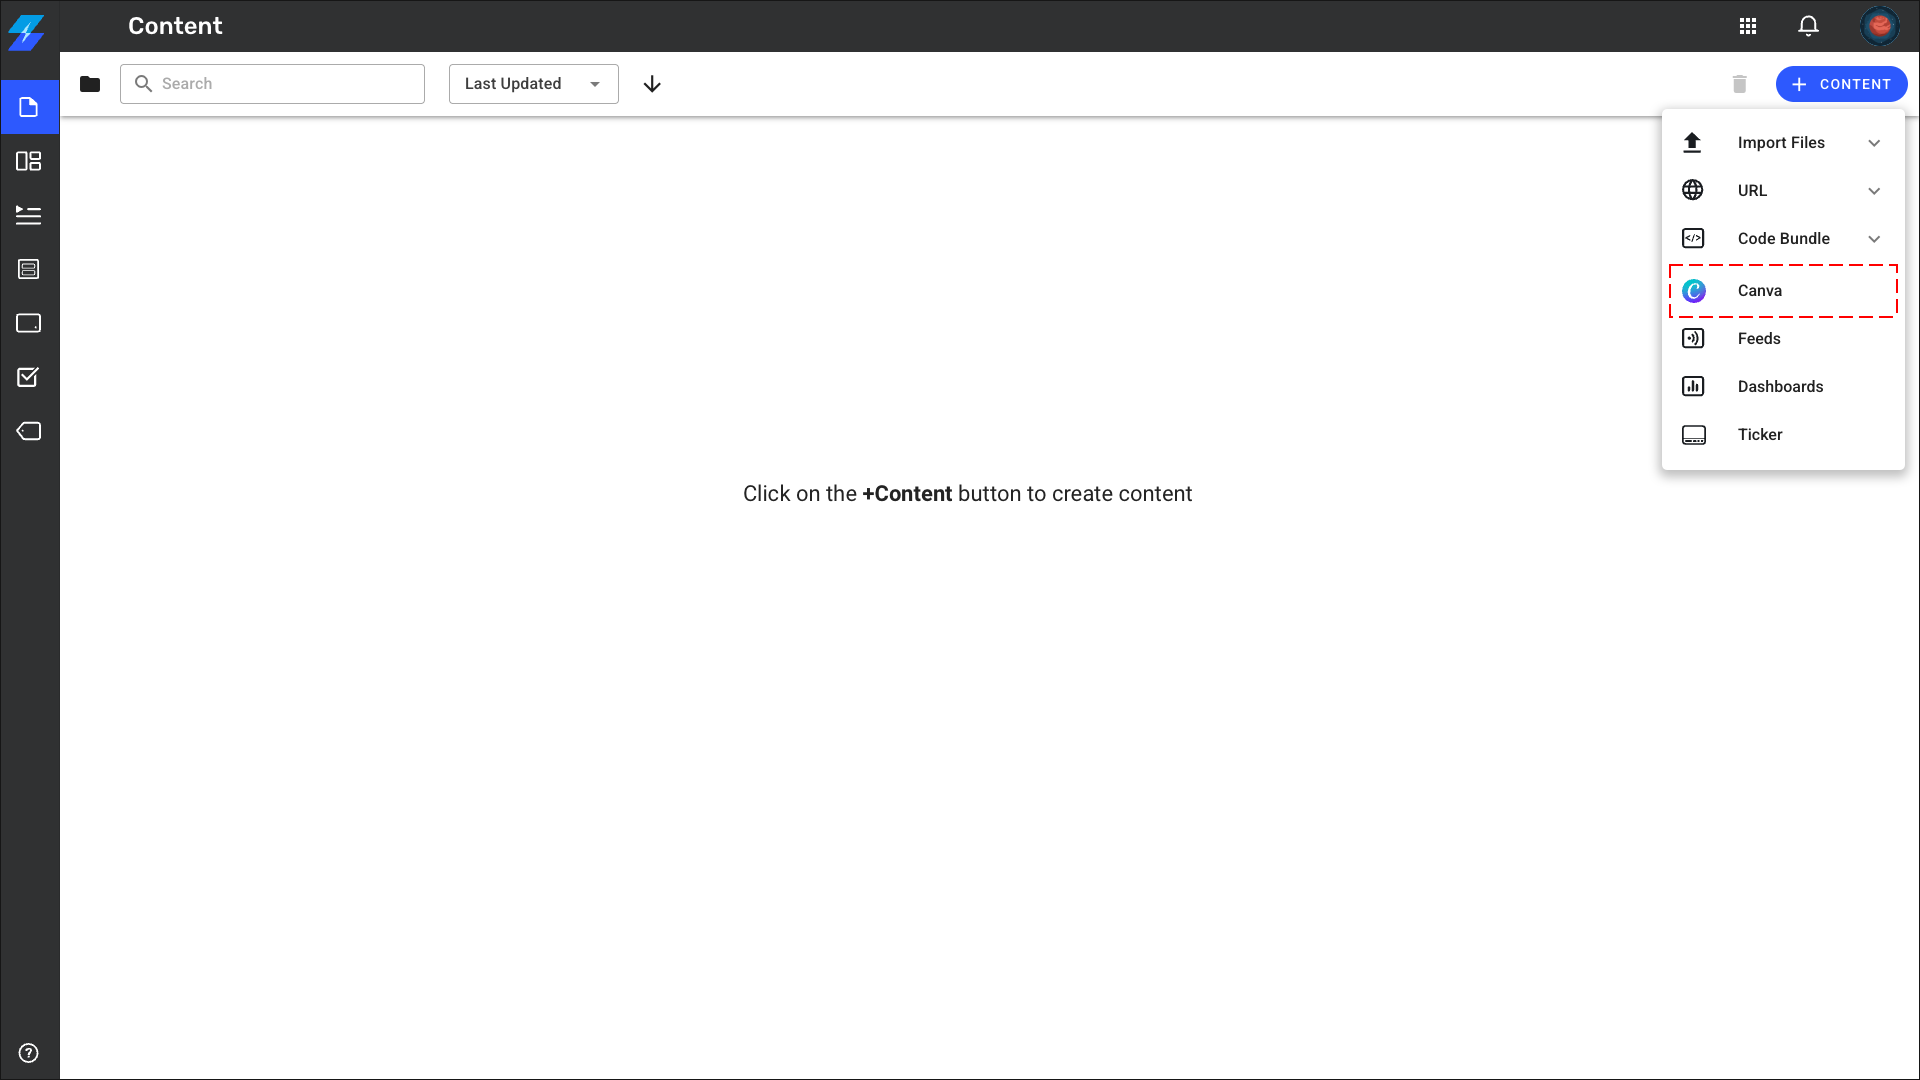
Click on the +Content button then select the Canva option in the menu.
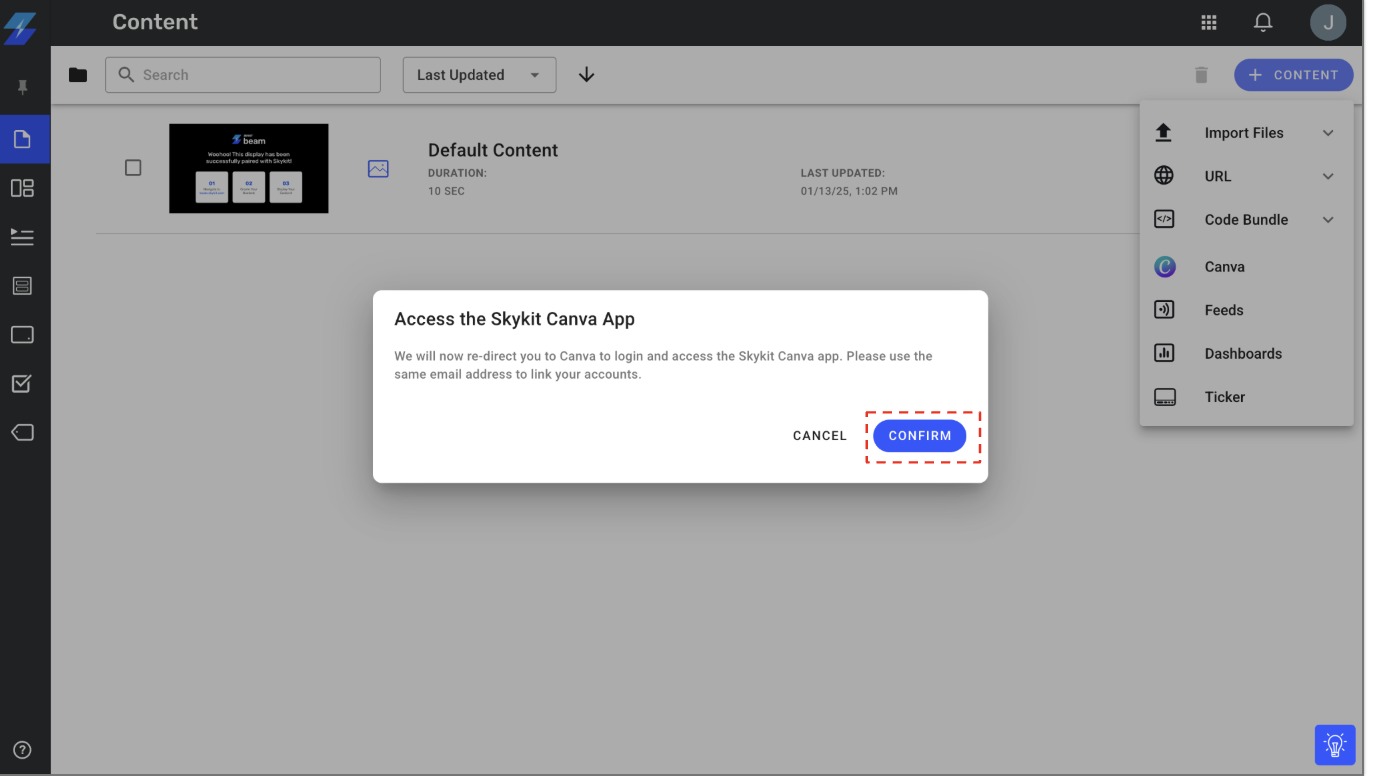
You’ll see a dialog explaining that you’ll be redirected to Canva to log in and access the Skykit Canva app. Click on the Confirm button to continue.
Log in to Canva
IMPORTANT: Use the same email for Skykit and Canva
If you sign in with Google/Microsoft, choose the account that matches your Skykit email.
If your browser (e.g., Chrome profile) is signed into a different email, switch profiles or sign out and try again.

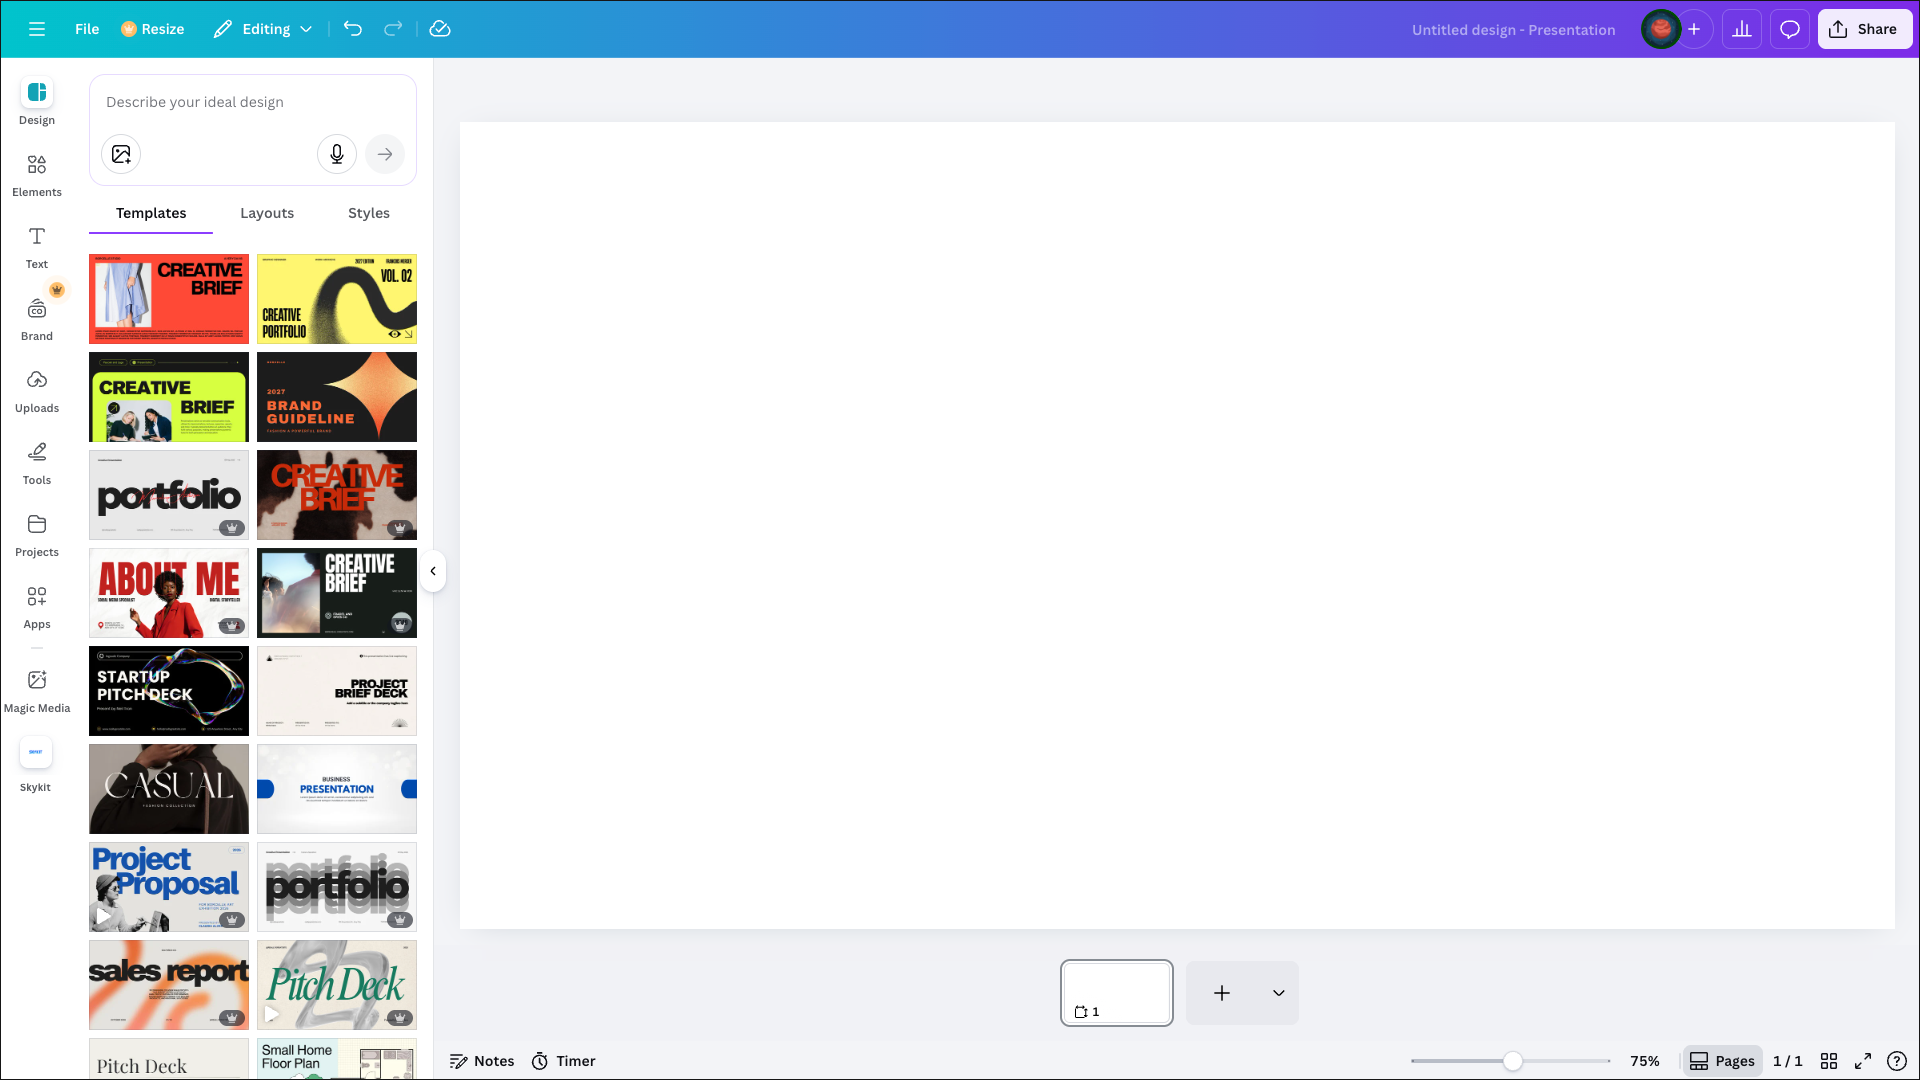
Create your design
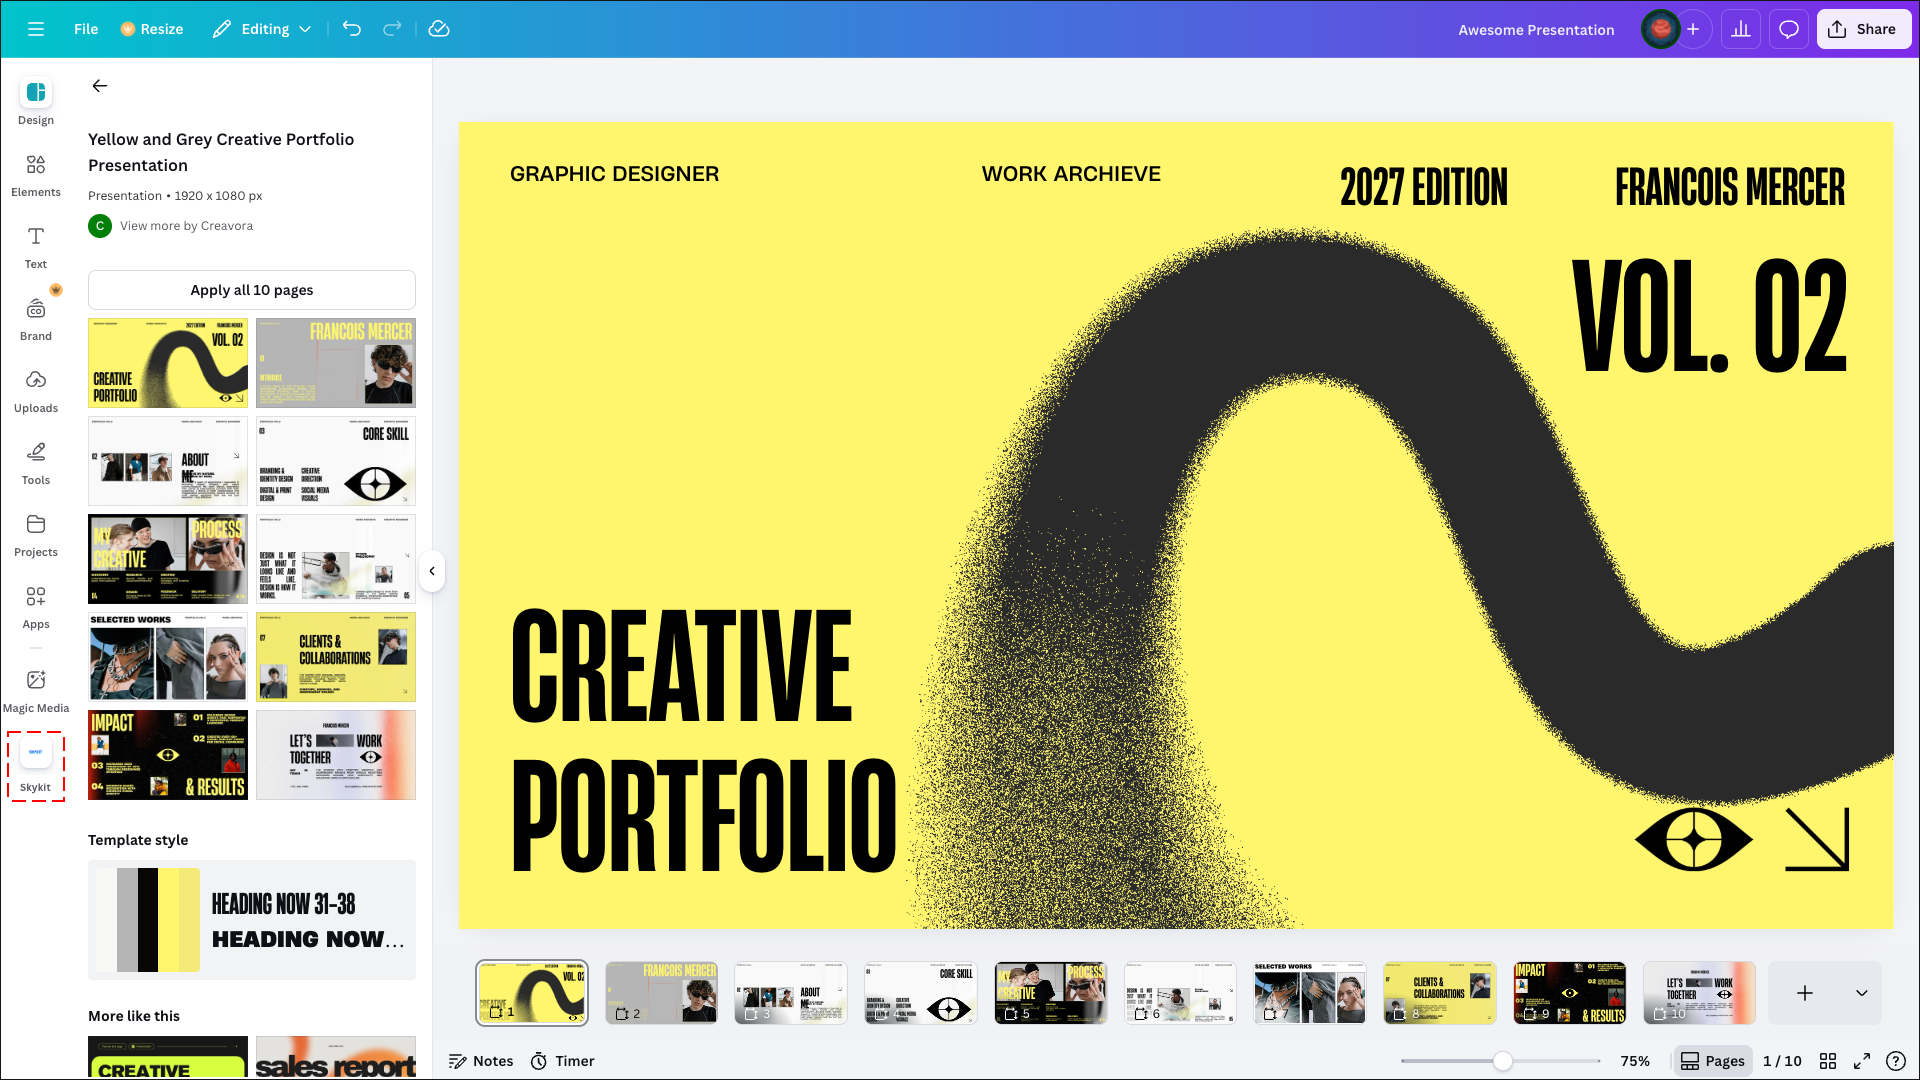
Click to the Design option in the the left navigation to start designing your presentation.

You can select a template or create a presentation layout from scratch.
Tips and Tricks
Looking for tips on creating content within Canva? Check out these guides below:
To name your presentation, click on the title input field in the upper-right hand corner of the screen.
Important
The presentation name syncs to Skykit Beam only during the initial import. Any future name changes—whether made in Canva or in Skykit Beam—will not update automatically and must be updated manually.

Connect Canva to Skykit
Click on the Skykit option in the main navigation on the left-hand side of the screen when you are ready to export your presentation to Skykit Beam.
Click Connect to allow Skykit to link with your Canva and Skykit accounts. This step enables a streamlined exporting process by letting Canva know which Skykit account and tenant to send your content updates to.

Log in to you Skyit account. Once connected, you’ll see: “Authenticated! Redirecting back to Canva…”
a. If you’re signing in with Google or Microsoft and have multiple accounts, be sure to select the account you use to access Skykit.
Export to Skykit
Select the Skykit account and tenant you want to export to. Click Start export to Skykit to open your content in Skykit.
.png)
Select the file type you’d like this presentation to export as. The Skykit app only supports PDF and MP4 file types at the moment. Click on the Export button to initiate the exporting process.
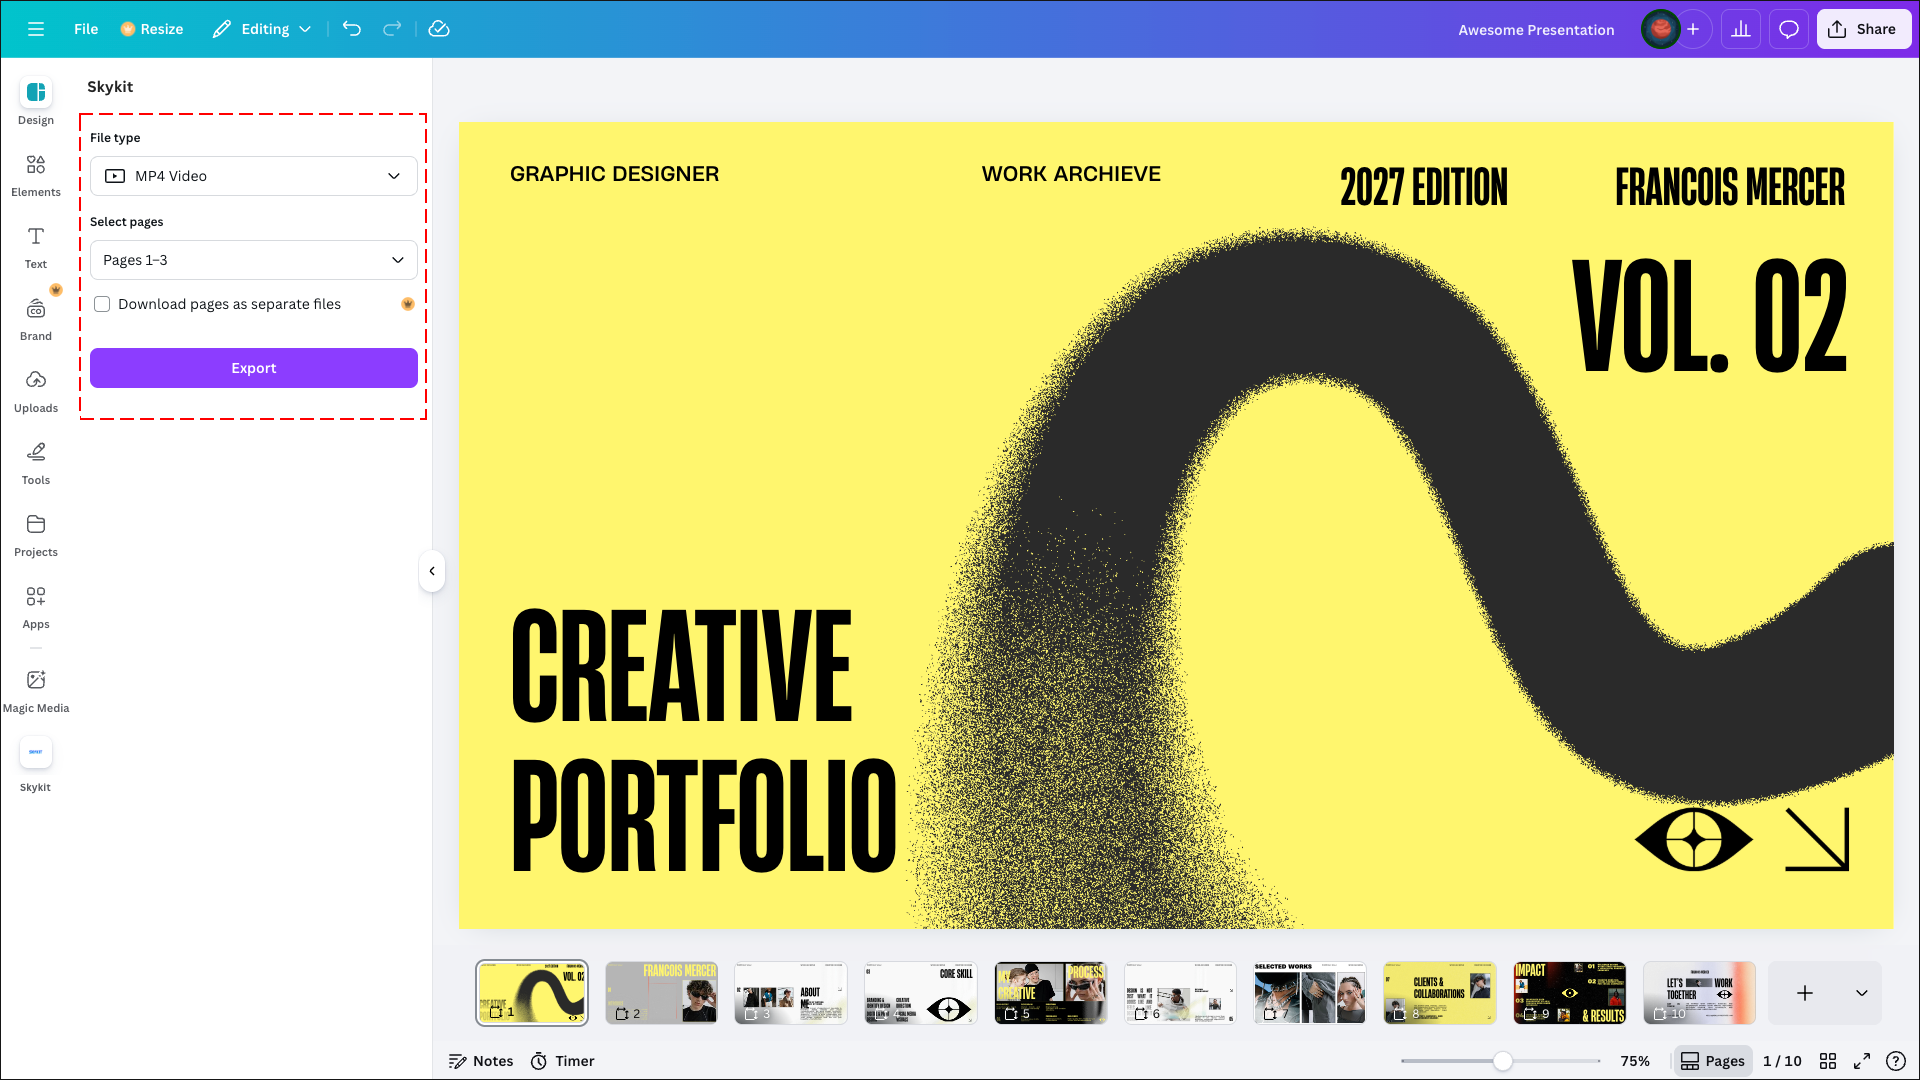
Once the exporting process is complete, you can click on the Navigate to Skykit Beam Content button to navigate to Skykit Beam.
.png)
Viewing your Content in Skykit Beam
Important Note
Publishing your content will allow it to be used in a Programs, Playlists, Collections and playable on your Displays
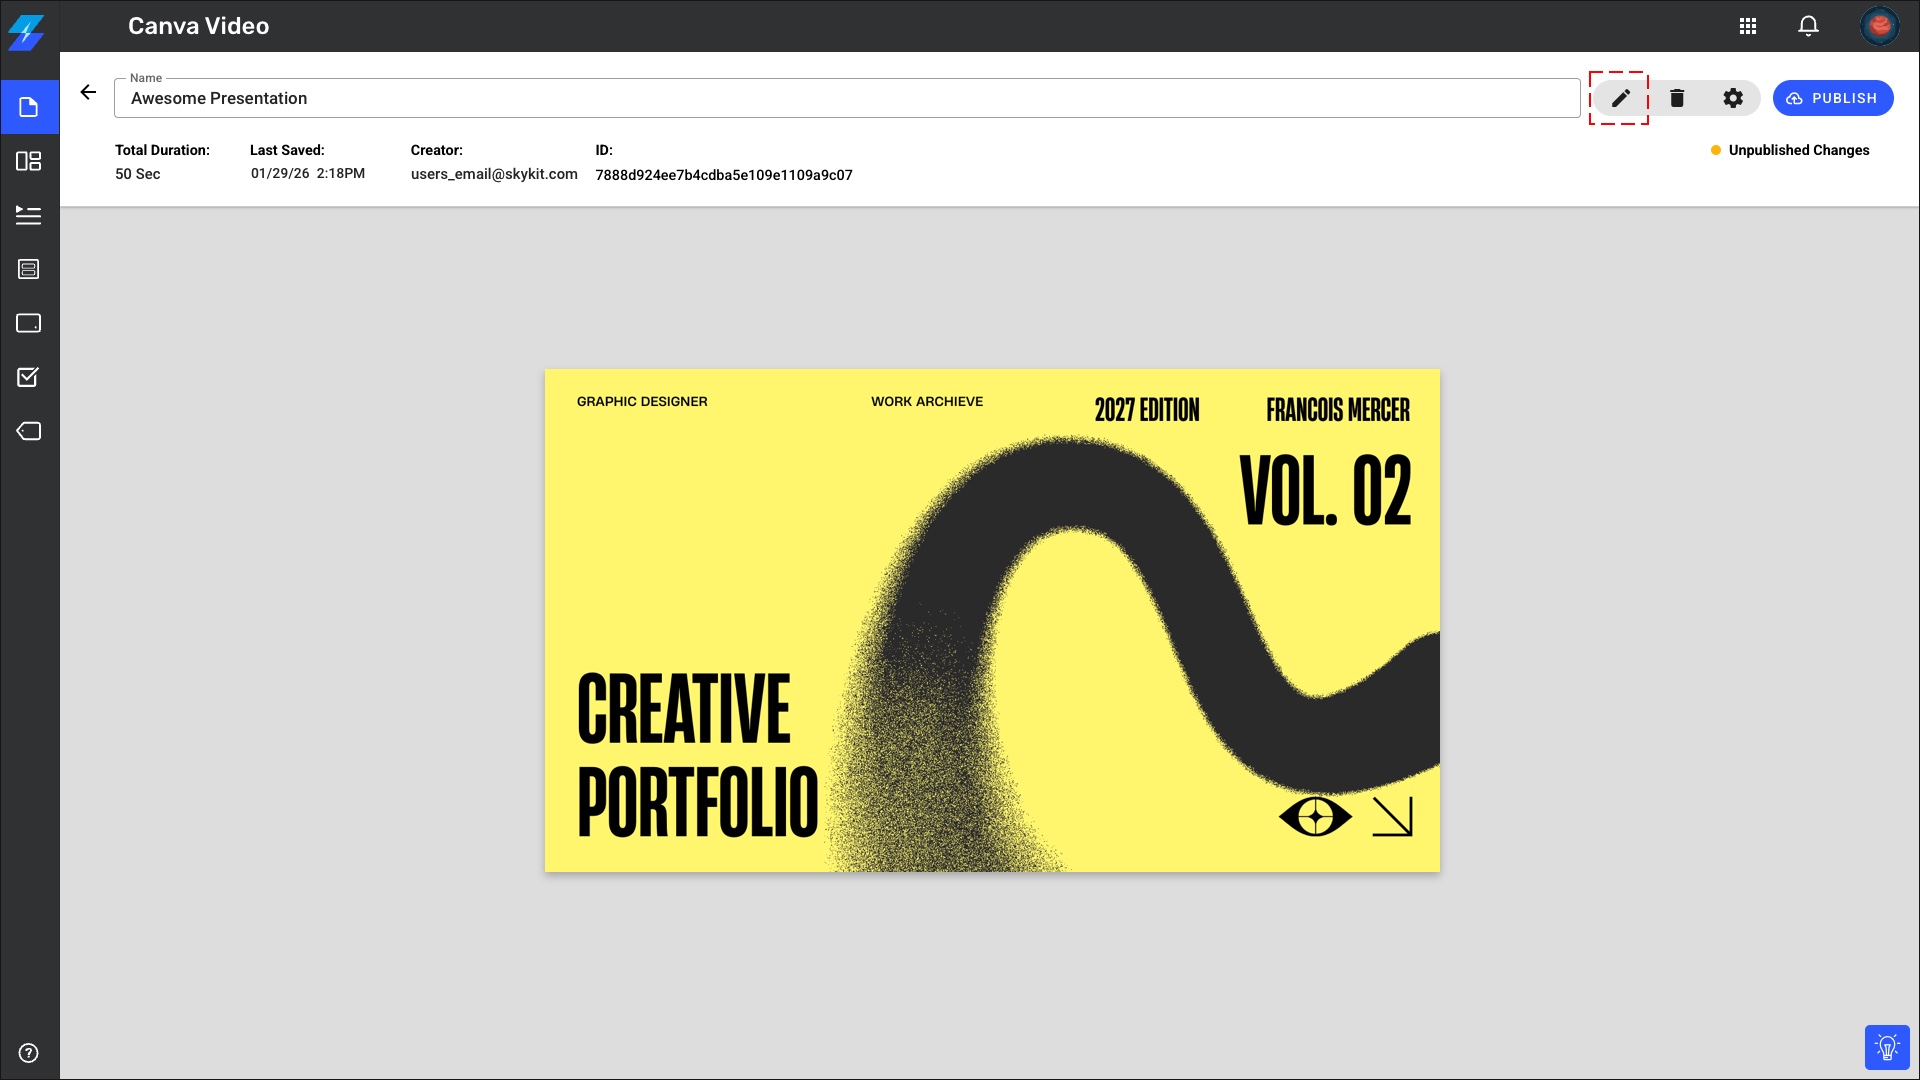
If you are navigating to Skykit Beam from Canva, you will be taken directly the detailed view of you content.

Editing a Design
Within Skykit Beam click the pencil icon to jump straight back to your Canva design.
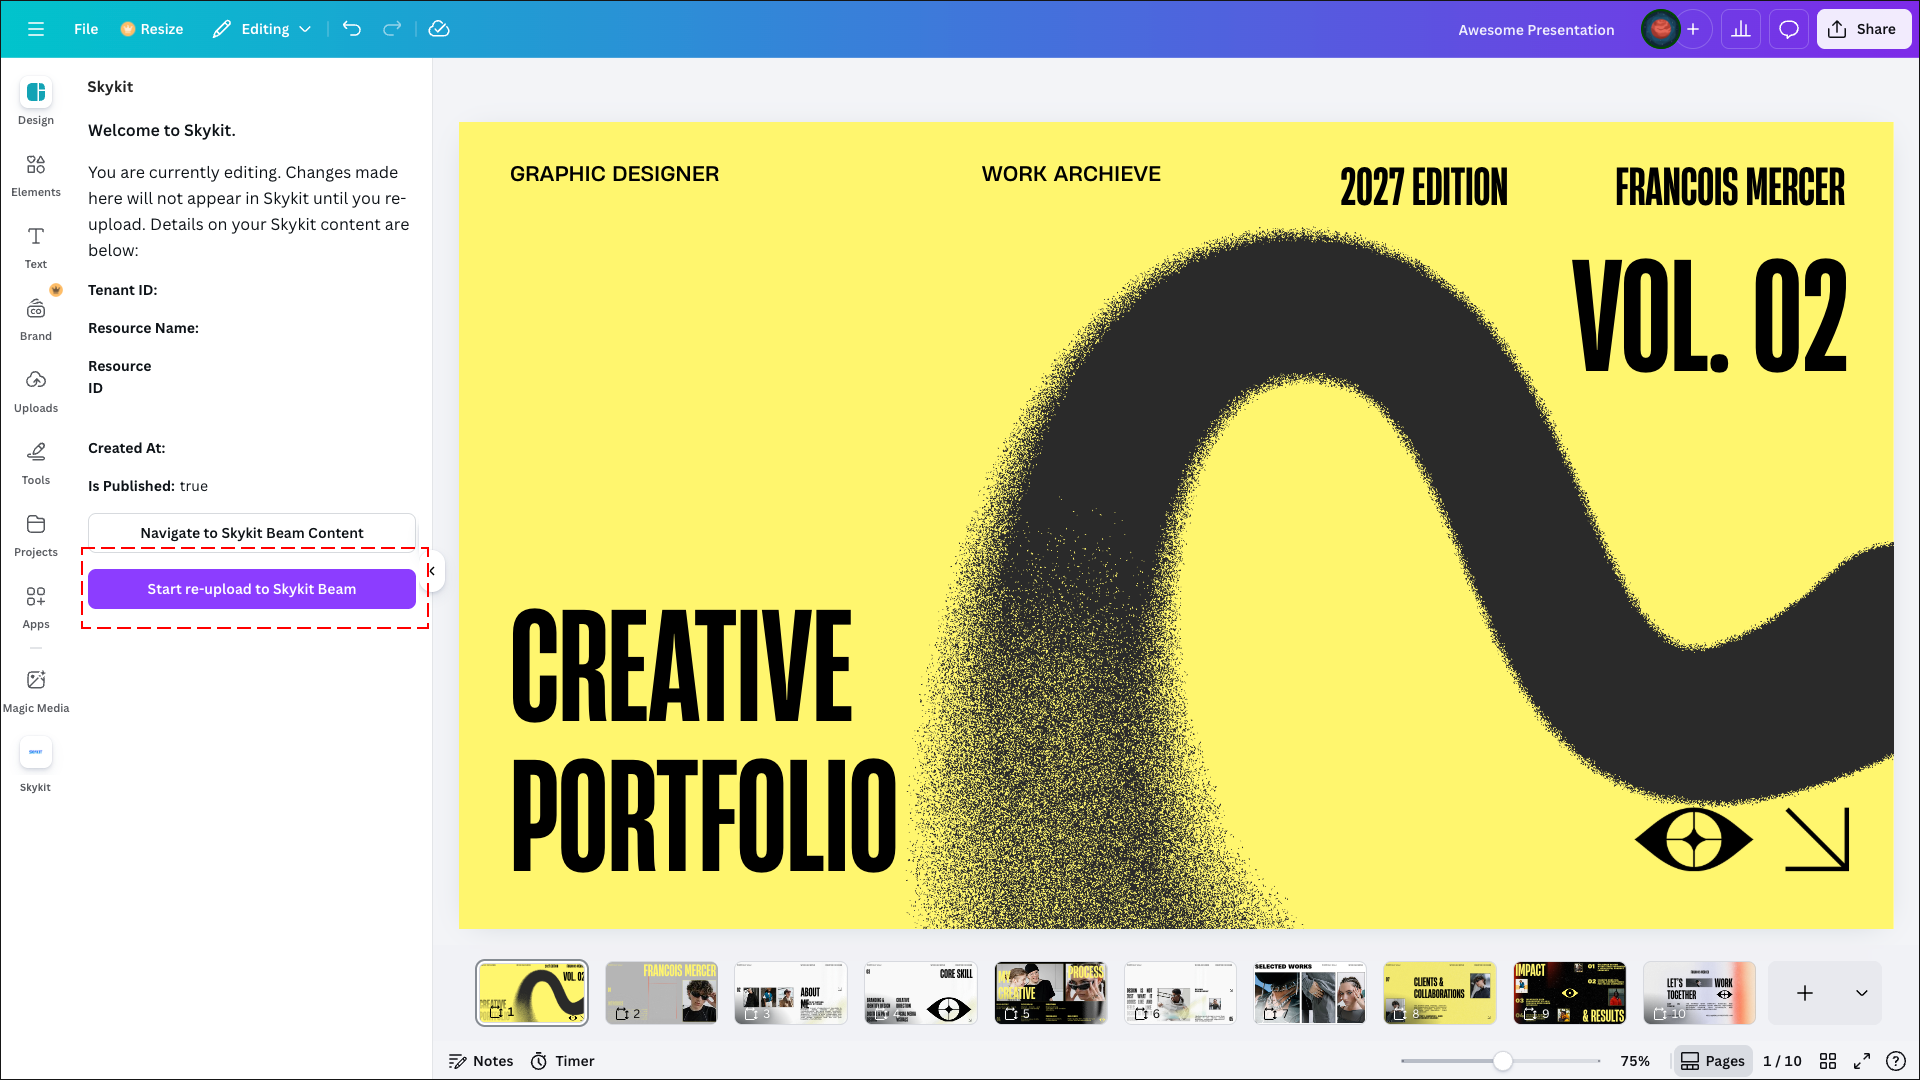
Once your changes are finalized, return to the Skykit option in the left navigation and click Re-upload to Skykit Beam button. You will need to re-publish any edited content.
Unlinking your Canva AccountGo to your Profile settings page
.jpg)
Under the Link Canva Account section, click Unlink Account.

Please Note
Content that has already been exported to Skykit will remain in the Content Library but it will not be editable.