Managing Web Views
Once you've created a web view content item, you can manage the item by editing the settings in the web view Settings drawer.
Need some help with the Content Item Manager? Learn more: Content Item Manager Tour.
- In the Content menu, select the web view you want to manage. The Web View content manager window opens.
.png)
- Beam automatically adds a default title for your web view (usually the URL). If you'd like to change it, enter a new title in the Name field.
.png)
- Select the gear icon in the upper right-hand corner to open the web view Settings drawer. This is where you can make your changes.
.png)
- In the Duration field, enter the length of time you want the web view to be displayed. The duration defaults to 10 seconds.
- Next, from the Transition list, select the way you want the web view to transition to the next slide. When you select a transition, you'll see a preview of the effect in the Web View window.
- Under Timeout, select how long you want Beam to wait before it displays your fallback content. If Beam cannot display your web view within the designated timeout period—if there are network or connectivity issues, for example—it will automatically begin displaying your fallback content. The field defaults to 30 seconds. The maximum timeout period is 2 minutes.
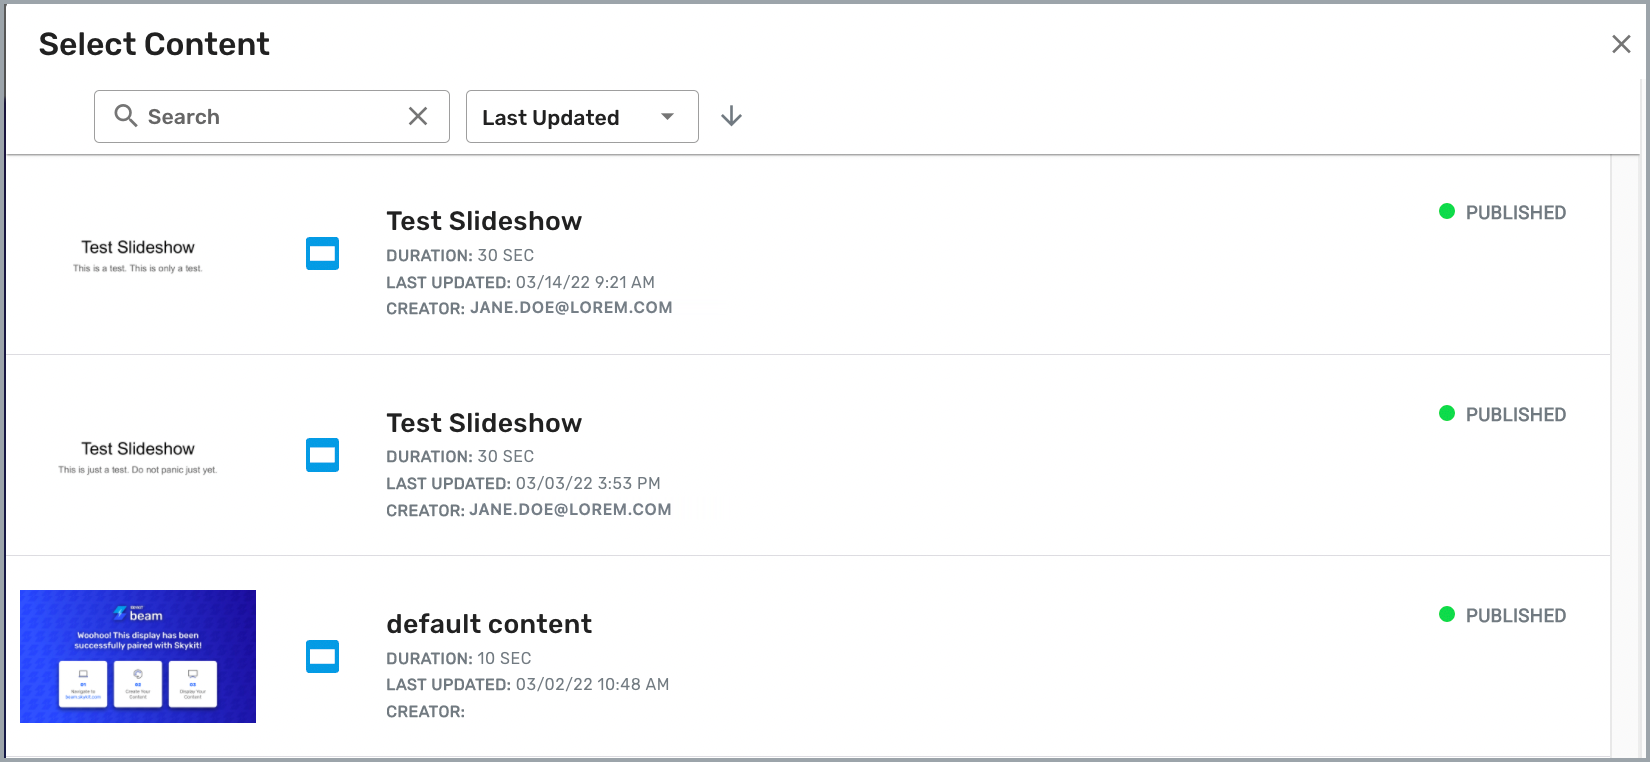
- Under Fallback Content, select Choose. The Select Content window opens.

Fallback Content begins playing on your displays if Beam cannot reach your web view's web address.
- Select the content item you want to use as your fallback content. Remember to choose a content item that does not require a network connection, such as Google Slides, in case of connectivity issues.
Web feeds, web capture, and web views are not available as fallback content because they require an internet connection.
- Select the Back arrow to save your changes and return to the Web View content manager window.
- Select Publish to make your web view available to publish directly to your displays or to insert into a playlist or program.
.png)
Next Steps
Now that you've successfully created and managed your web view, it's time to publish your content directly to your displays or insert them into a playlist or program.
Publish directly to a display: Publishing Content to a Display
Insert into a playlist: Playlists Overview
Insert into a program: Programs Overview