🎉 New to Skykit? Get up and running fast — Free live training + on-demand resources — Start here →

Assigning Labels to Displays

Prev Next

TIP: Adding Labels in bulk in Control

If you need to update Labels on a large amount of Displays, you can do so in bulk in Control. 

  1. Select Displays from the navigation bar to open the Displays menu.

  2. Select the display you want to assign a label to.
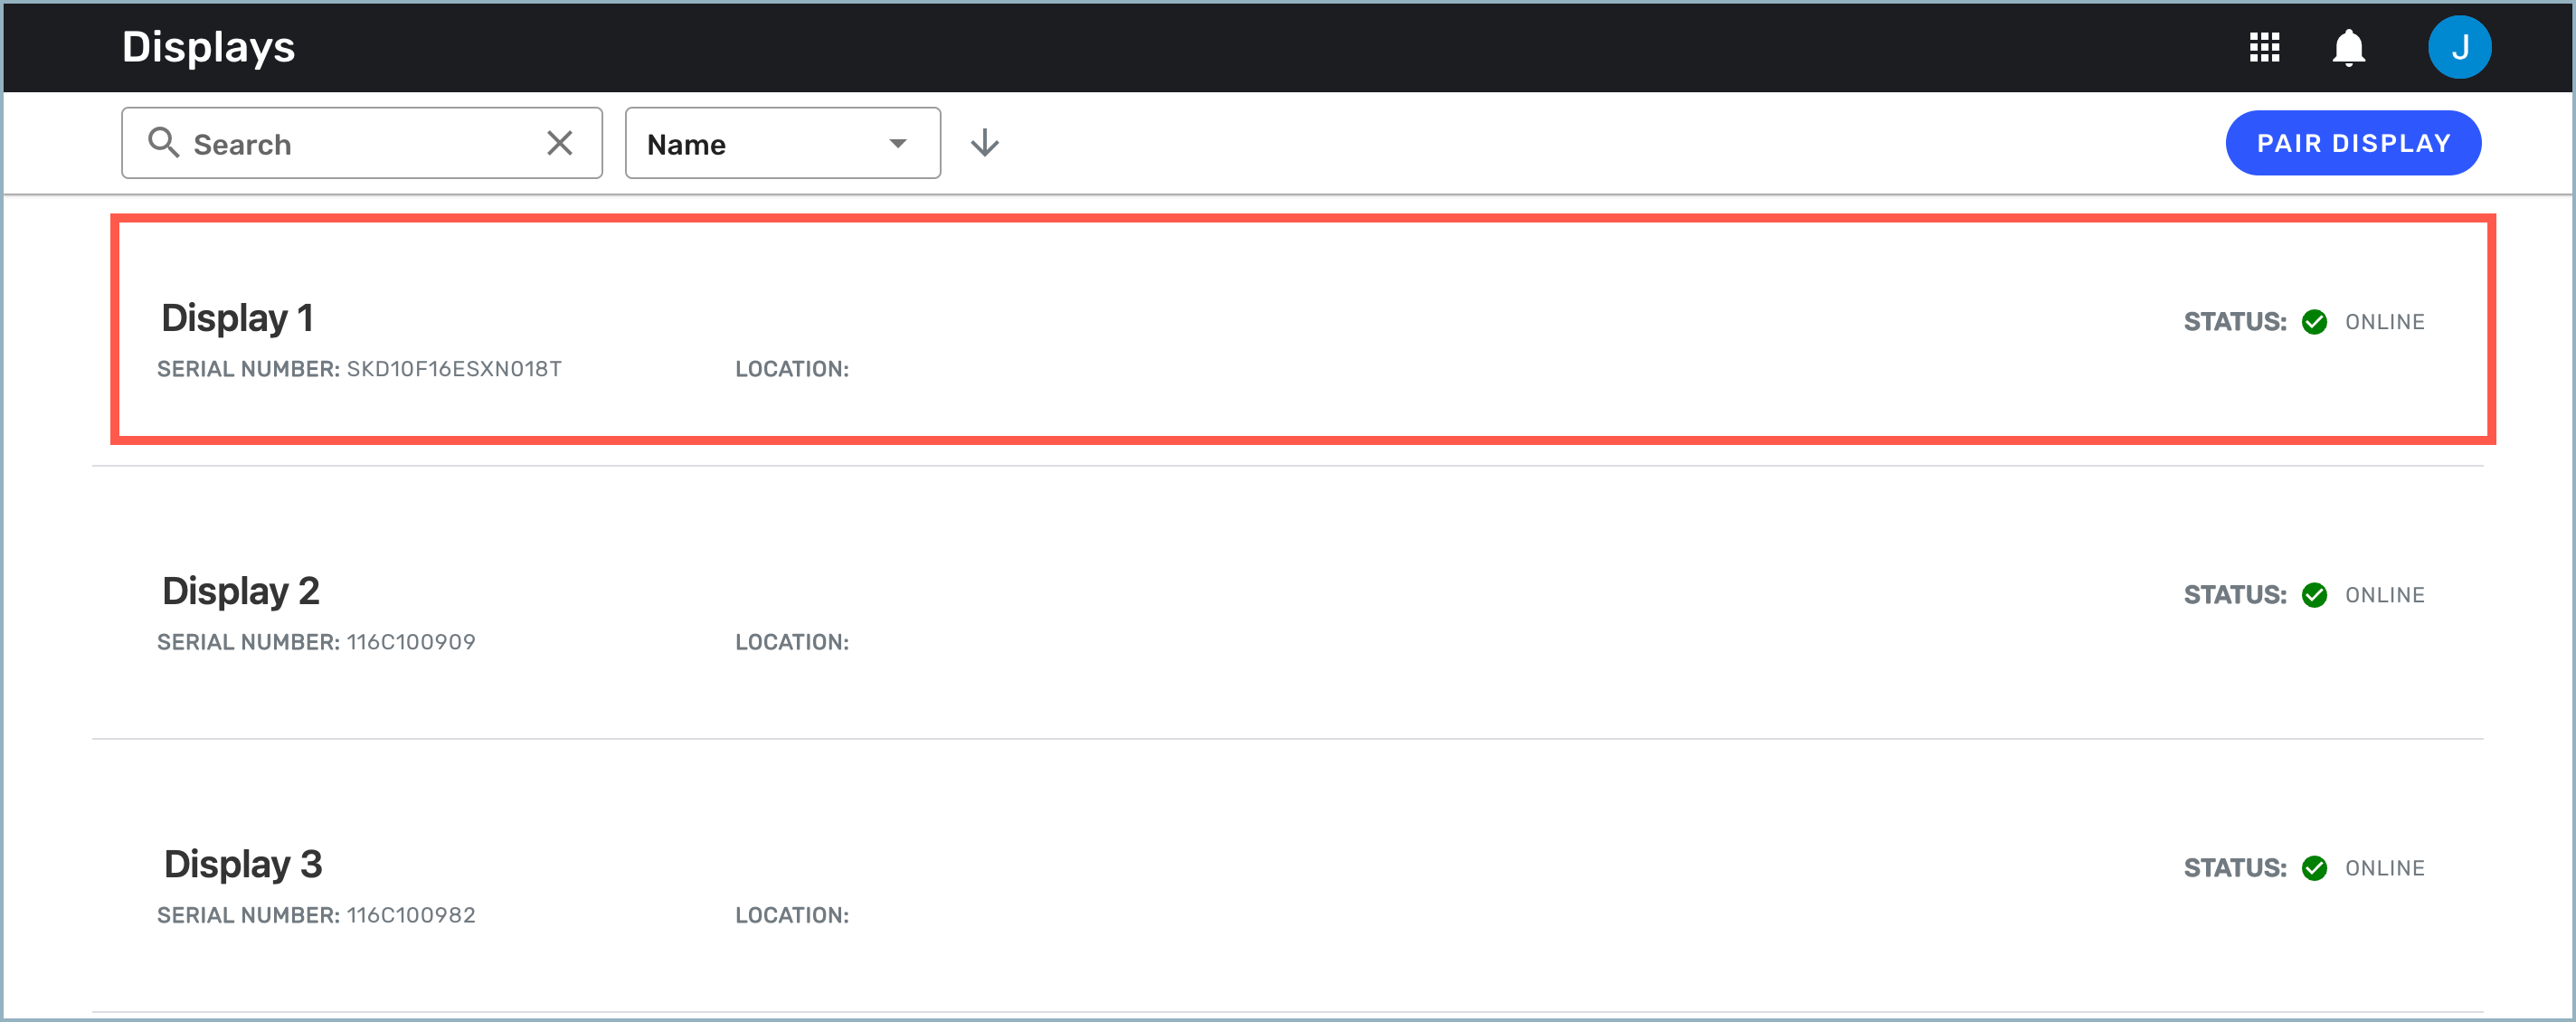
    Displays dashboard highlights Display 1 with serial number and online status; Displays 2 and 3 also appear online.


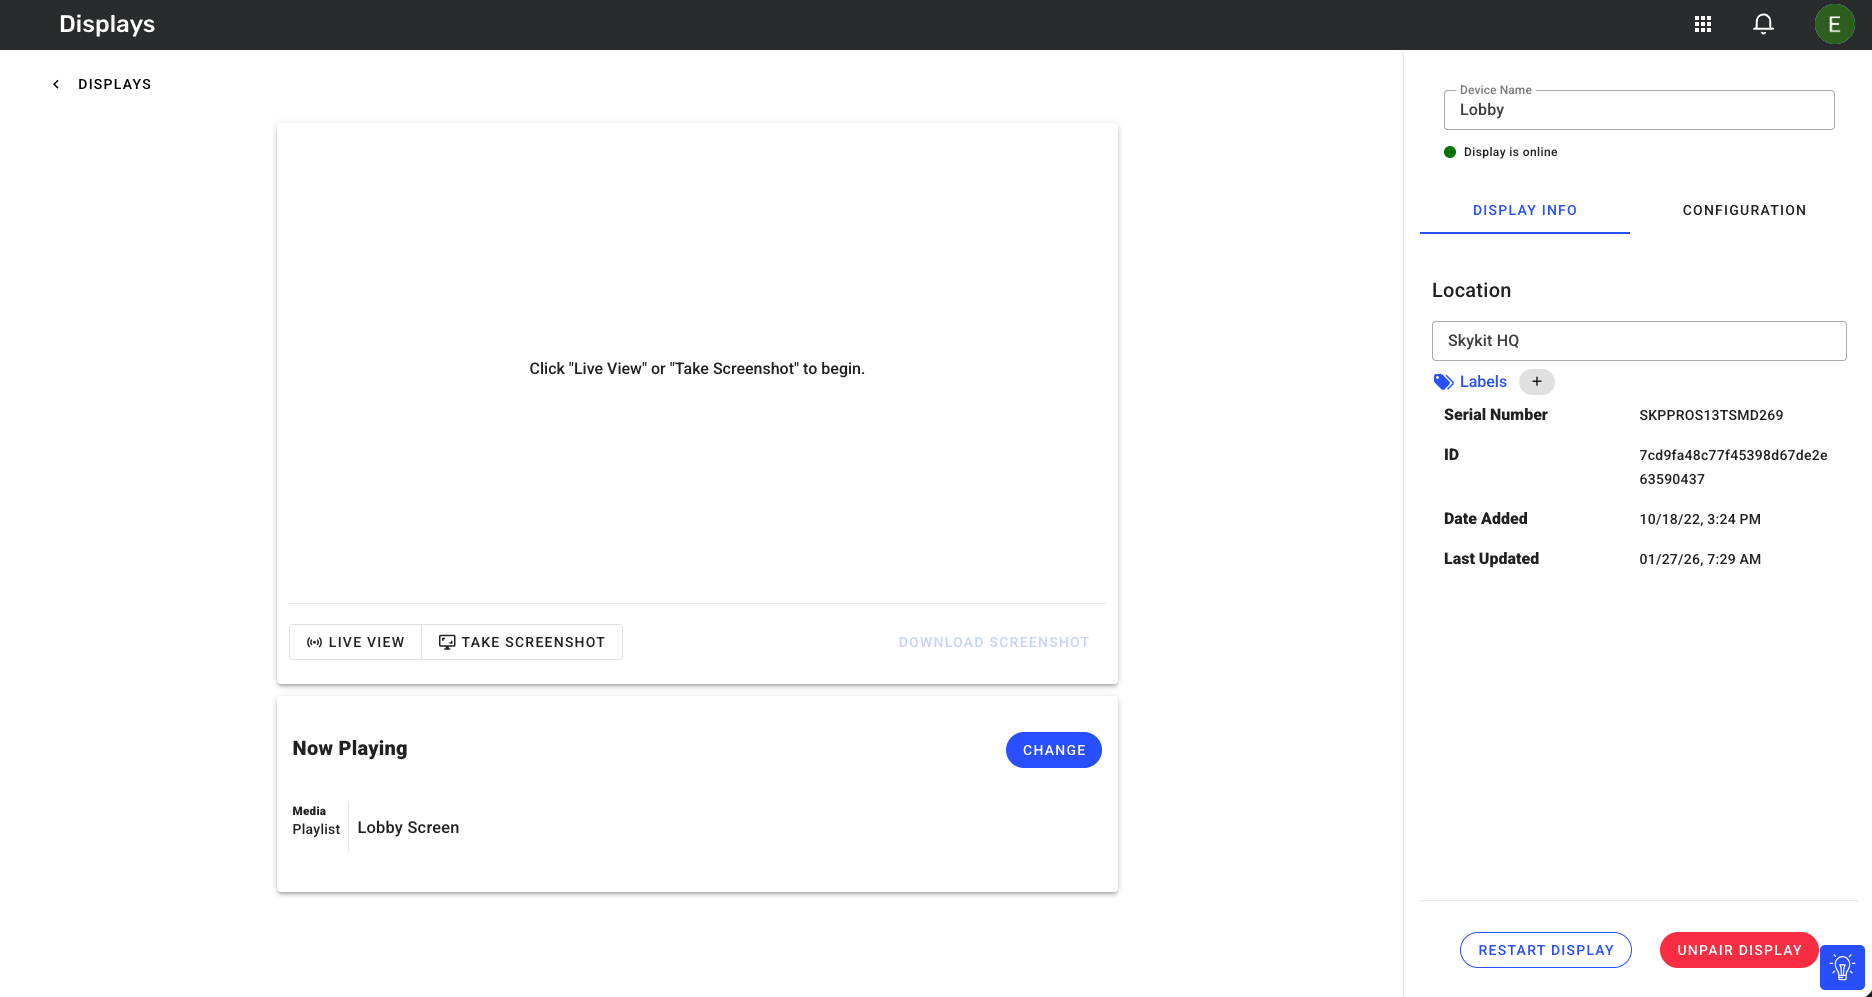
    The Displays detail window opens.

    Display management page showing the online Lobby screen, playback controls, device information, and restart options.


  3. Select Labels in the Display Info tab on the right side of the screen.
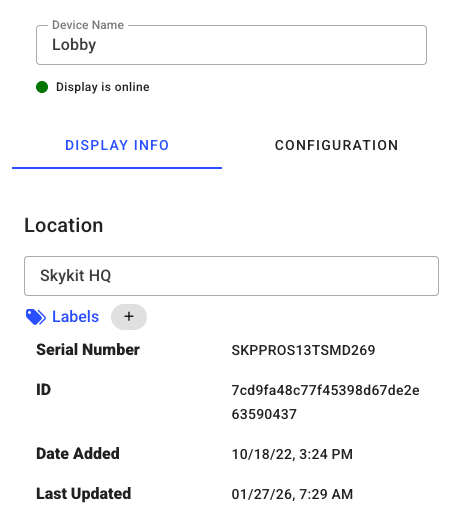
    Device information page showing Lobby display online, located at Skykit HQ, with serial number and update details.
    The Specify Labels modal opens.

    Specify Labels dialog lists expandable categories for Headquarters, Offices, States, and Turf.

  4. Click a Label Category to expand the labels options and see the available Label Categories and Labels.
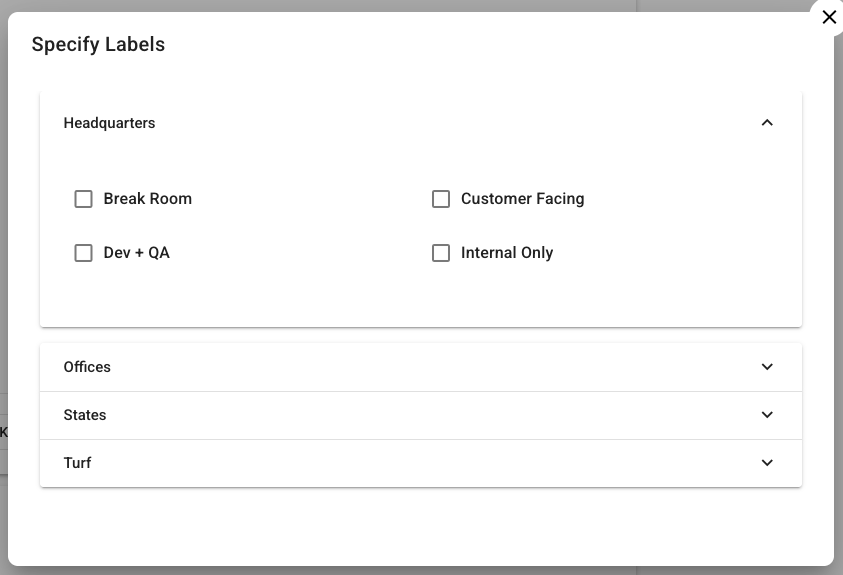
    Specify Labels dialog showing expandable Headquarters categories and collapsed Offices, States, and Turf sections.

  5. Select the Labels you want to assign to your display.
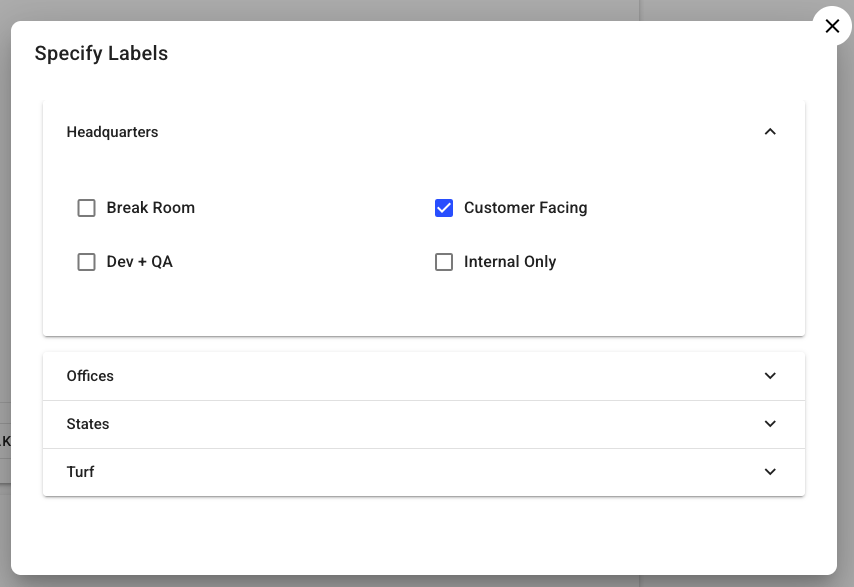
    Label selection dialog shows Headquarters expanded with Customer Facing selected and other labels unchecked.

  6. Dismiss the modal.

  7. Repeat steps 2 through 6 for each display that requires labels.

Next Steps

Now that you've assigned labels to your displays, learn how to assign labels to your playlist entries.