Overview
This page provides an introduction to Tenants, including what they are and how to manage them effectively.
Understanding Tenants
Tenants are an organizational hub for users, displays, and content. Want to see a use case example of a Tenant structure? Please check out this article.
Permissions Note
The Account Owner or Tenant Administrator Role is required to make changes to a Tenant.
Updating a Tenant Name
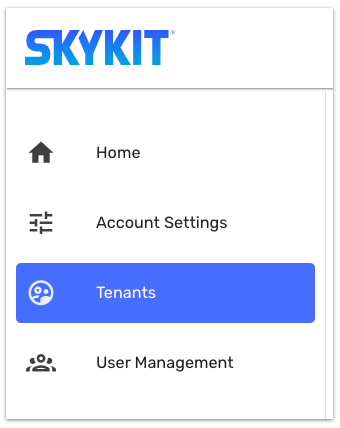
Go to the Tenants page.
When your create a Skykit Account, an initial Tenant is automatically generated for you.
Select the Tenant you want to edit.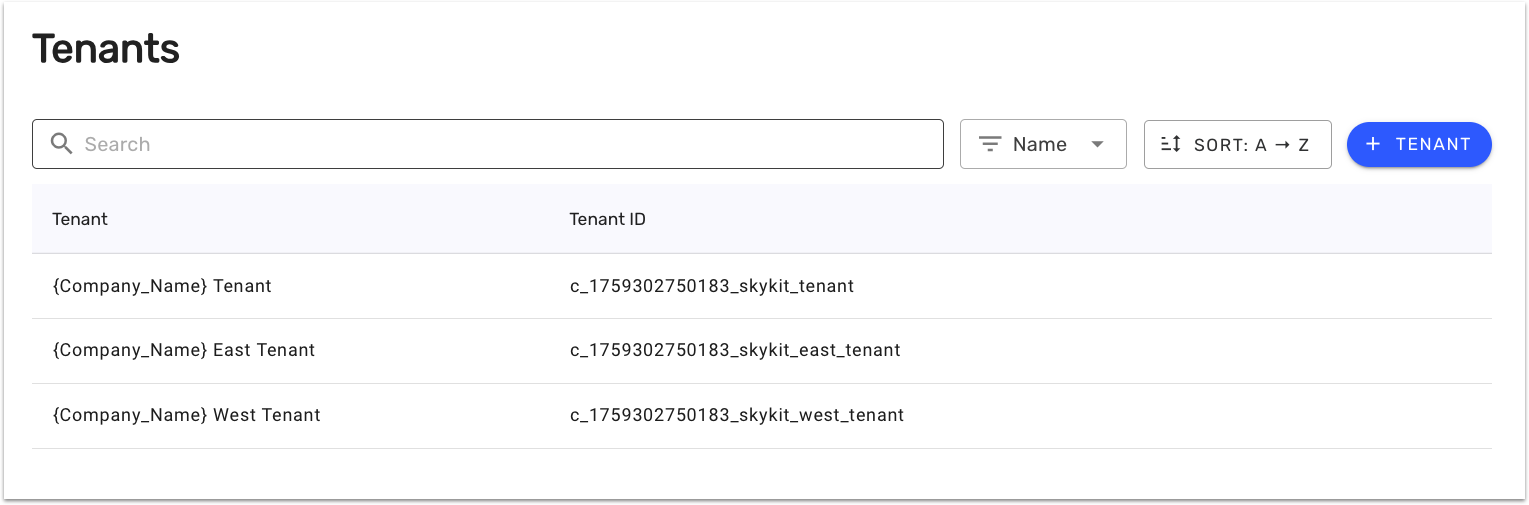
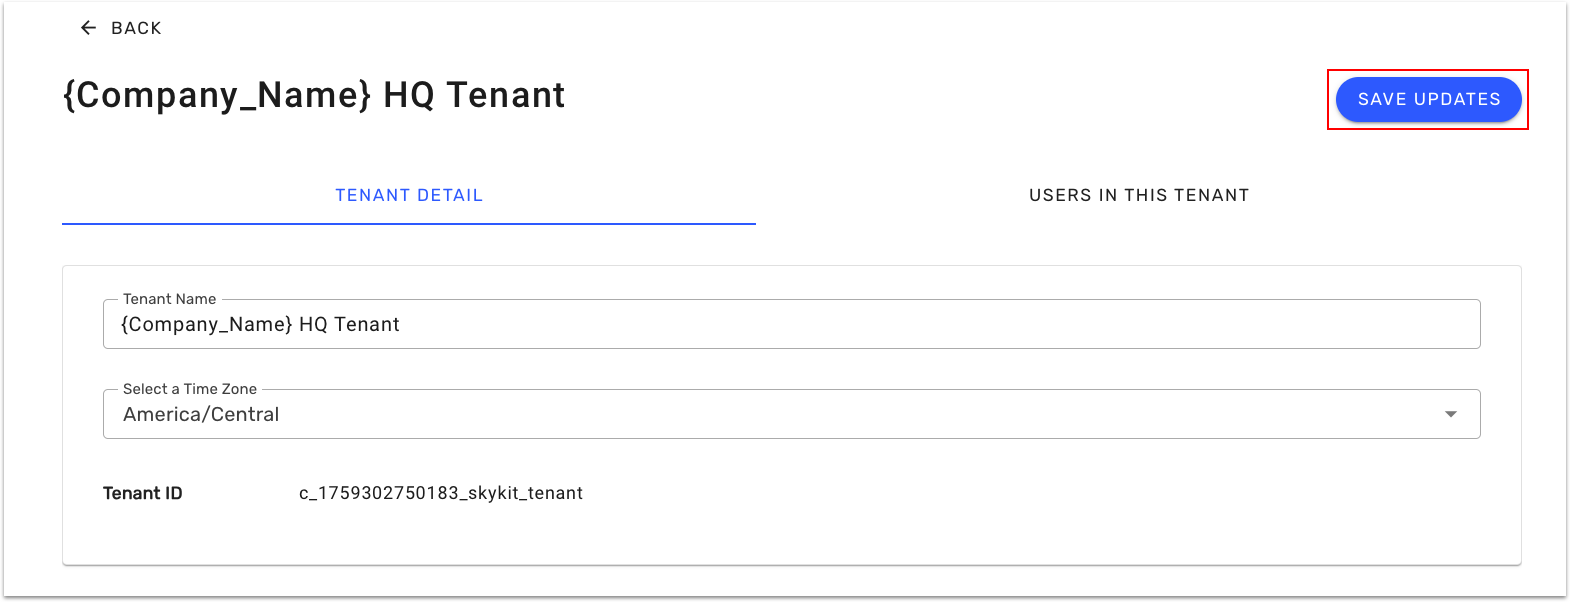
In the Tenant Name field, enter the new name.

Click the Save Update button to apply your changes.
Updating a Tenant Time Zone
Note: The Time Zone set at the Tenant level will determine the time zone automatically set to Displays added to your Tenant going forward. If you already have Displays in your Tenant, it will not overwrite their time zone.
Go to the Tenants page.
Select the tenant you want to edit.
In the Select a Time Zone menu, select a new time zone.
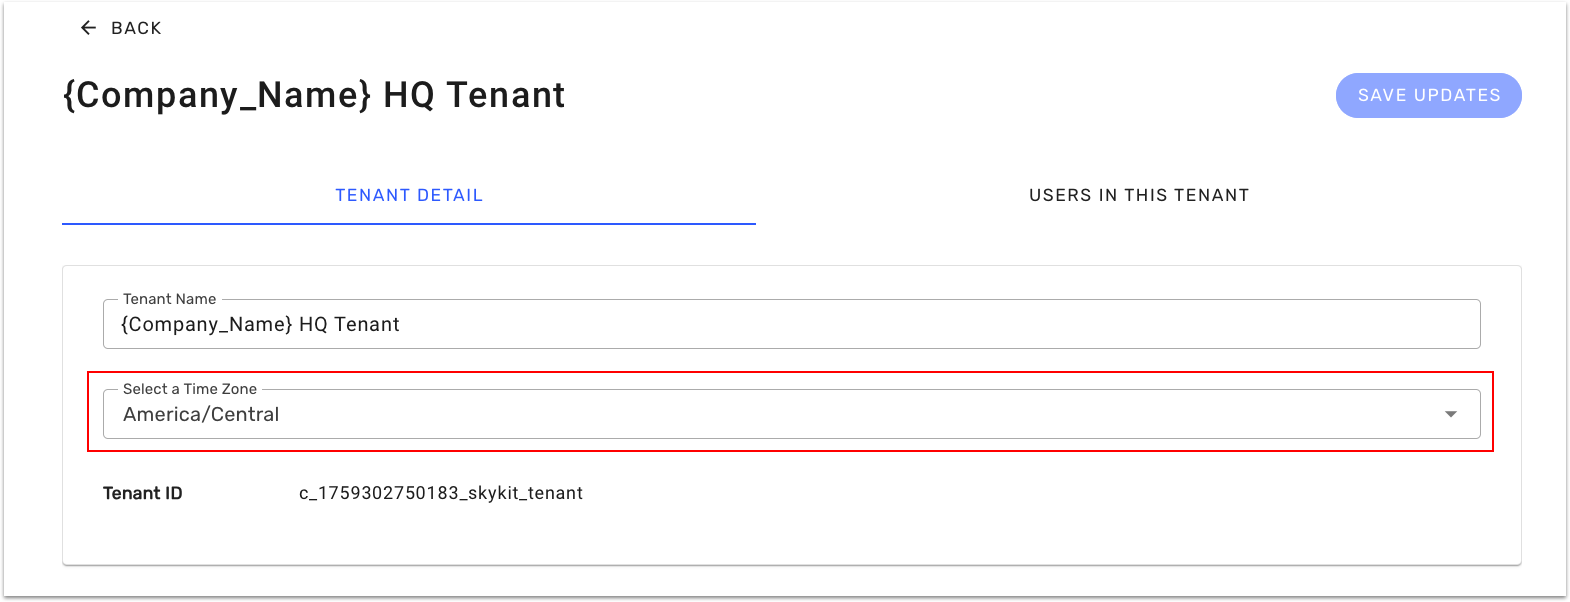
Click the Save Update button to apply your changes.
Changing Tenant Default Content
Default content is what will initially play when a device is paired to the Tenant. Default Content can be updated from the Tenants list view or the individual Tenant detail page.
From the List View
Navigate to the Tenant page
Click the 3 dot menu next to your desired Tenant and click Set Default Content

Click Change Content

Click on your desired content

Save Updates

From the Tenant Detail Page
Navigate to the Tenants page
Click on your desired Tenant
Click Change Content

Click on your desired content
.png)
Save Updates
.png)
Adding Users within a Tenant
Go to the Tenants page.
Select the tenant you want to edit.
Select the Users in the Tenant tab
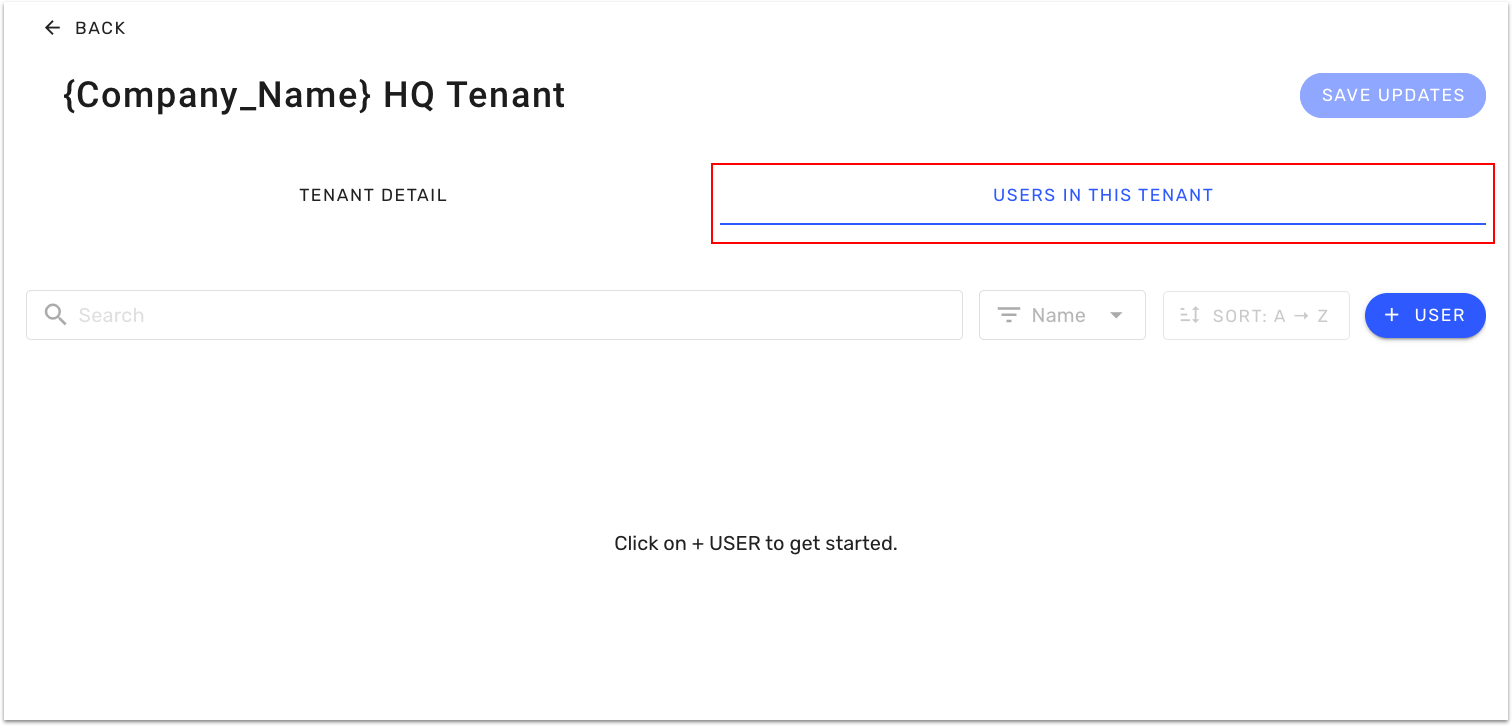
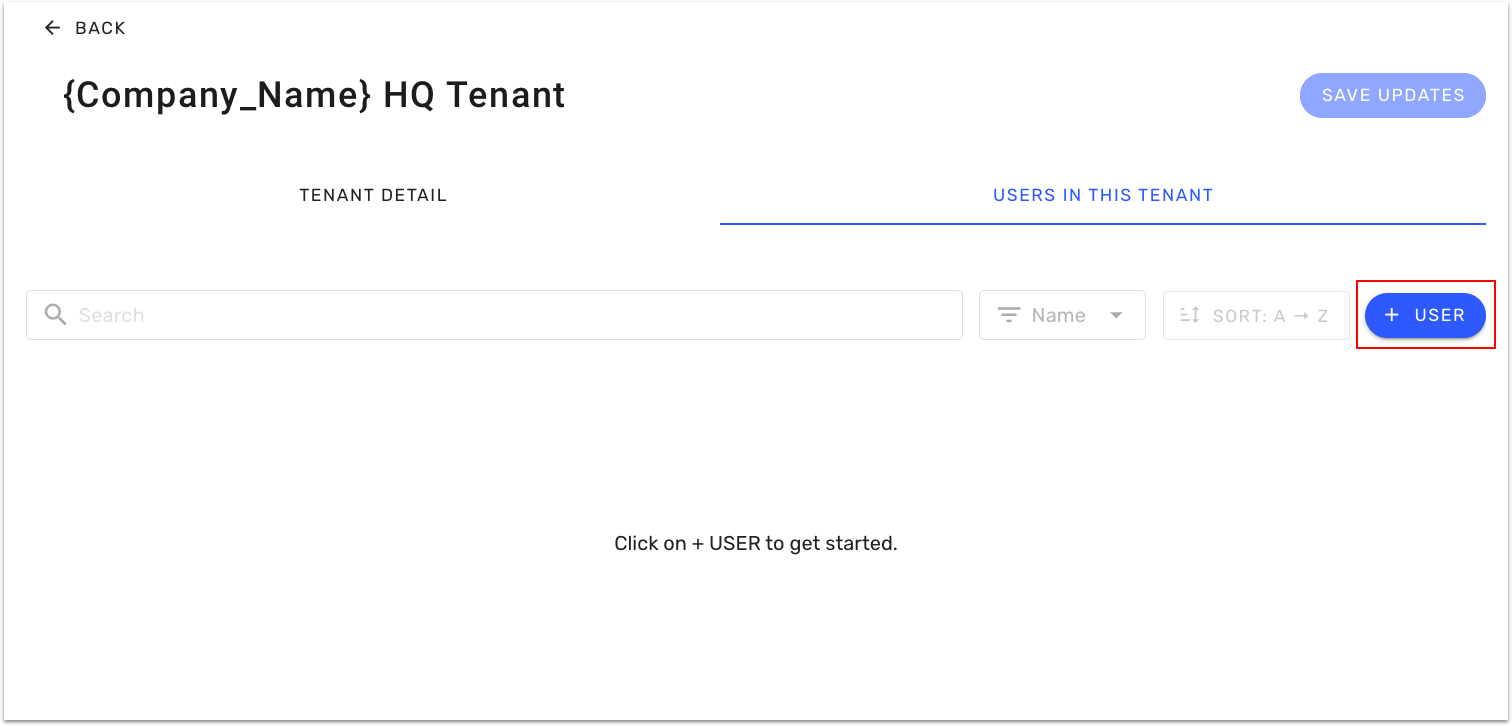
Click the +User button
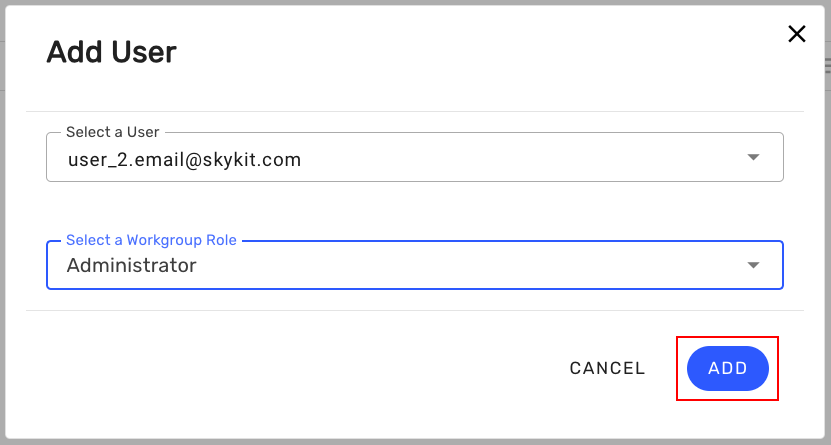
In the modal that appears, open the Select a User menu.
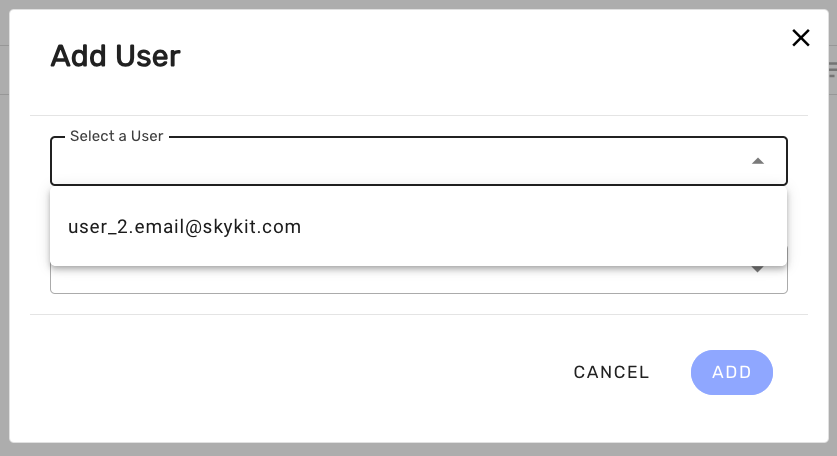
Choose the user you want to add to this tenant.
Note: The user must already exist in your account
Select the Tenant Role for this user
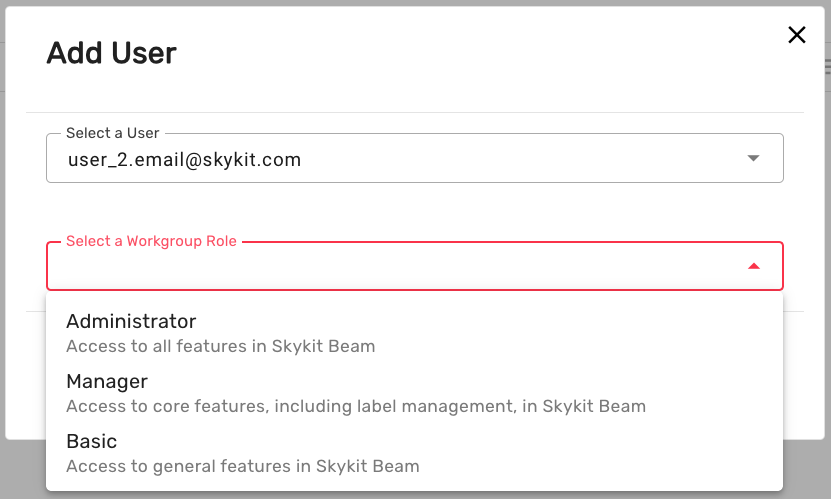
Click on the Add button
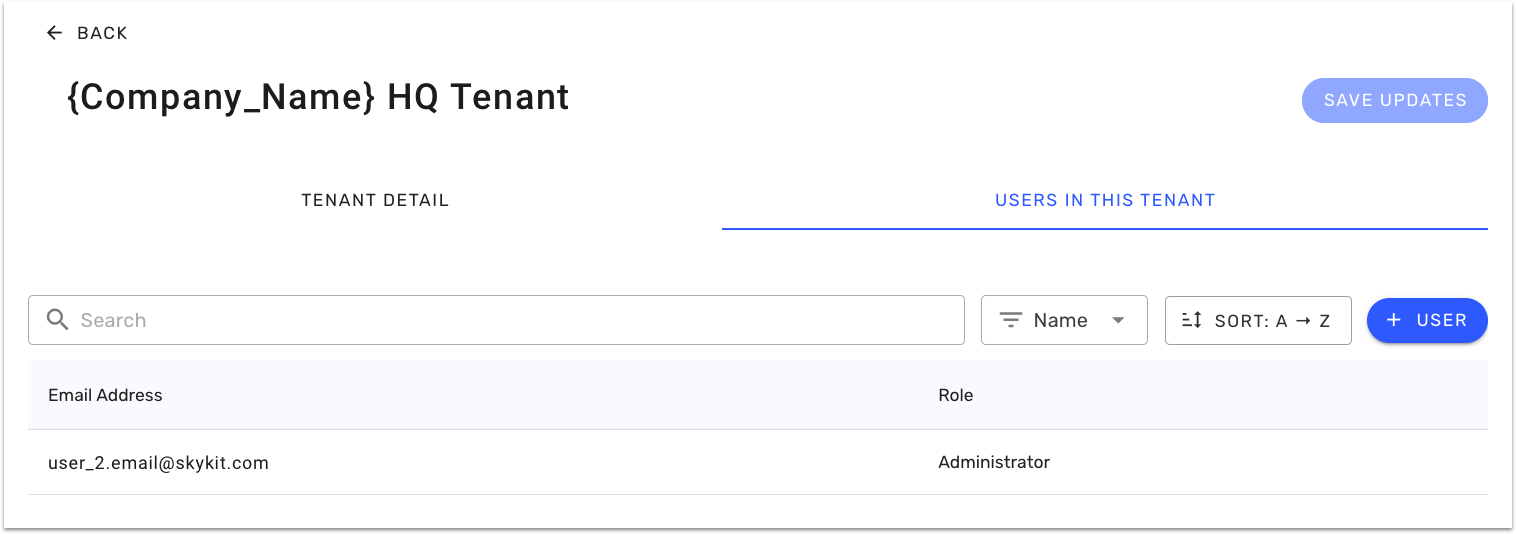
You should now see your new user added to your Tenant
Configuring Content Sharing for a Tenant
In the Content Sharing section of the Tenants page, you can:
See current sharing relationships (to and from) for the Tenant you are viewing.
Set up your Tenant to share with others.
Revoke existing sharing relationships.
Read more about Playlist sharing.
Sharing with Other Tenants
Go to the Tenants page.
Select the Tenant you want to share from.
Click on the Content Sharing tab.
Choose the Tenant(s) you would like to share to in the Add Sharee tab.

Click Grant Sharing.
Revoking Sharing
To revoke sharing check the box next to the Tenant(s) with which you’d no longer like to share, then click the red trash can icon.

Deactivating a Tenant
Note: To deactivate a Tenant, all associated displays must be unpaired first. Make sure all displays are unpaired before proceeding with deletion.
Go to the Tenants page.
Select the Tenant you want to delete.
Click the Deactivate Tenant button at the bottom of the page.
Type DEACTIVATE TENANT in the text field to confirm the deletion process.
