Overview
This page will cover the step-by-step instructions to sign in to your Skykit Account.
Signing in to Your Account
Signing in with a Google Account
Navigate to accounts.skykit.com
Simply choose the "Continue with Google" option
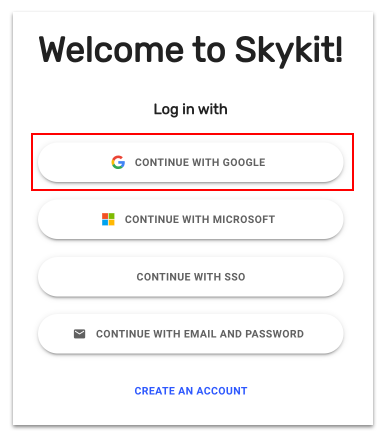
At this point Google may ask you to sign in to your Google Account if you are not currently signed in
If you are signed in to multiple Google Accounts, select the Google account that is associated with your Skykit Account
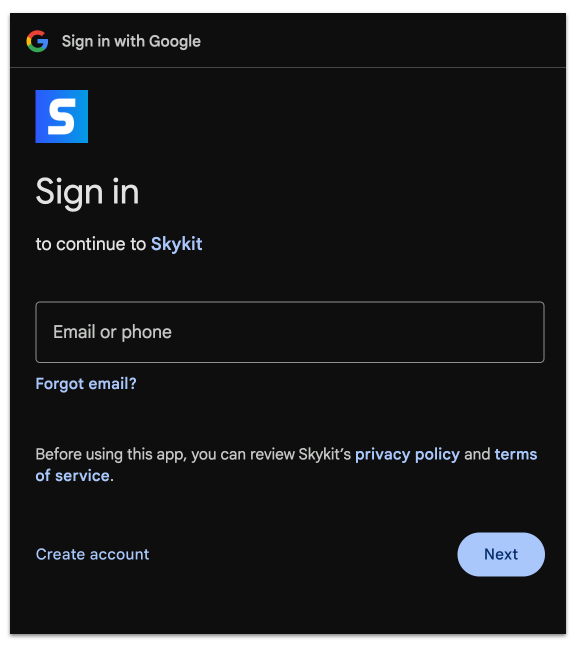
If your email is associated to multiple accounts, select the account you want to continue with
Success! You have successfully created your Skykit account
Signing in with a Microsoft Account
Navigate to accounts.skykit.com
Simply choose the "Continue with Microsoft" option
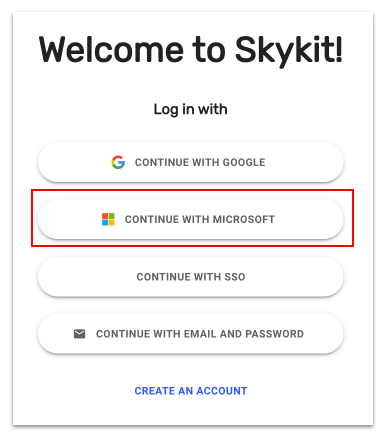
At this point Microsoft may ask you to sign in to your Microsoft account if you are not currently logged in
This Step May Require Microsoft Administrator Permissions
Depending on how your Microsoft Account is configured, you may need additional permissions to sign in to applications like Skykit. Please review these instructions first and contact your Microsoft or IT Administrator if you do not have sufficient permissions to complete them: https://support.skykit.com/docs/unable-to-log-on-using-microsoft
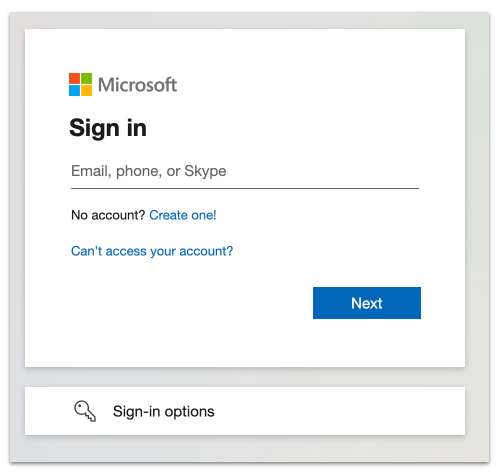
If you’re email is associated to multiple accounts, select the account you want to continue with
Success! You have successfully signed in to your Skykit Account
Signing in with SSO
Need to set up SSO?
Setting up SSO requires an initial integration with the help of the Skykit team. See configuration guides for more information:
Microsoft SAML Configuration Guide
Navigate to accounts.skykit.com
Simply choose the "Continue with SSO" option
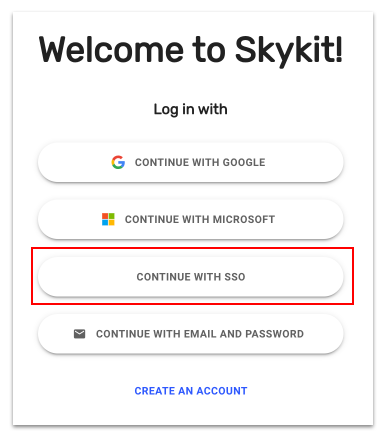
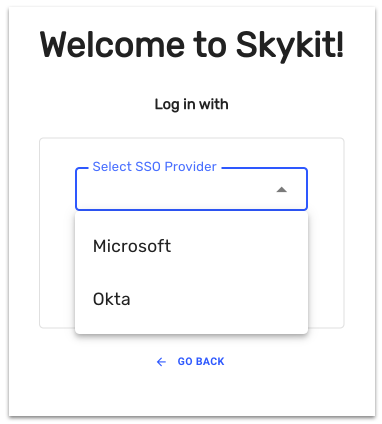
Currently Skykit only allows Okta SSO or Microsoft SSO
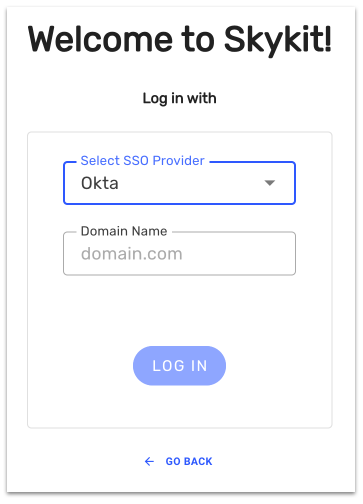
Enter your Provider or Email Domain Name
Success! You have successfully created your Skykit account
Signing in with an Email and Password
Note: If you were added to a Skykit Account by an Account Owner, you will need to set a password before you can sign in with this method: Steps for creating a password to sign in
Navigate to accounts.skykit.com
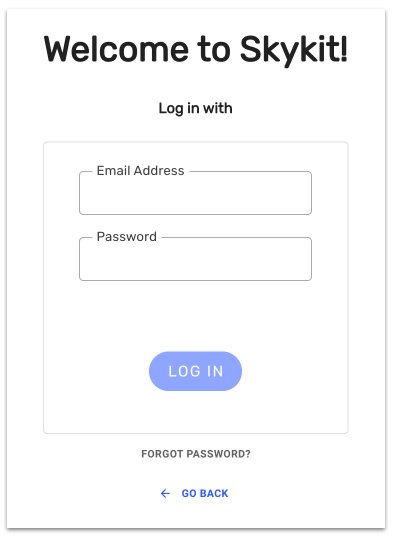
Click on the “Continue with Email and Password” option
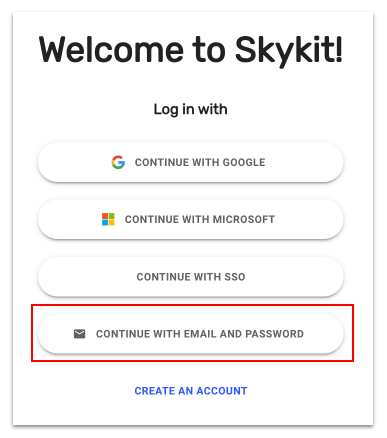
Enter the Email Address that is associated to a Skykit Account
Enter your Password
Success! You are now signed in to your Skykit Account